


February 21-28 is National CSA Week. In celebration of this historic event, aspiring young CSA member Ms. MJ Righter (above, photographed with a kohlrabi) sat down with CSA Director Lauren Kaplan for this hard-hitting interview.
So Lauren, National CSA Week: Tell us about that.
Well MJ, I’m so glad you asked! It’s a week when CSA farmers across the nation are gearing up to --
Wait a minute: CSA? What’s that?
CSA stands for Community Supported Agriculture. Simply put, it’s a way for consumers to purchase food directly from a farm.
Did PFP make that up?
Nope - CSA has a history much longer than PFP! While the term CSA originated in the 1980’s from Germany and Switzerland, the practice itself has diverse origins.
Around the same time that the European CSA model was making its way to Massachusetts, Dr. Booker T. Whatley -- an Alabama-born advocate of regenerative farming and direct marketing -- created the Clientele Membership Club. In this model, a membership fee allowed the more urban community -- “city folk, mostly” -- to participate in a Pick-Your-Own (or PYO) share of the farm’s harvest. A few decades earlier in the 1960’s, the Japanese model Teikei involved consumers organizing to purchase food directly from the farm.
All of these models shared similar goals: to invite consumers to have a more direct connection with their food source, and to allow the farm to plan to grow for an established, committed market.
In 1999, Poughkeepsie Farm Project joined the long line of farmers committed to growing food not for distributors or processors, but for the consumers themselves.
Sounds interesting. But why buy a CSA share?
There are lots of good reasons to buy a CSA share -- or to have your parents get one for you!.
A CSA provides consumers with food that is fresher and more cost-effective than grocery-store produce, which is usually bred for shelf-stability, not flavor. It also provides the farm with capital up-front (when it’s necessary to purchase seeds or animal feed, and to pay for labor), invites connection with fellow members and with farmers, and keeps open green space in the community, which can improve air and water quality.
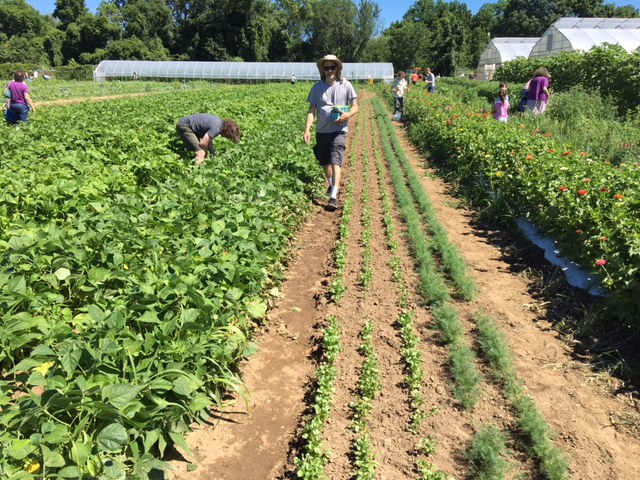
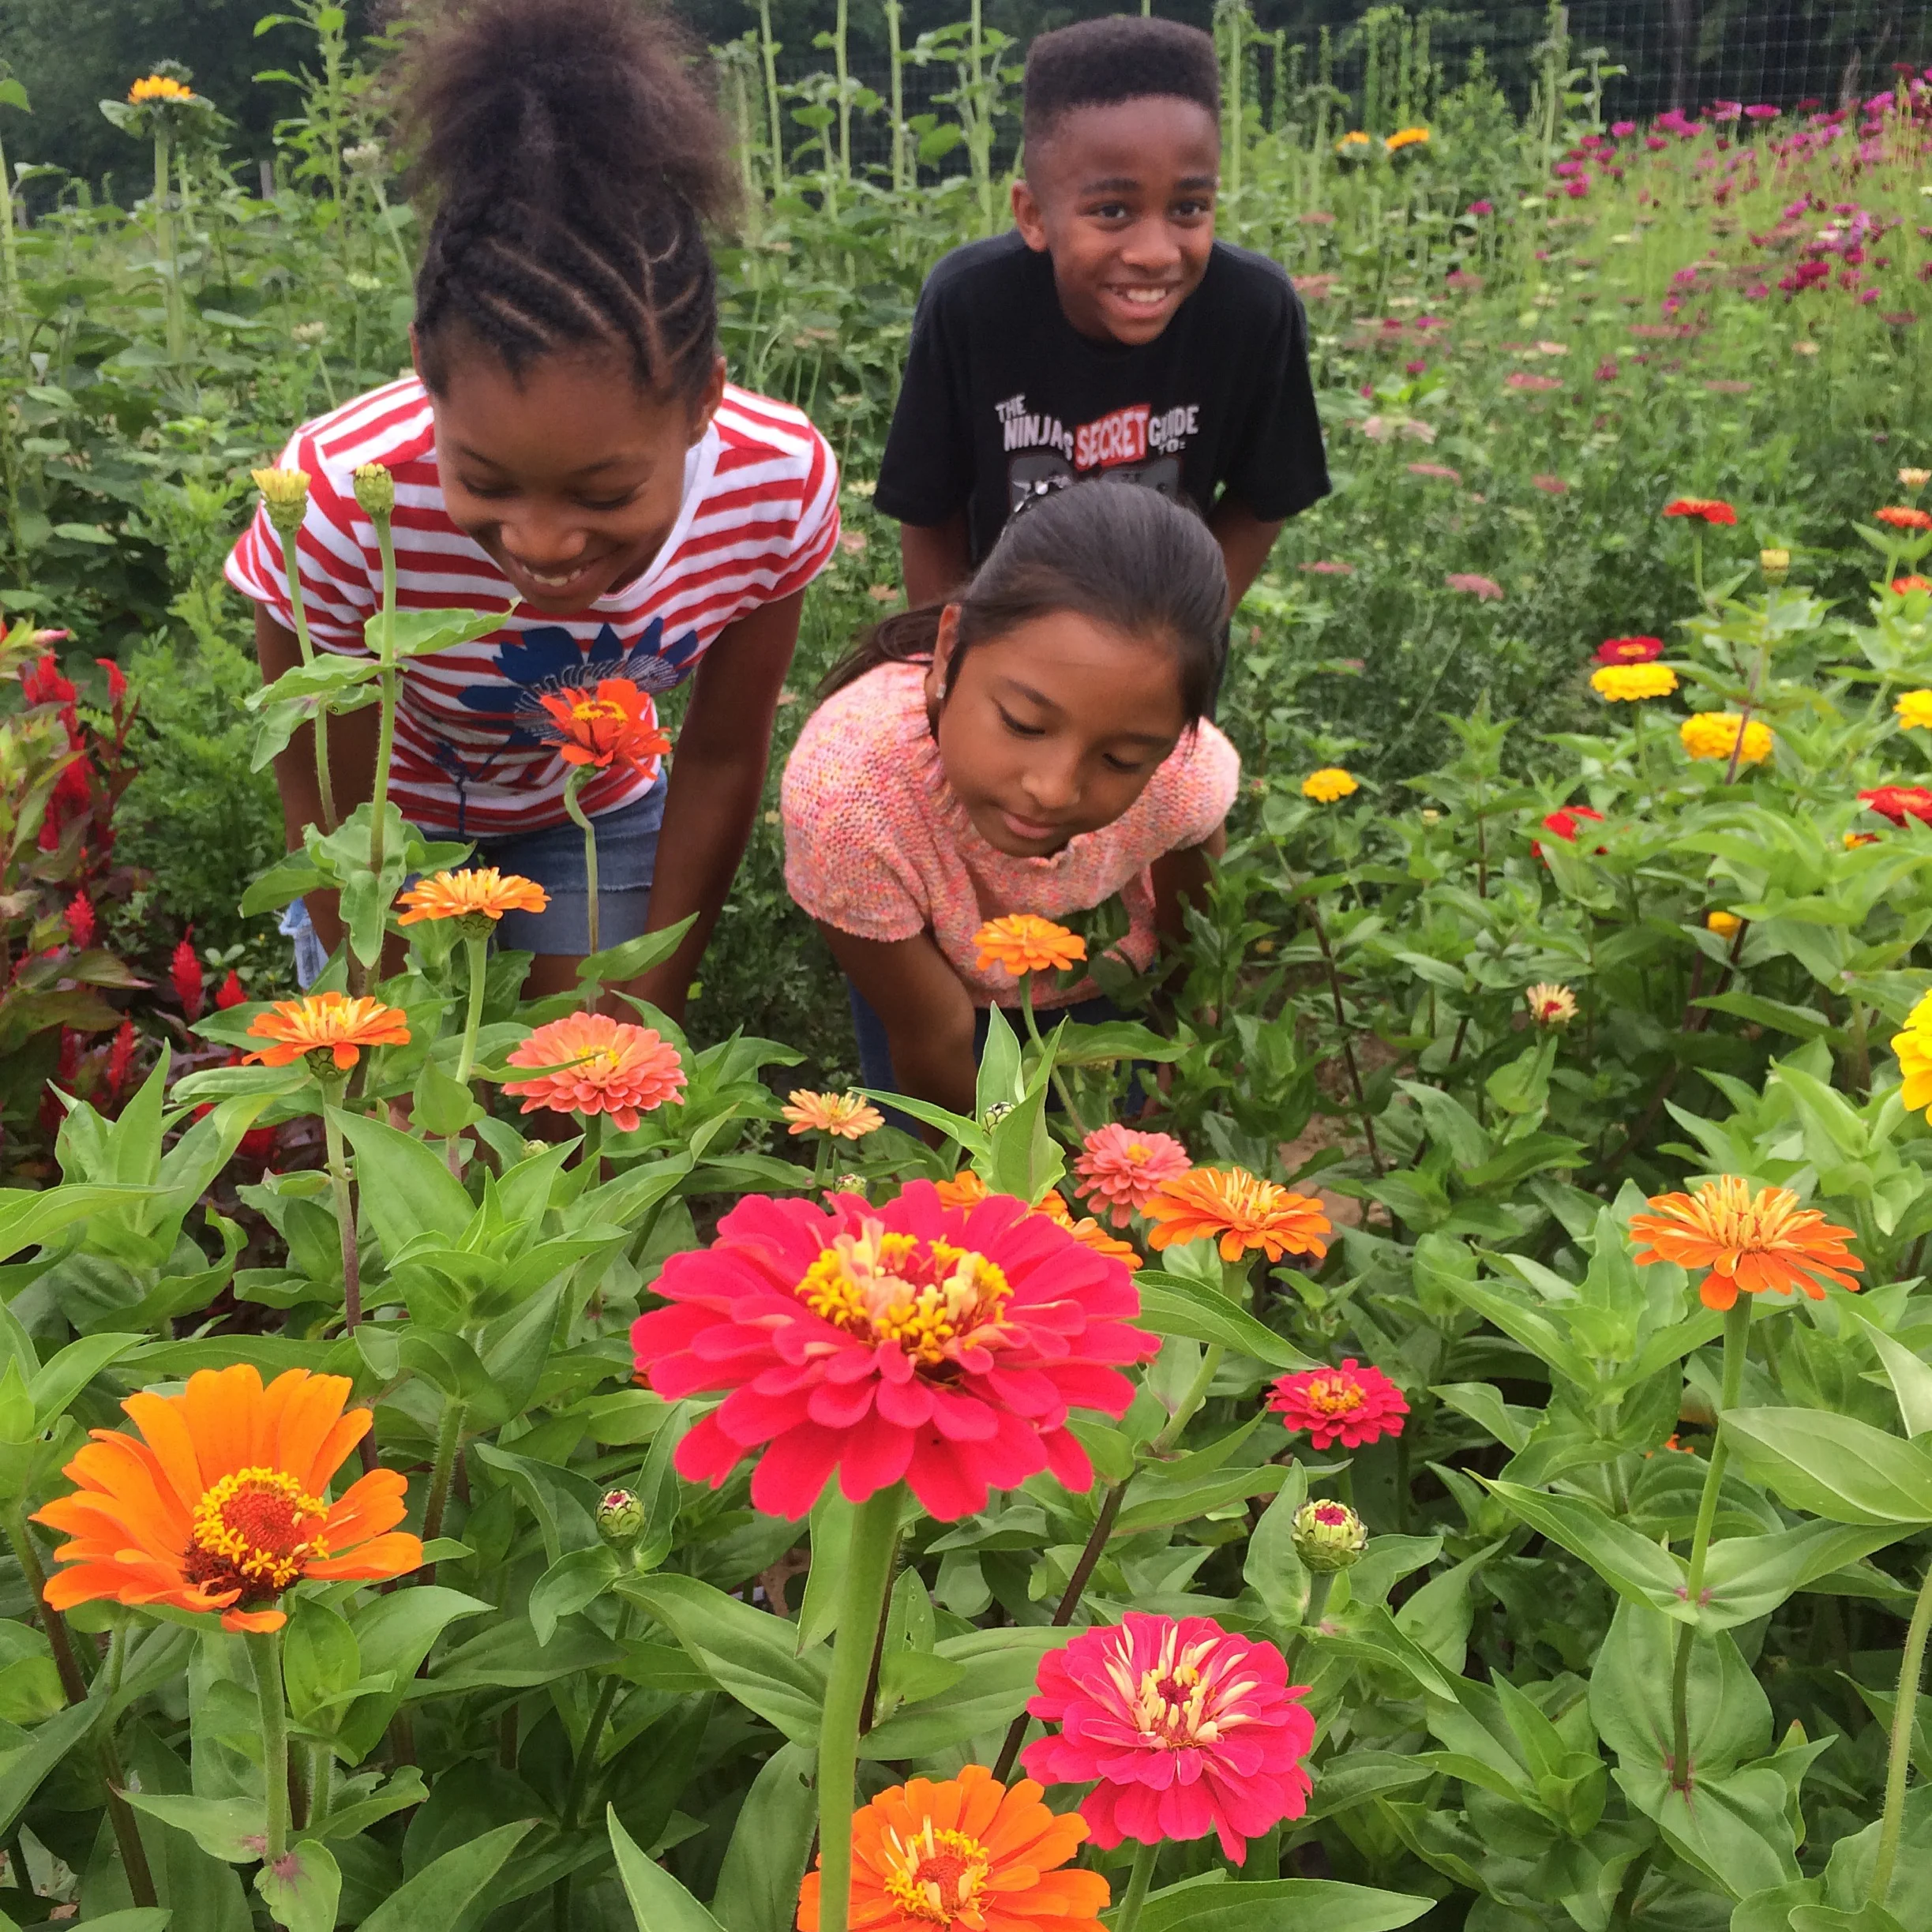
At PFP, our CSA share also includes pick-your-own (PYO) crops like strawberries, herbs, flowers, and cherry tomatoes. Some weeks, PYO crops can nearly double the size of the share! PYO is easily the favorite part of CSA for many of our members, who really enjoy walking around the farm, seeing the crops grow and the pollinators hard at work.
Why now? Summer is so far away!
It’s true, our main-season CSA doesn’t begin until June -- but we start seeding those crops in March! So on National CSA Week, farms across the country will be signing up people who want to eat more fresh, local produce. By mid-March, we’ll be up to our elbows in greenhouse soil, seeding and watering our June and July crops.
As a thank-you for signing up early and helping us plan, everyone who purchases a share between Feb 21-28 is invited to pick up a mini-share of vegetables at our next Winter CSA on Saturday March 6. This will include some fresh greens as well as some rainbow carrots, watermelon radishes… maybe one of those kohlrabi, like the one by your head.
I like kohlrabi - highly recommended for teething.
Yeah, having teeth helps with kohlrabi. They’re pretty crunchy.
Right. So: How does the CSA work?
First, you get to make some choices.
You choose a Full Season Share (23 weeks from June - November) or a Fall-only Share (10 weeks September - November). You can also choose to add a May Share (2 weeks at the end of May).
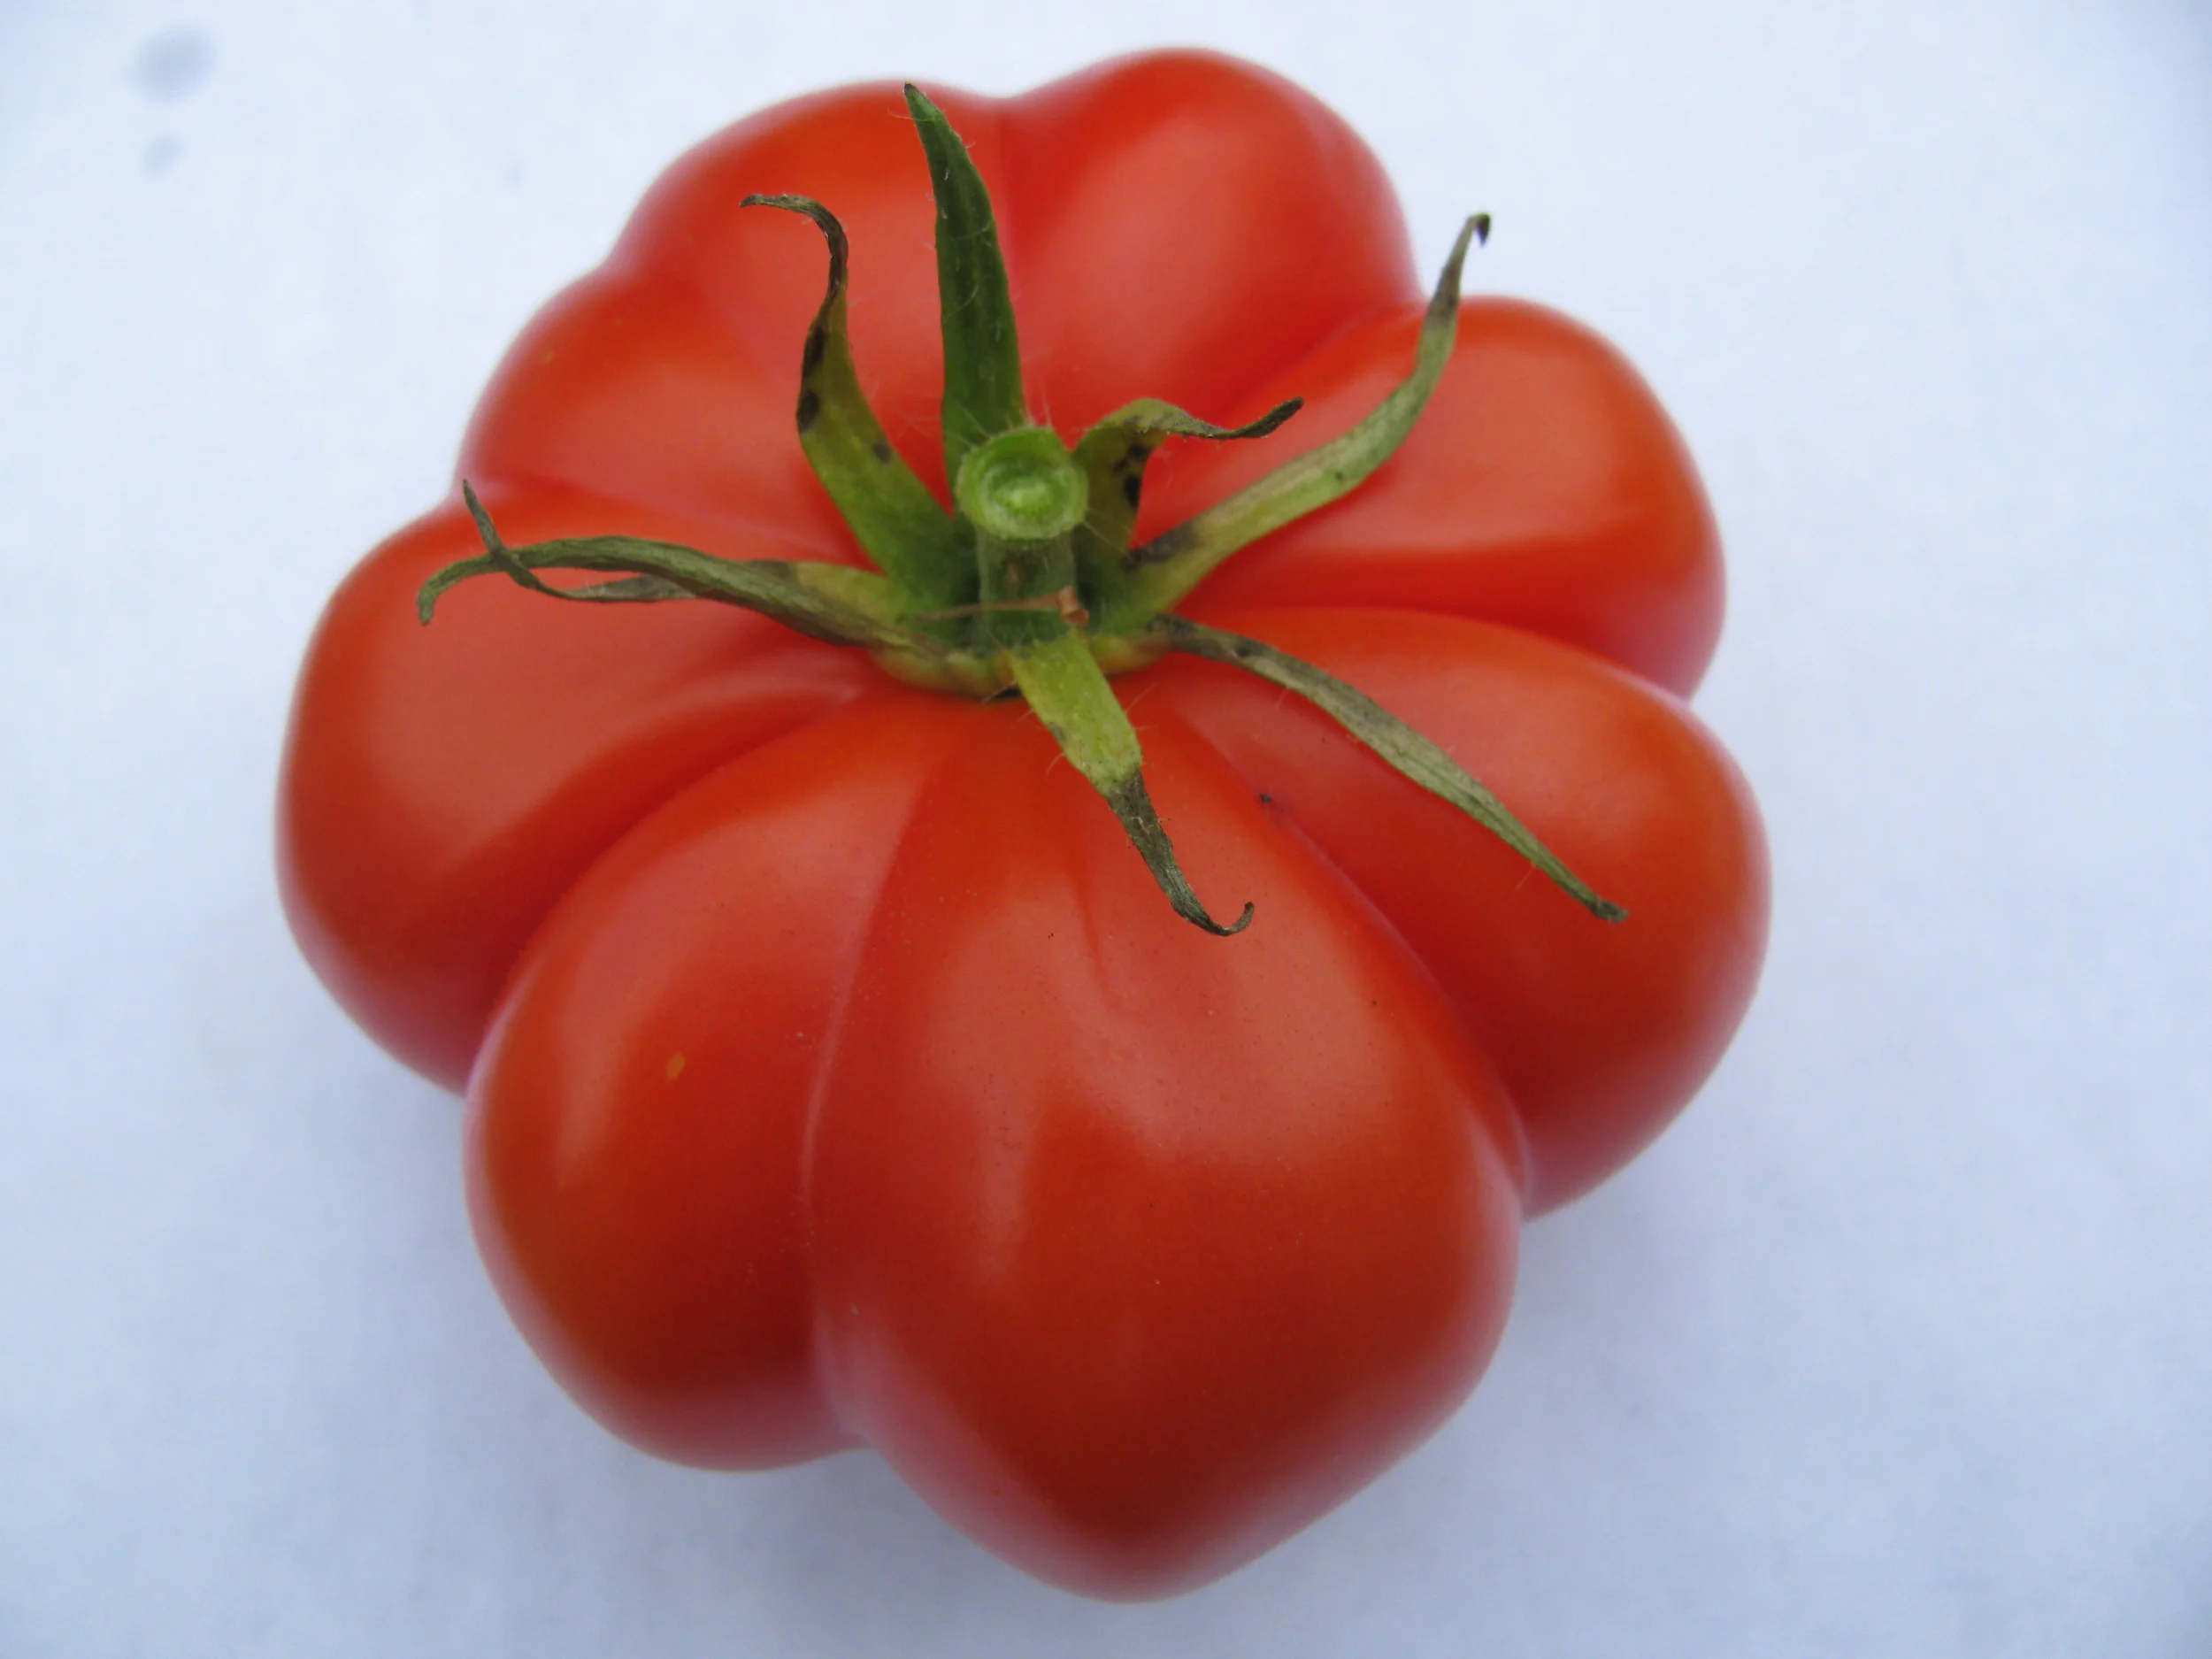
You choose the size share you want: either a whole share (10 units) or half share (5 units). A “unit” could be 3 lbs tomatoes, 2 lbs carrots or cucumbers, 1 head of lettuce, 1 bunch kale or beets, etc.
You may also choose to add on a…
Fruit Share (15 weeks July - November): fruit from our friends at Glorie Farm
Egg Share (23 weeks June - November): eggs from our friends at Old Ford Farm
You choose which day of the week you want to pick up your produce. Pick up your share weekly on either Tuesday 3-6:30pm or Saturday 8:30am-12pm.


Finally, when your first pickup arrives...
You pick up your share. Currently, our CSA is using a contactless, drive-through model to keep our members and farmers safe in these challenging times. Pre-packed boxes, along with a choice offering, will be available for pickup weekly at the farm. All shares include a variety of seasonal produce, usually including some greens (ie: arugula, cabbage, kale, lettuce etc), some alliums (ie: garlic, onions, scallions etc), and whatever else is in season (ie: cucumber, tomato, eggplant, potatoes, carrots, beets, etc).
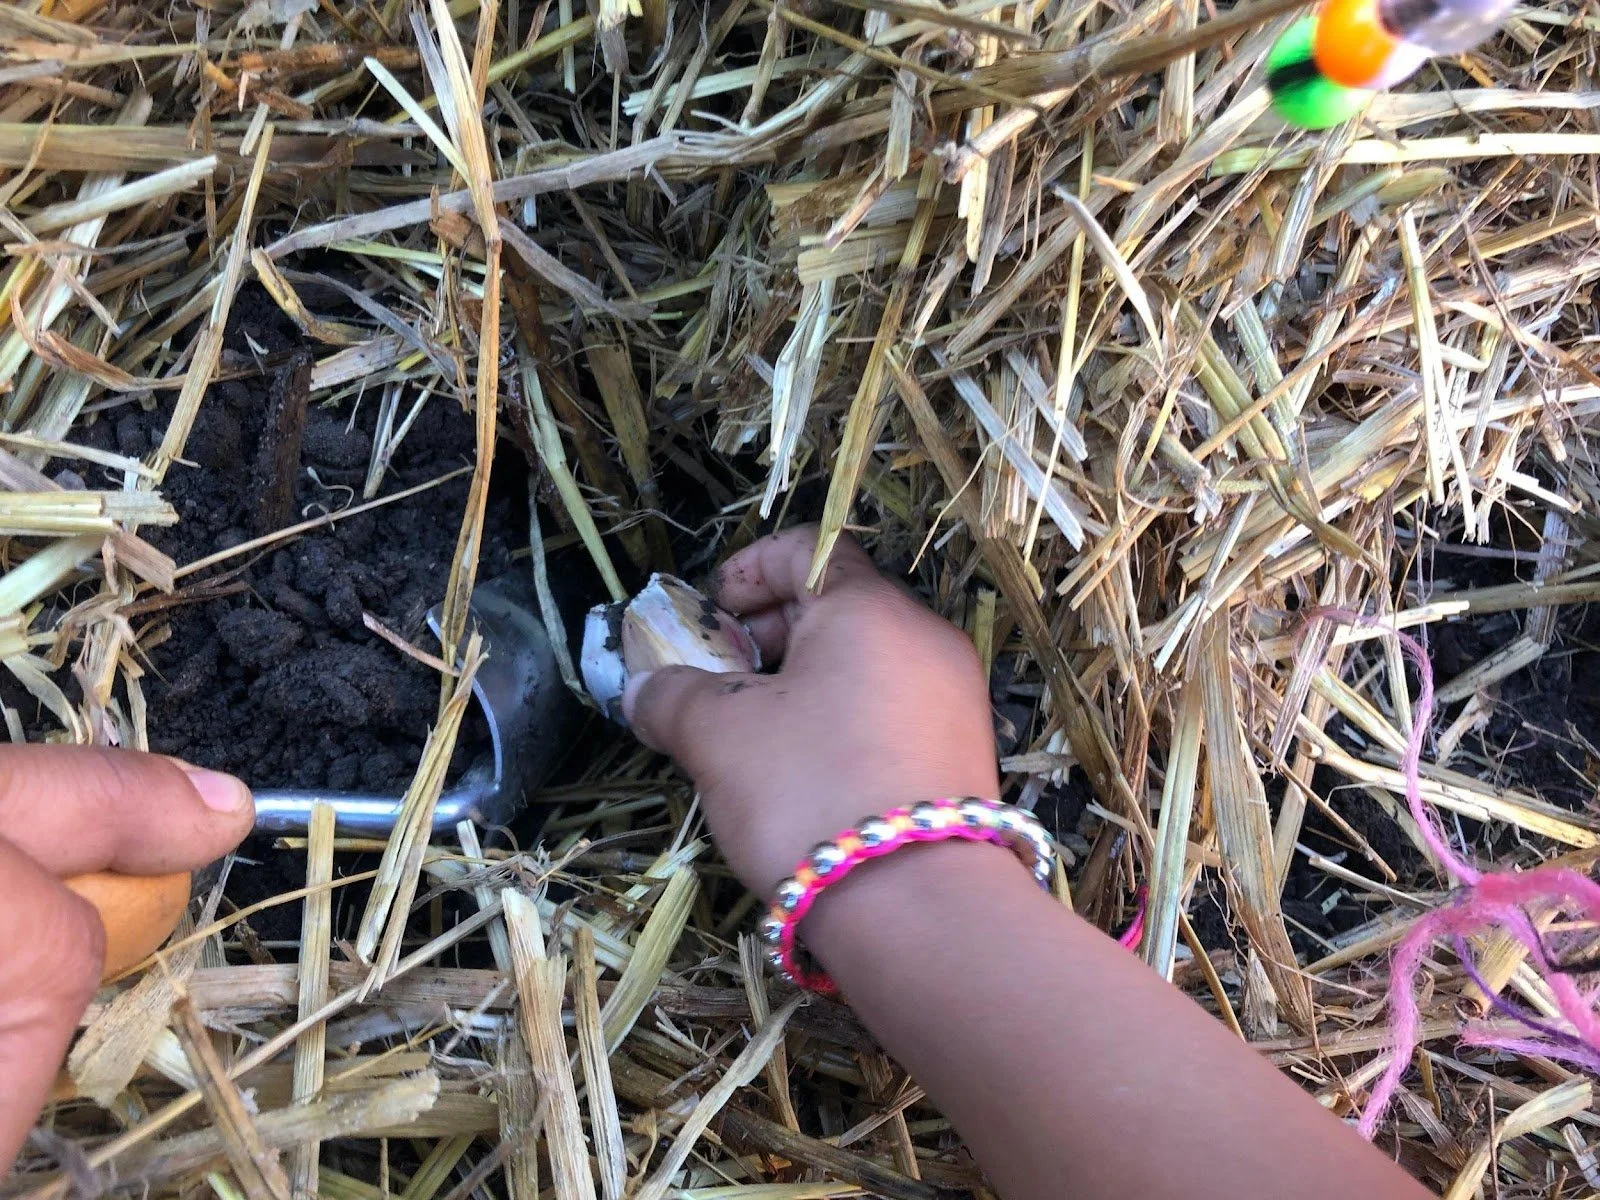
You pick-your-own (bonus!) produce. In addition to everything that we harvest for you, members are invited to pick your own berries, cherry tomatoes, peppers, green beans, flowers, herbs and more -- all to encourage members to experience the beauty and magic of the farm and to dig in to this land.
OK Lauren, I think that just about covers it… But what if I still have questions?
Stop by Winter CSA on Saturday, February 20 to ask me about CSA! Email hellocsa@farmproject.org to let us know you’re coming, or to reach out with any questions. You can also visit pfpfarmstore.com to browse your options.