
By Patrick Lang

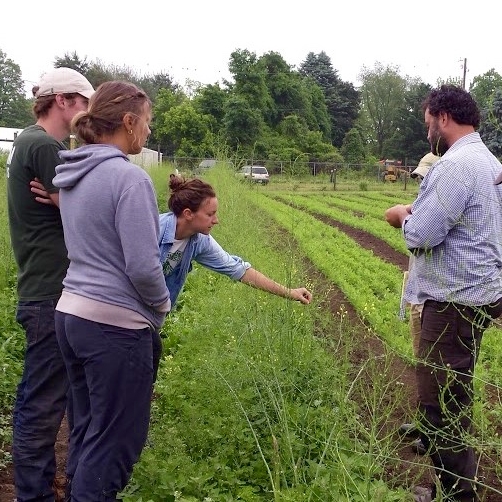
Patrick admires a healthy stand of sweet yellow clover, which is also adored by bees.
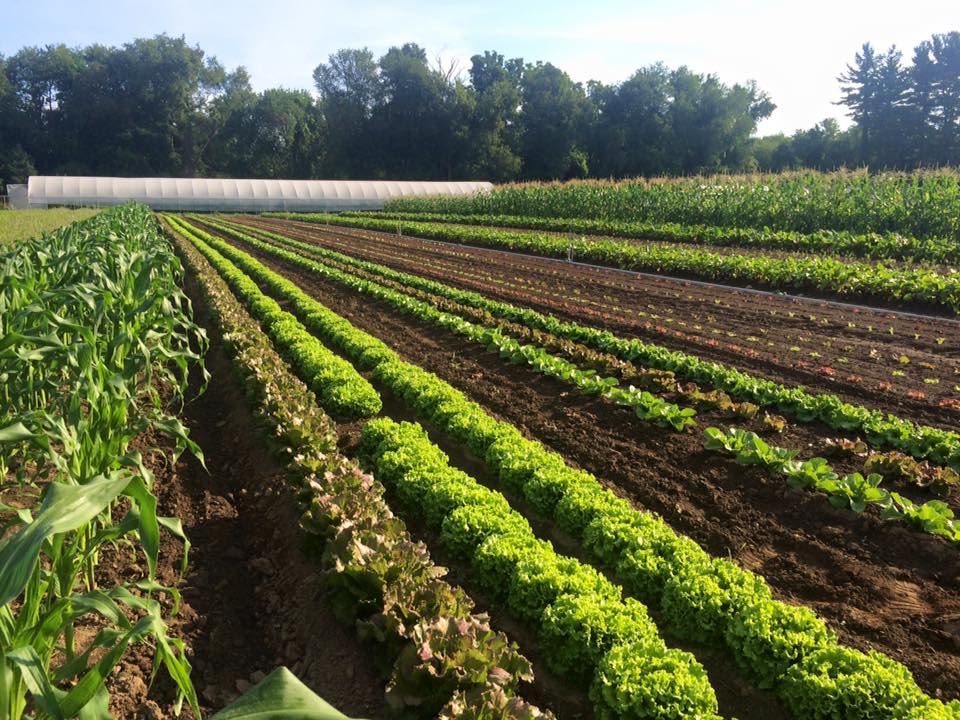
At PFP, we love our soil, and it’s no exaggeration to say that soil health is on our minds throughout the season. We maintain the fertility and health of our soil in several different ways; they are tailored to our soil type, which means that other farms could take quite a different approach. The main goals are:
- Ensuring proper levels of nutrients (including metals, nitrogen, boron, and others)
- Maintain a “crumb-like” soil structure
- Building and retaining organic matter in the soil (which has many, many benefits)
- Supporting the health of bees and beneficial insects, and suppressing weeds
This work begins very early in the season, and the first step is applying large quantities of toxic ammonia to all of the fields.
Not really. Ammonia is a synthetic nitrogen source used by mostly by much larger farms, but not by the PFP, where organic practices are followed. Concerning soil health and fertility, using organic methods means using only naturally-occurring fertilizers (including mined materials). Especially on small farms like ours, it also means using additional, “cultural” methods of maintaining soil health, including compost usage, mulching, and cover cropping.

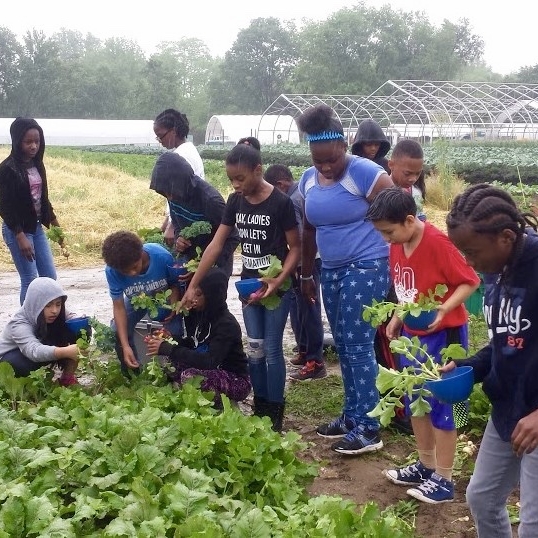
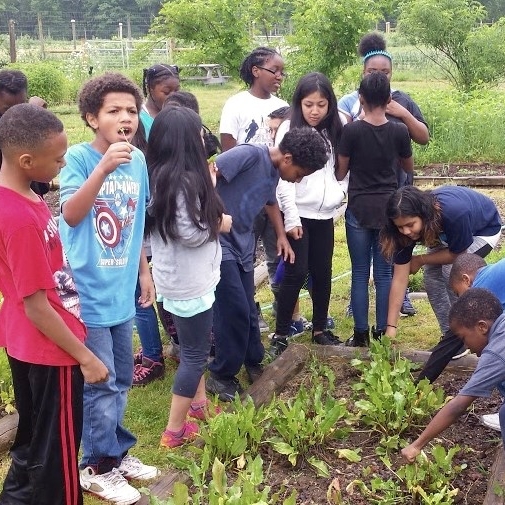
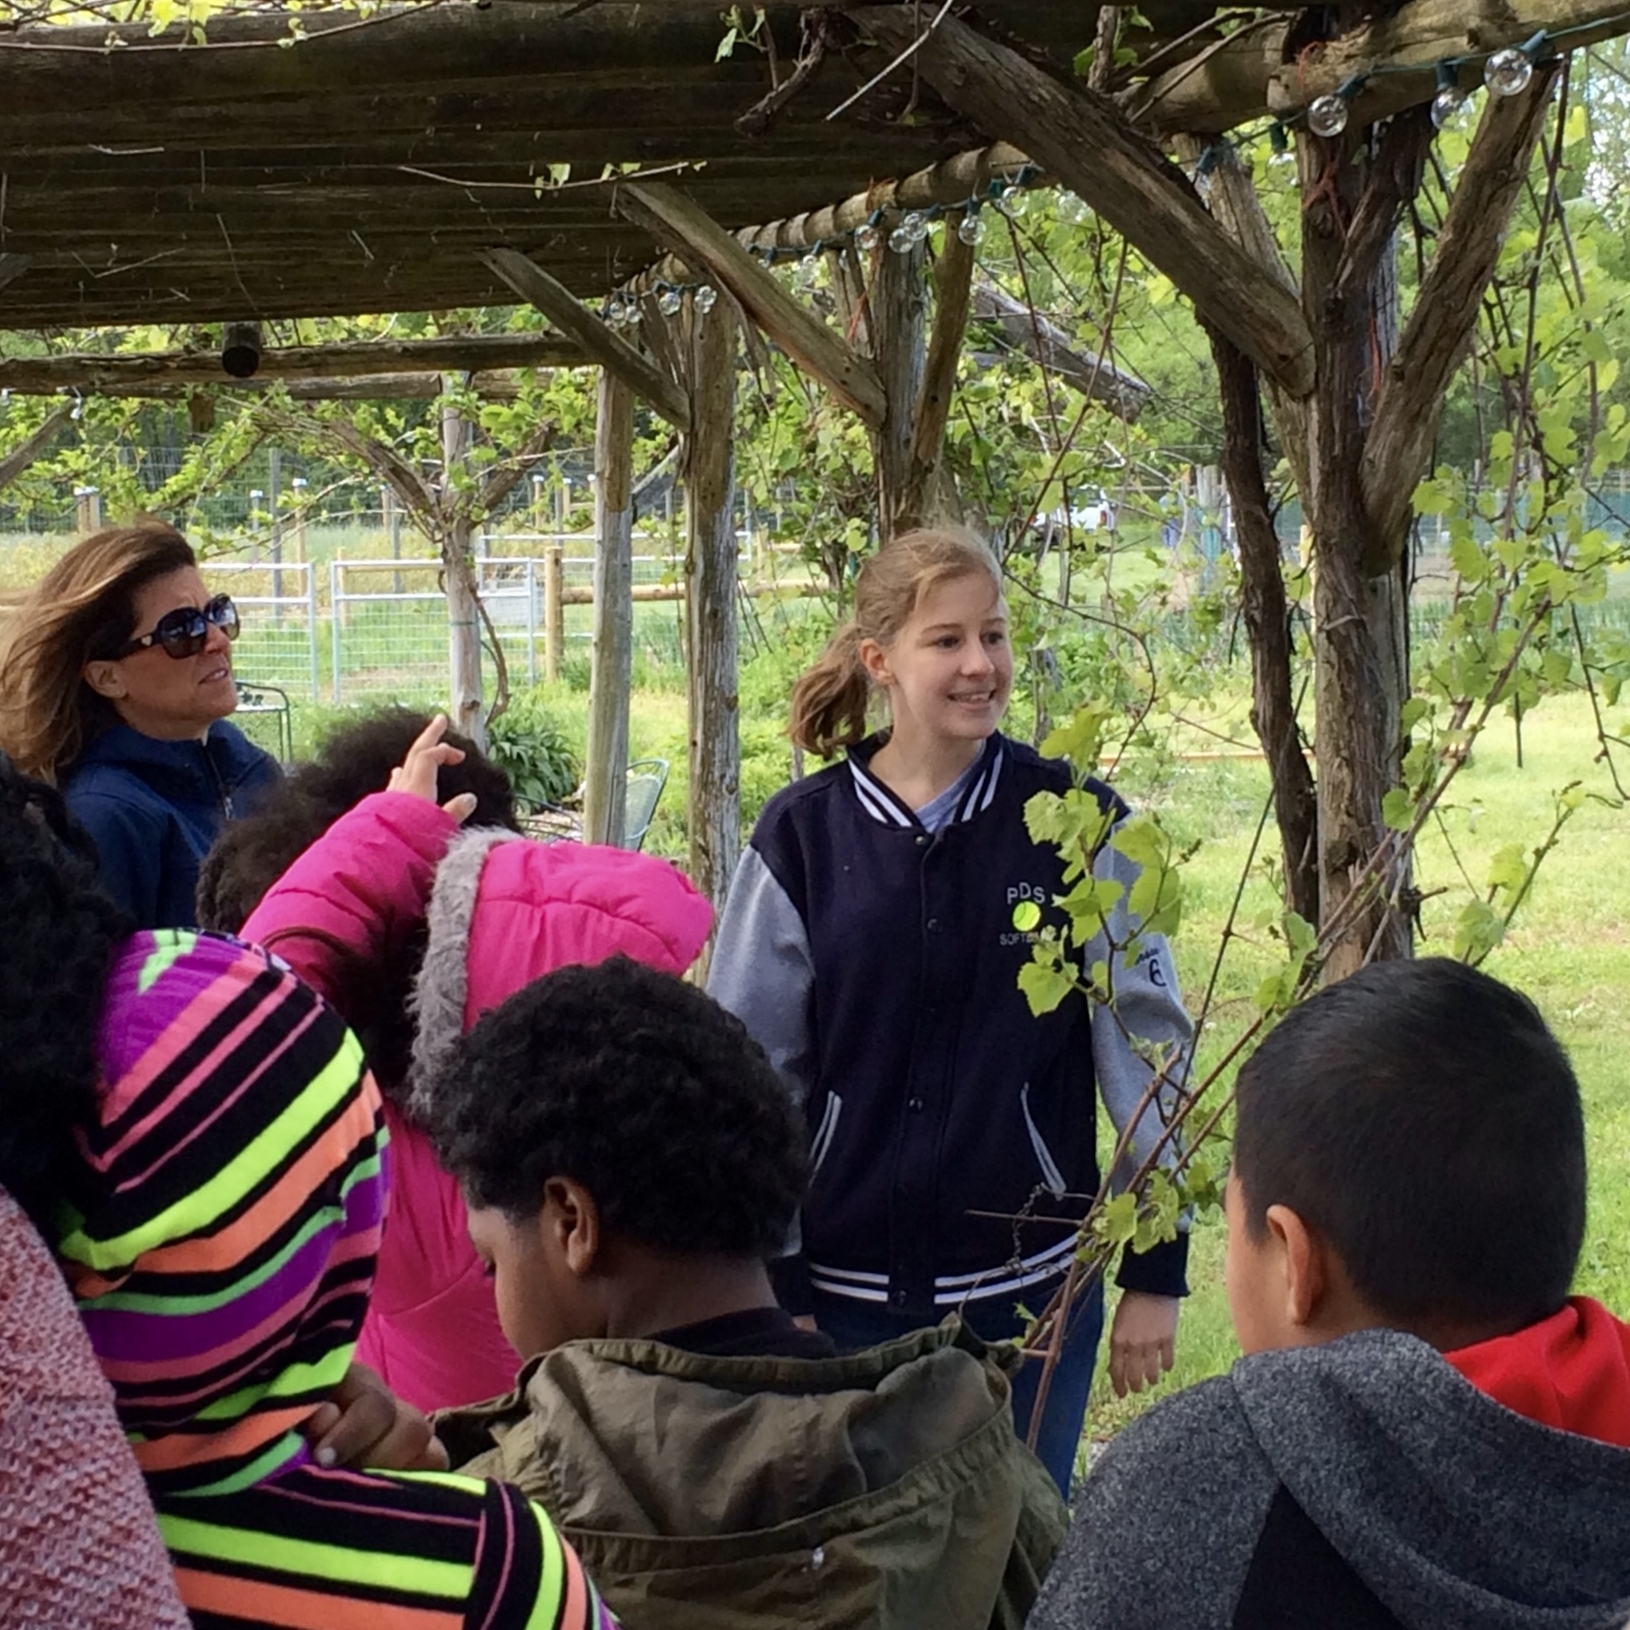
Visiting 2nd graders took turns reaching into the giant compost pile to feel the warmth of decomposing leaves inside.
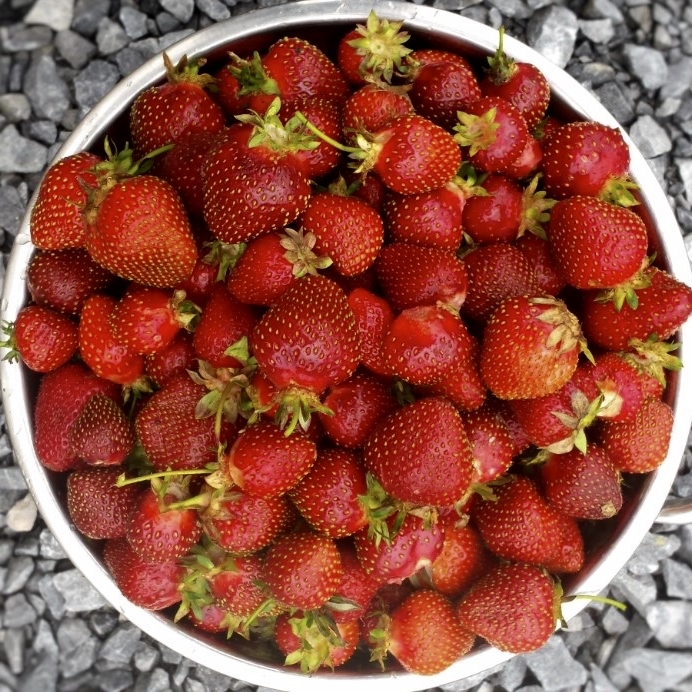
Our PFP soils produce beautiful and healthy food in part because fertilizer and compost are added. Veggies and fruits contain innumerable substances that maintain our health, including micronutrients, protein, and vitamins, and these materials (or their building blocks) come mostly from the soil. Since we are harvesting the veggies along with their stores of nutrition, fertility has to be returned to the soil. One way we do this is by adding an organic fertilizer that is tailored to our needs, which means it contains nitrogen sources as well as boron, a chemical element that is naturally low in PFP’s soil.
Compost is another major addition to our soils, and we’re lucky enough to receive heaps of leaf “waste” from the Town of Poughkeepsie, which is by far the major ingredient in our compost. Spread on the fields in March and occasionally throughout the season, leaf compost provides mostly carbon, which helps maintain high organic matter in our soils. This is seriously awesome, as I’ll explain soon. In addition, leaves contain micronutrients that trees mine from deep in the soil, making our compost a highly valued resource.
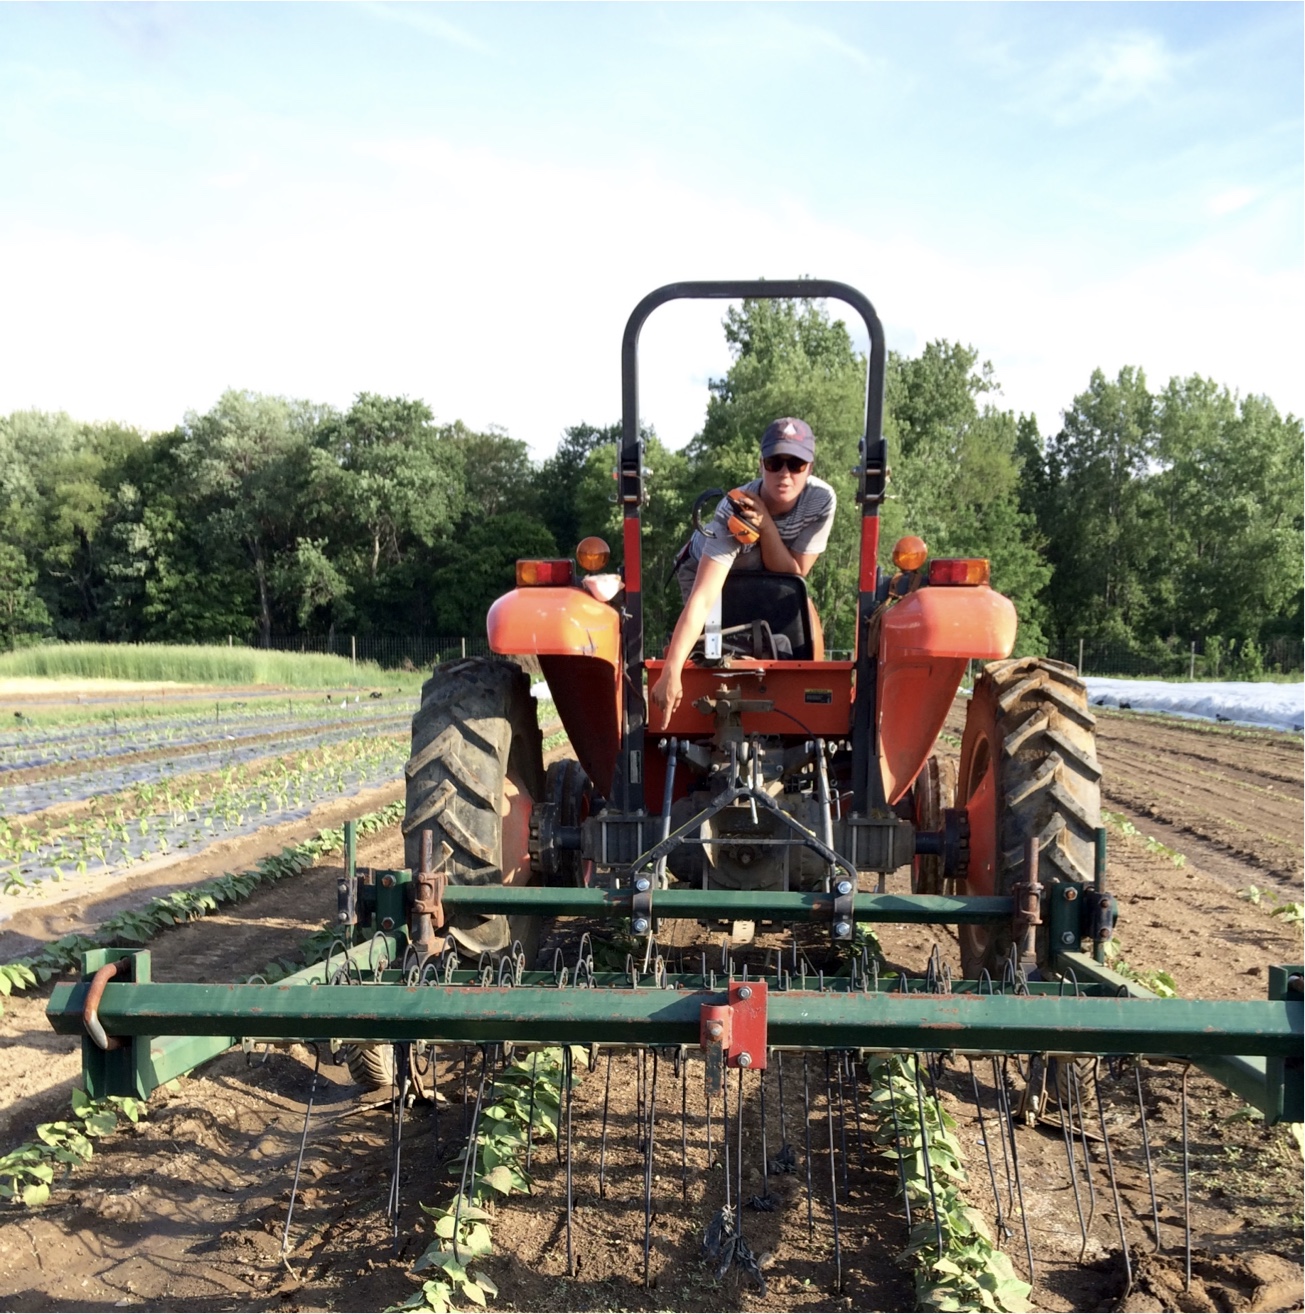
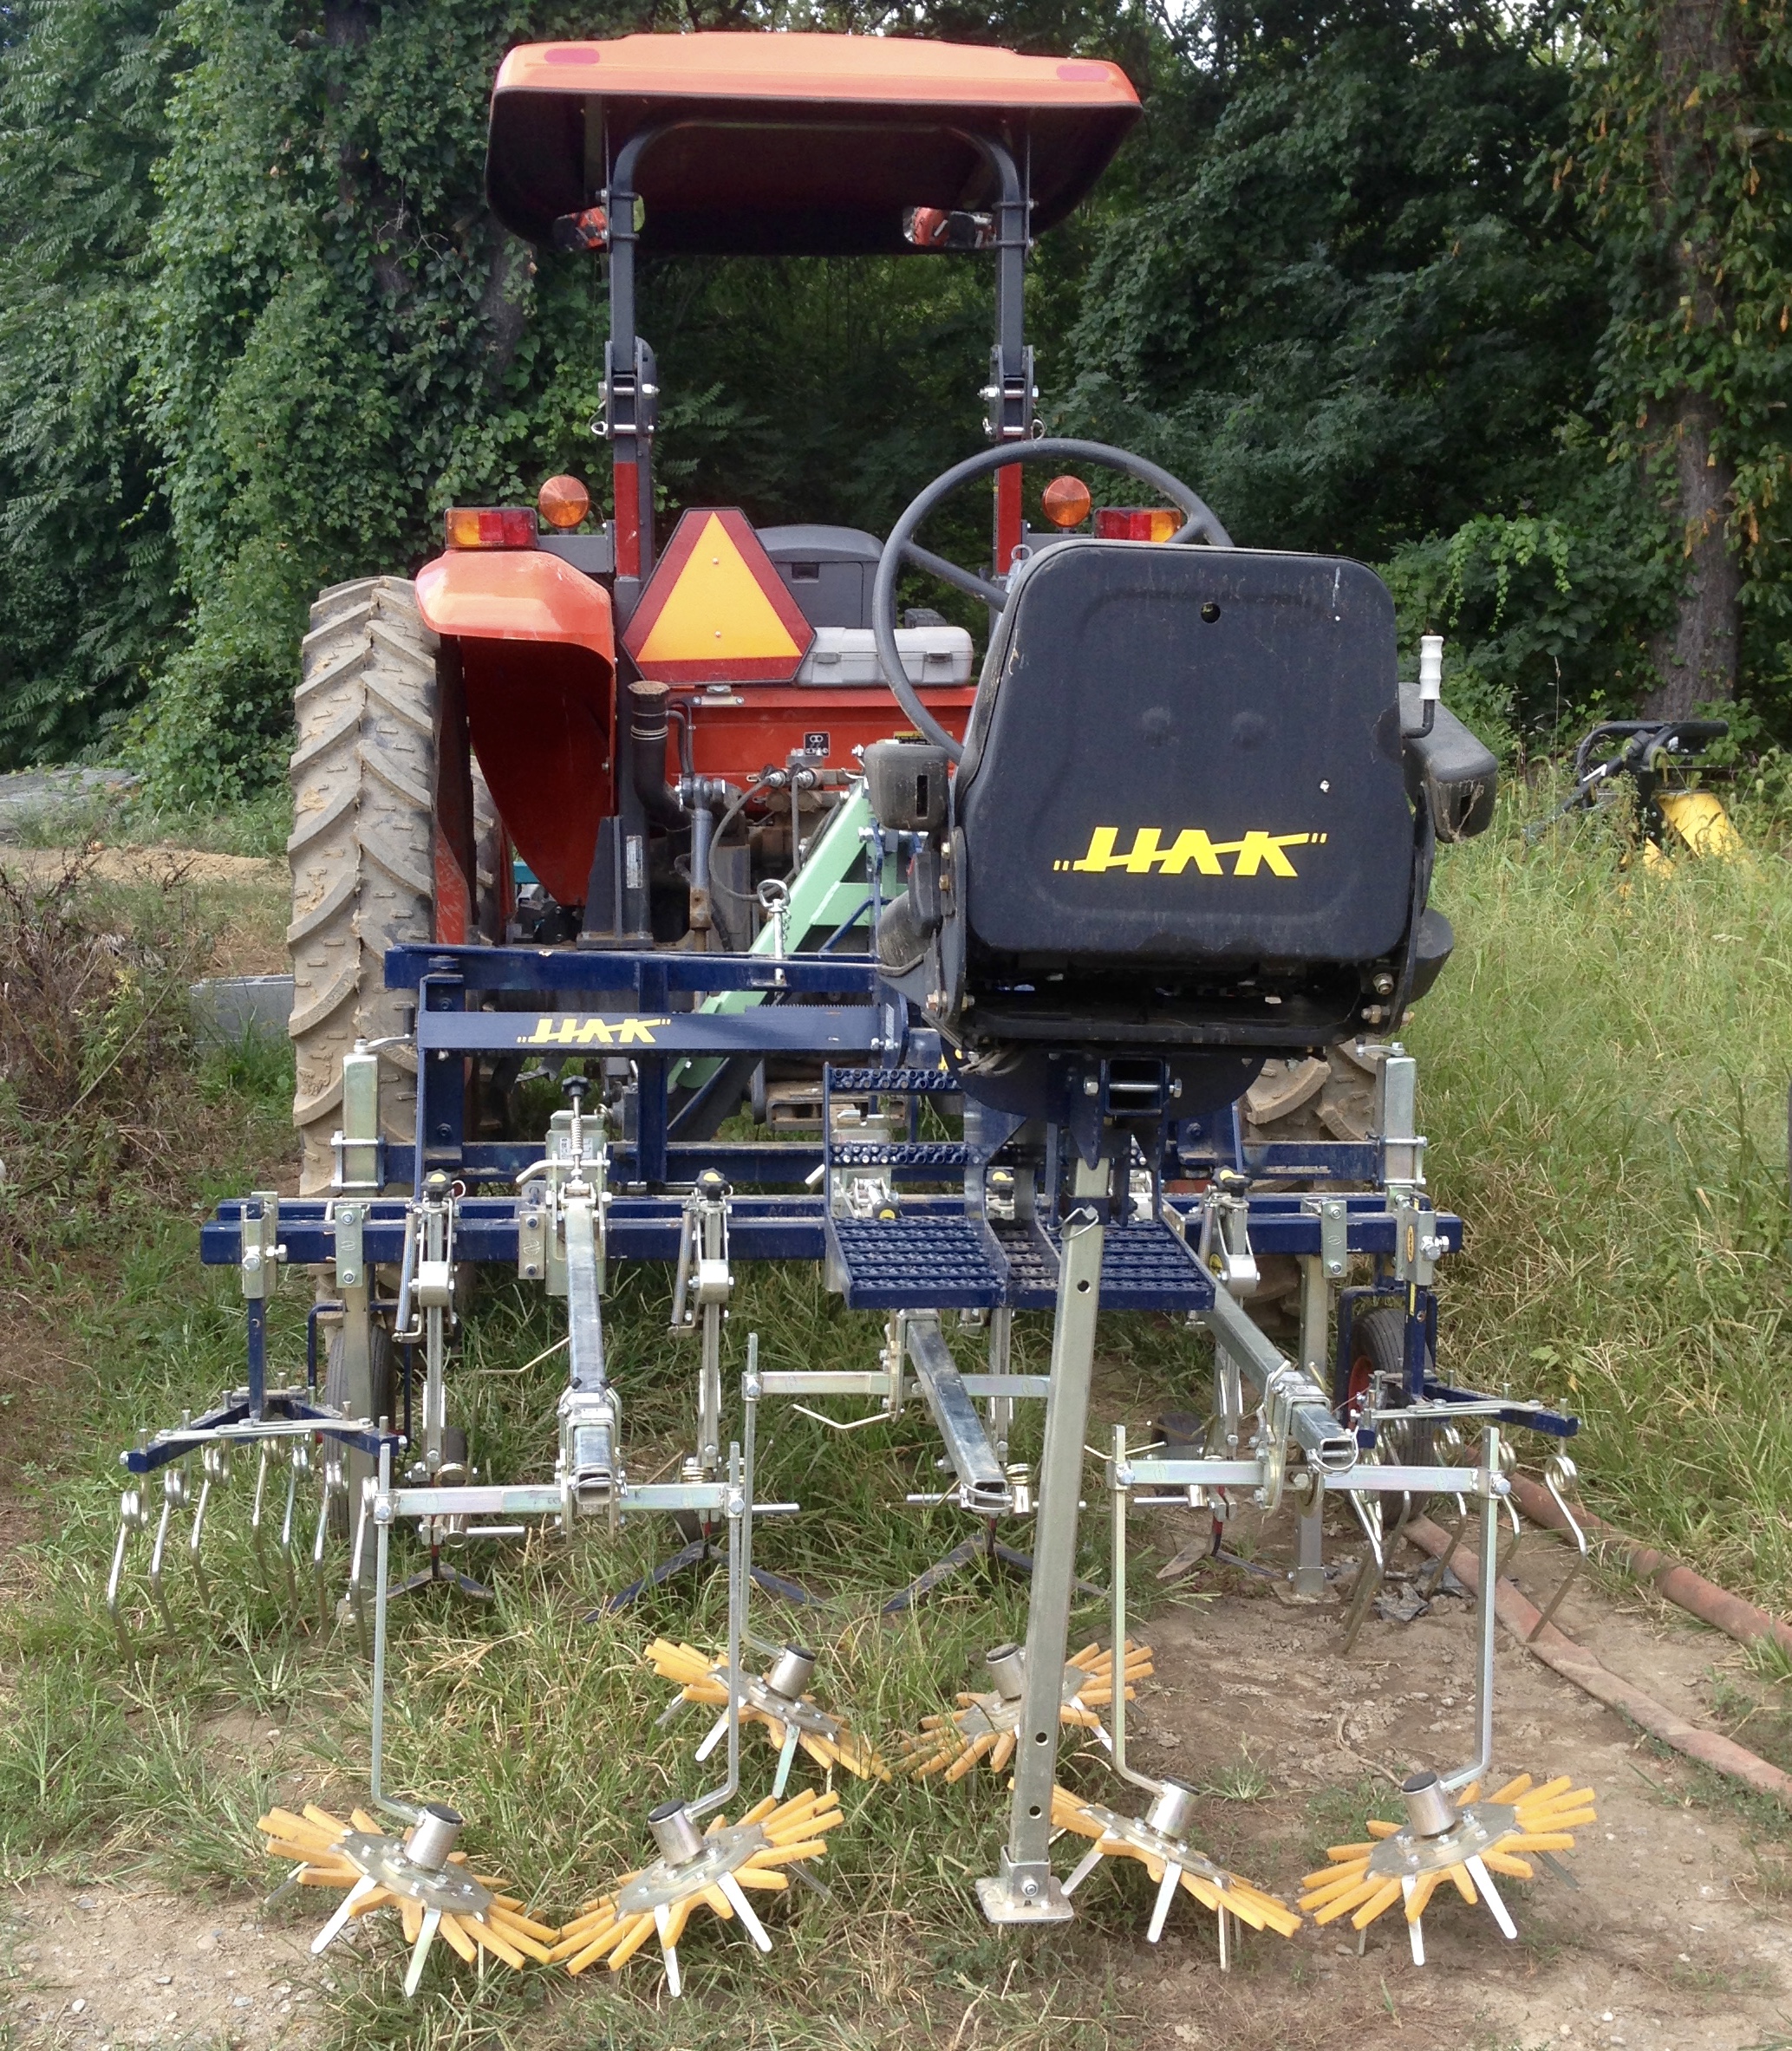
Some fertility/soil health tools do not involve adding fertility directly to the soil, and these are the “cultural” methods used by many organic farms; cover cropping is the one most often used at the PFP. How can I even attempt to describe the many complex benefits of cover cropping? I won’t. Instead, here are some commonly used (and my favorite) cover crops on our farm:

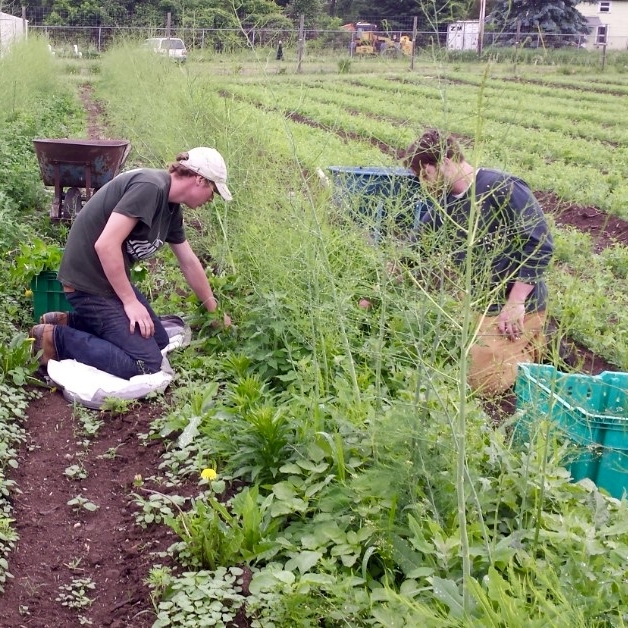
Mowing a tall stand of rye and hairy vetch is labor-intensive, but it supplies the soil with much beneficial carbon and nitrogen.
- Buckwheat grows rapidly, and is best used during the warm part of the season. Its densely-branching root system aerates the soil nicely, and it produces a stand of flowers that pollinators cannot resist. Just try to walk into a stand of buckwheat on a sunny day and try to count the bees. Impossible.
- Rye/Hairy Vetch is a combination of tall, rigid rye, and vetch, a legume that is a popular cover crop. Rye grows faster than vetch and provides the floppy legume with support once it becomes tall. Rye grows long roots that effectively mine nutrients deep in the soil, while vetch is a great nitrogen-fixer, meaning it converts nitrogen gas in the air to forms of nitrogen that plants can use. This combination will regrow after dying back in the winter, which makes it very versatile.
- Clover is a legume that exists in many varieties, and another crop in which you’re likely to find me admiring the bees. A strong nitrogen-fixer and miner of nutrients deep in the soil, clover is a very effective cover crop. Most varieties grow exceptionally slowly in their first season (a limitation), but the benefits of clover usually outweigh this inconvenience in timing.
All cover crops, by their very presence, reduce or prevent wind or water erosion, safeguarding precious topsoil. When they are tilled into the soil, they add organic matter, a highly decomposed form of carbon (they’re often called green manure). This stuff increases nutrient absorption, water retention, and air circulation in soil, and makes soil more hospitable to beneficial organisms, among other attractive qualities. Fertile soil with a good structure and plenty of organic matter is the foundation of a system that produces healthy and delicious food, and we’re always working on keeping this a reality.