


By Aozora (Zoe) Brockman
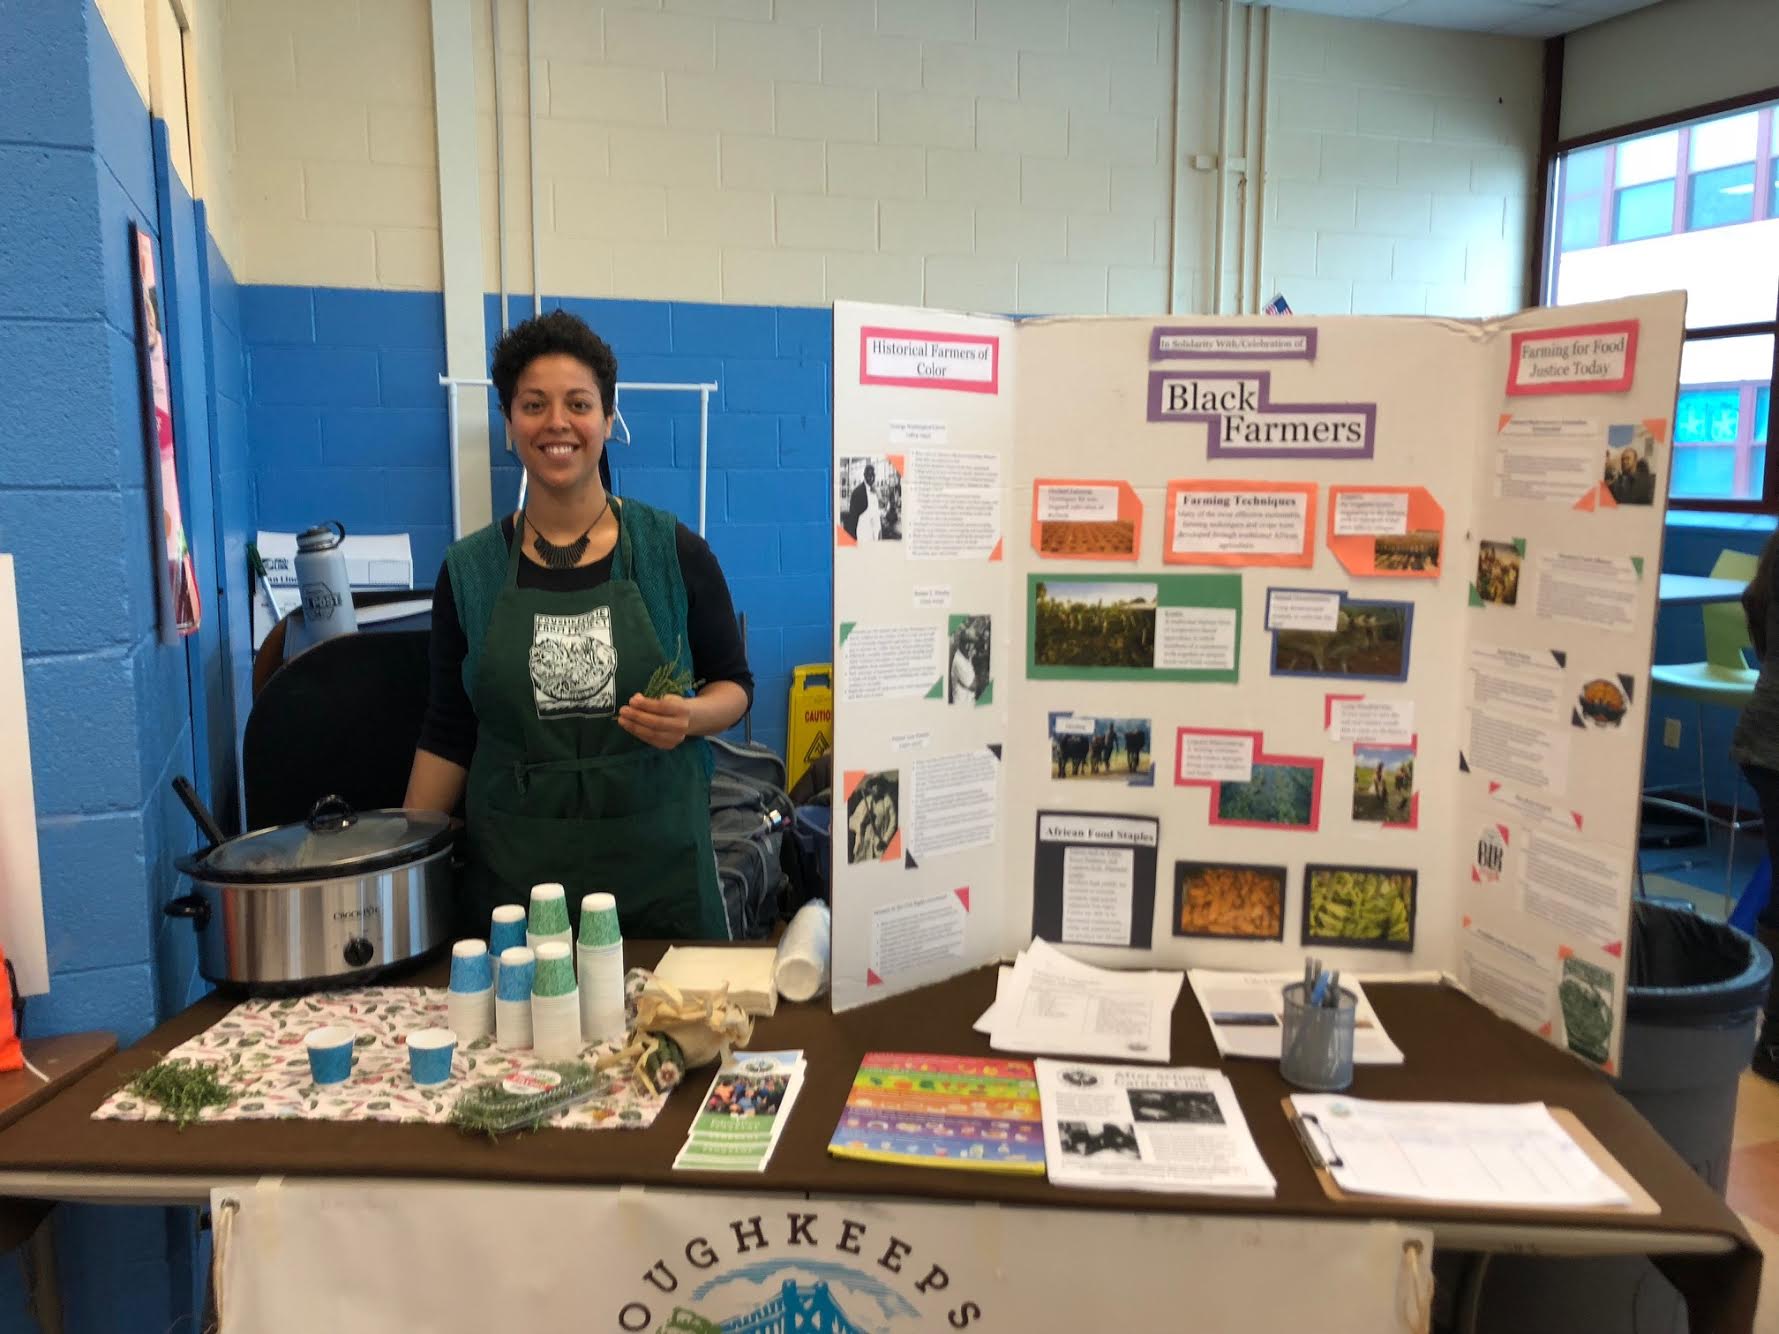
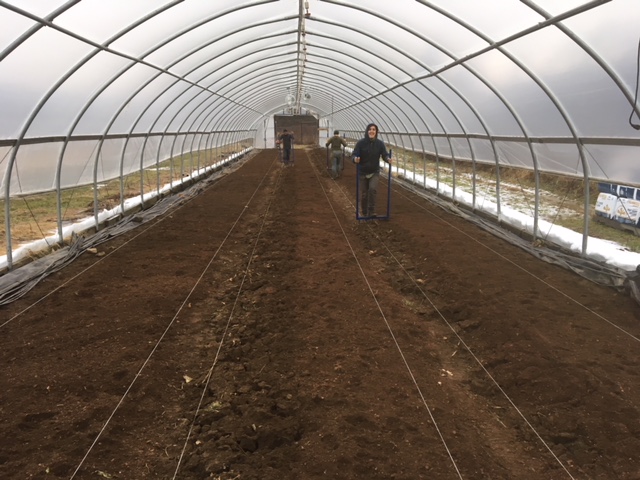
The heat mats in the greenhouse are now covered with little seedlings. Swathes of dirt-filled trays filled with baby green plants are spread across low black tables. The newly re-potted tomatoes—hybrid, heirloom, and cherry varieties—relish the cooler air on pallets underneath the tables.
Soon every inch of the greenhouse will be taken up by tiny morsels of life, growing stronger and bigger each sunlit hour. And before long, the tomatoes will be transplanted into the tunnels, and the onions, beets, scallions and other spring crops will be pressed into the tilled dirt of the field.

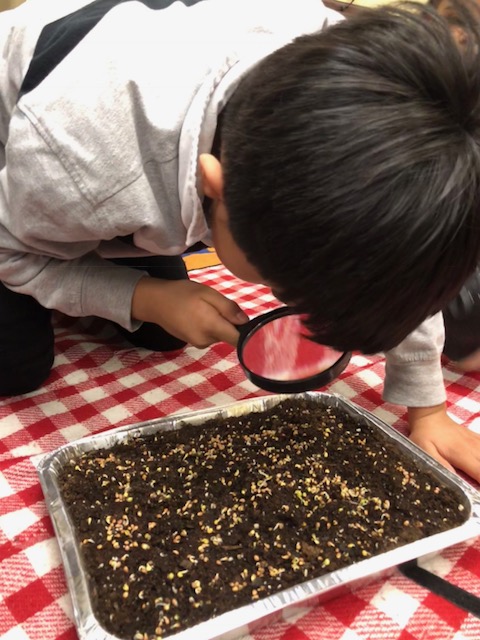
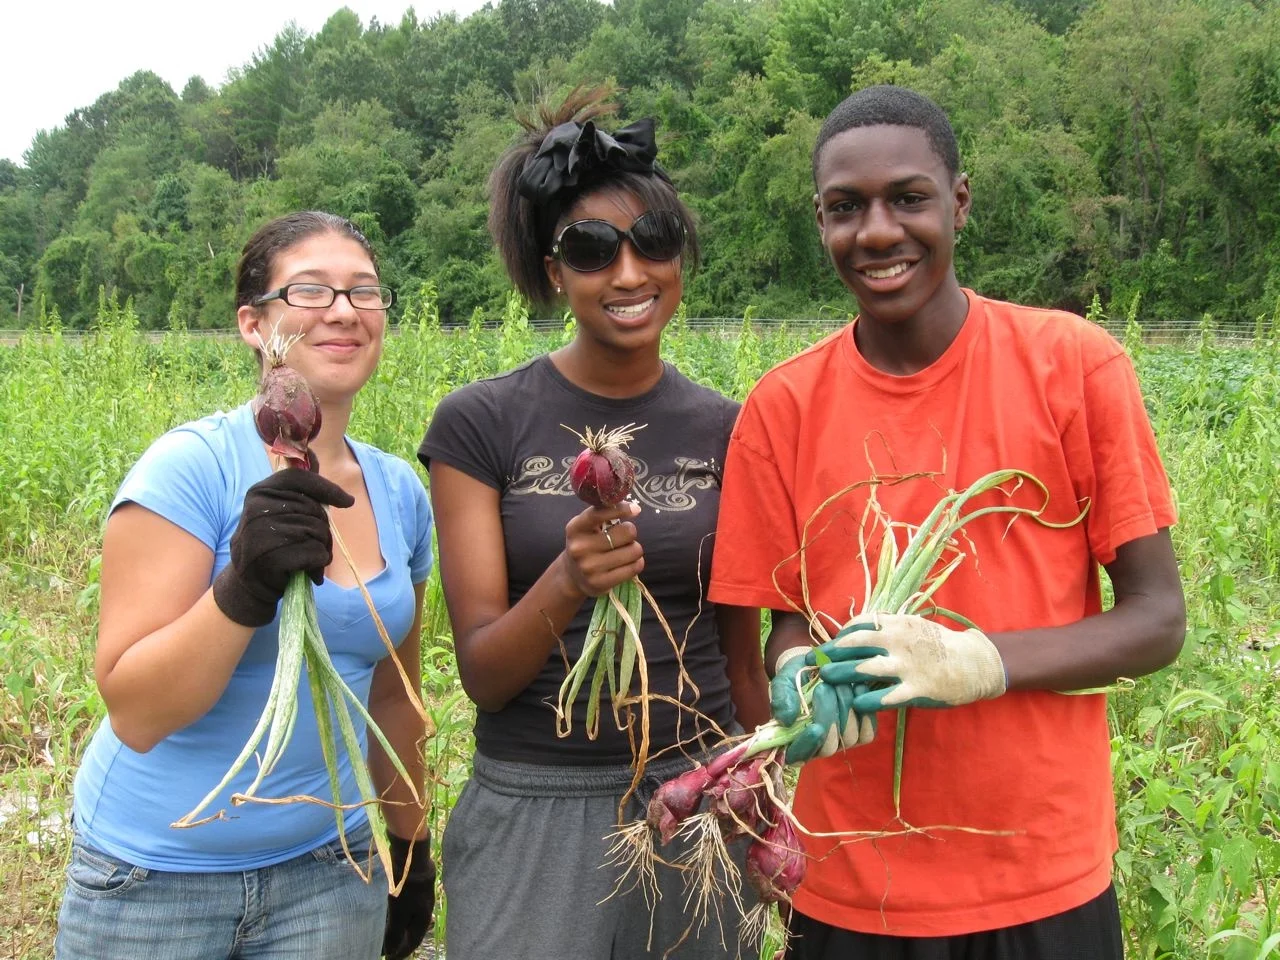
Newly sprouted onion seeds
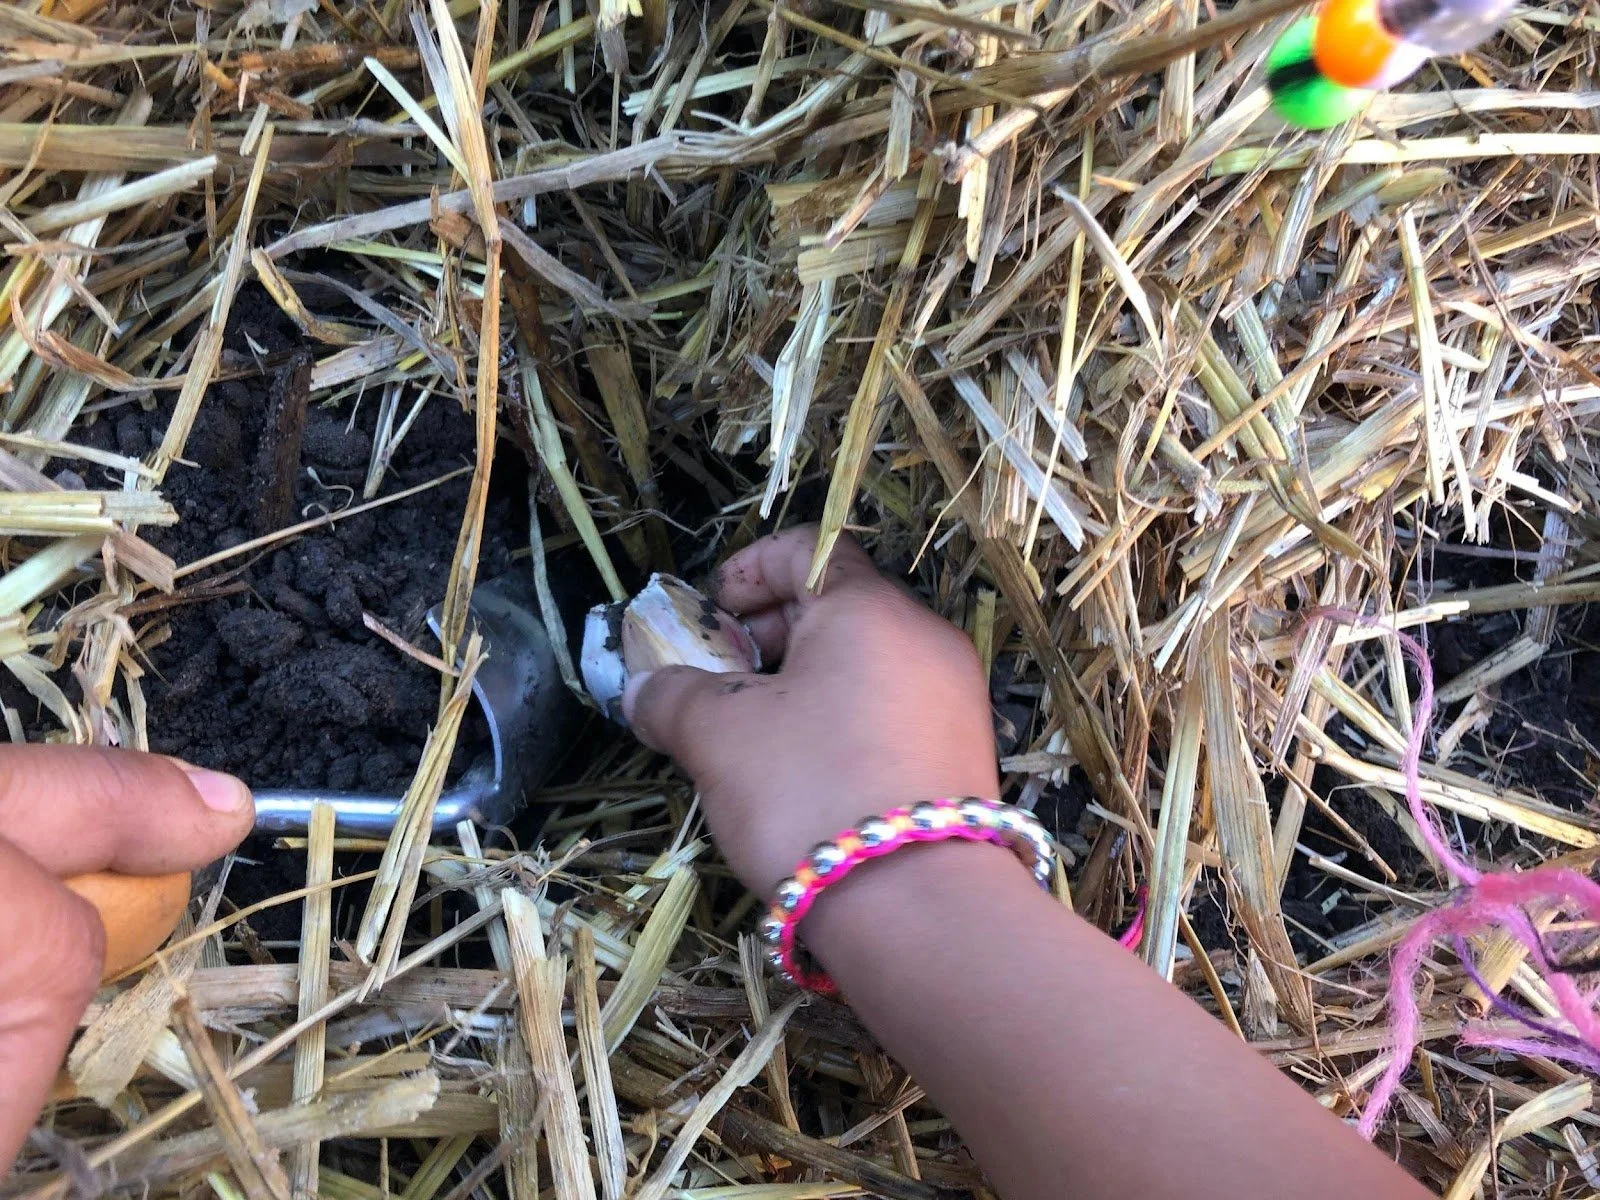
Spring is a time for quiet birthings, and for me, a time of exuberant joy. Watching onion seeds I dropped three at a time into plugs peek their heads up from a layer of vermiculite, then sprout like little green hairs, floods me with maternal happiness. I wish for them to keep growing towards the light, to eat and eat and drink and drink, to reach their white roots far and wide.

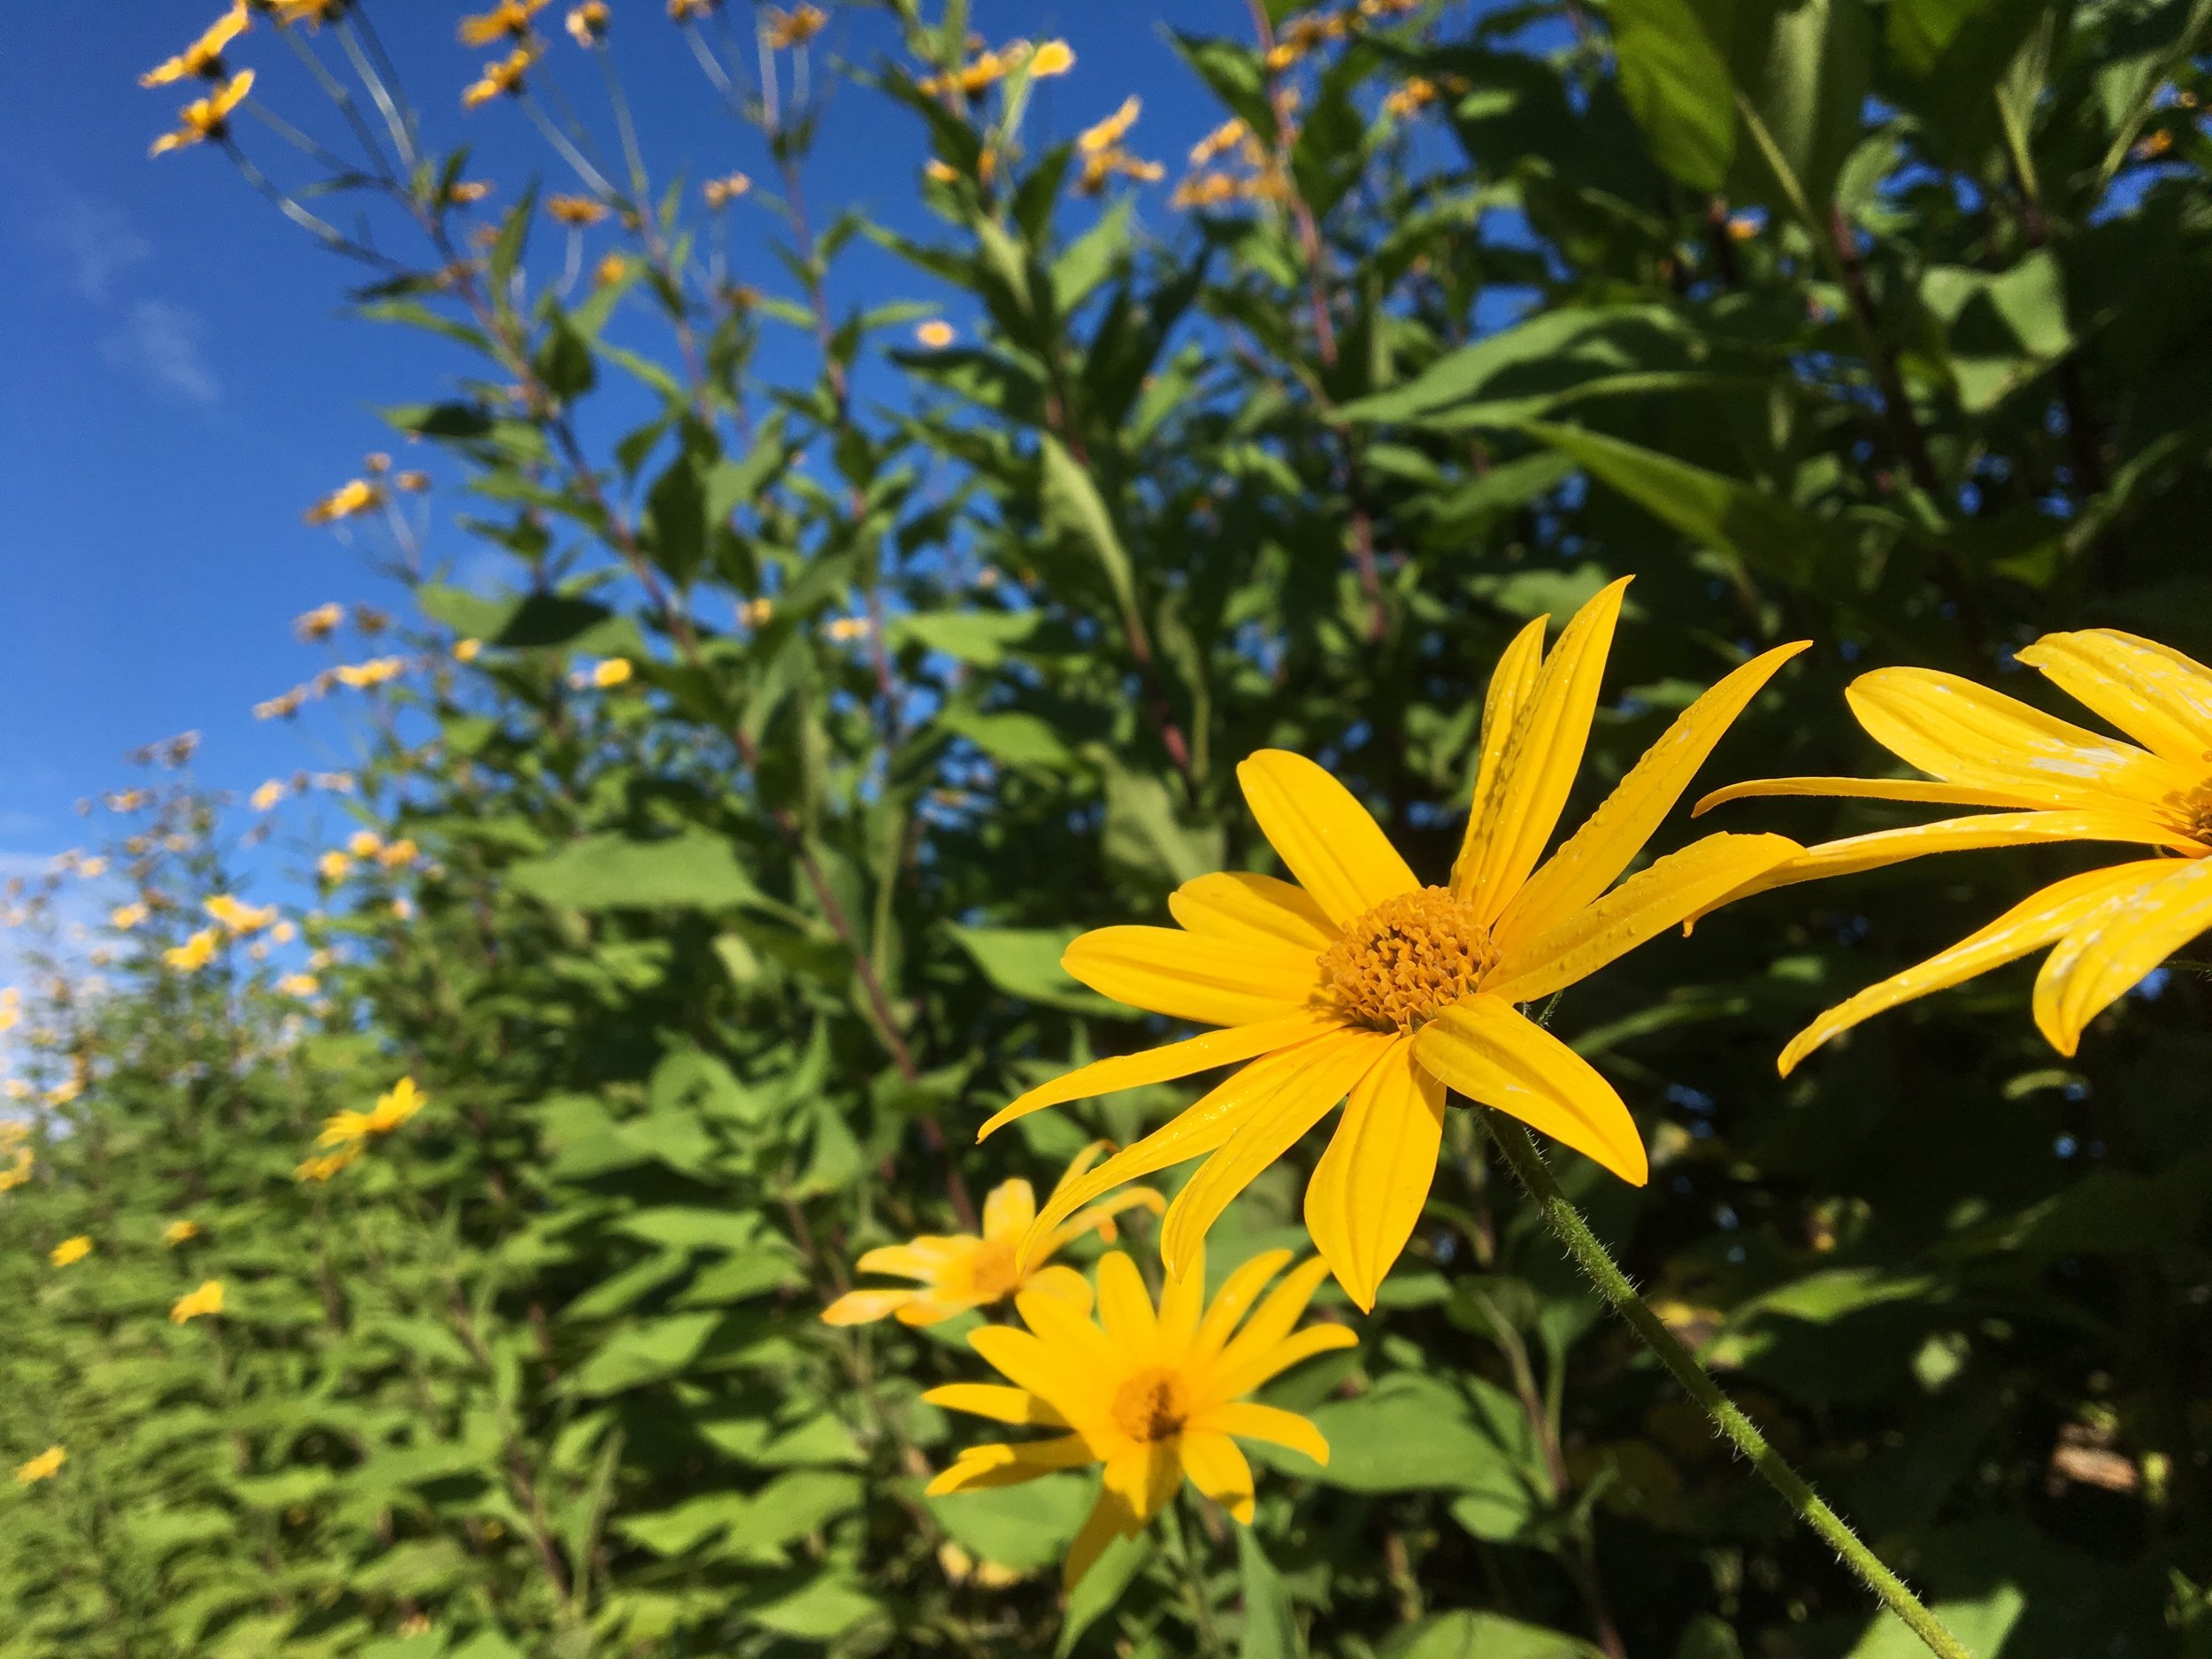
A little bigger...
It feels like a miracle, how a little seed knows to grow into an onion. Not just any onion, but a highly specific one: a gold, round, Cortland onion, for instance. And how marvelous it is that this onion, planted in the spring, will last until next spring, stored throughout the winter.

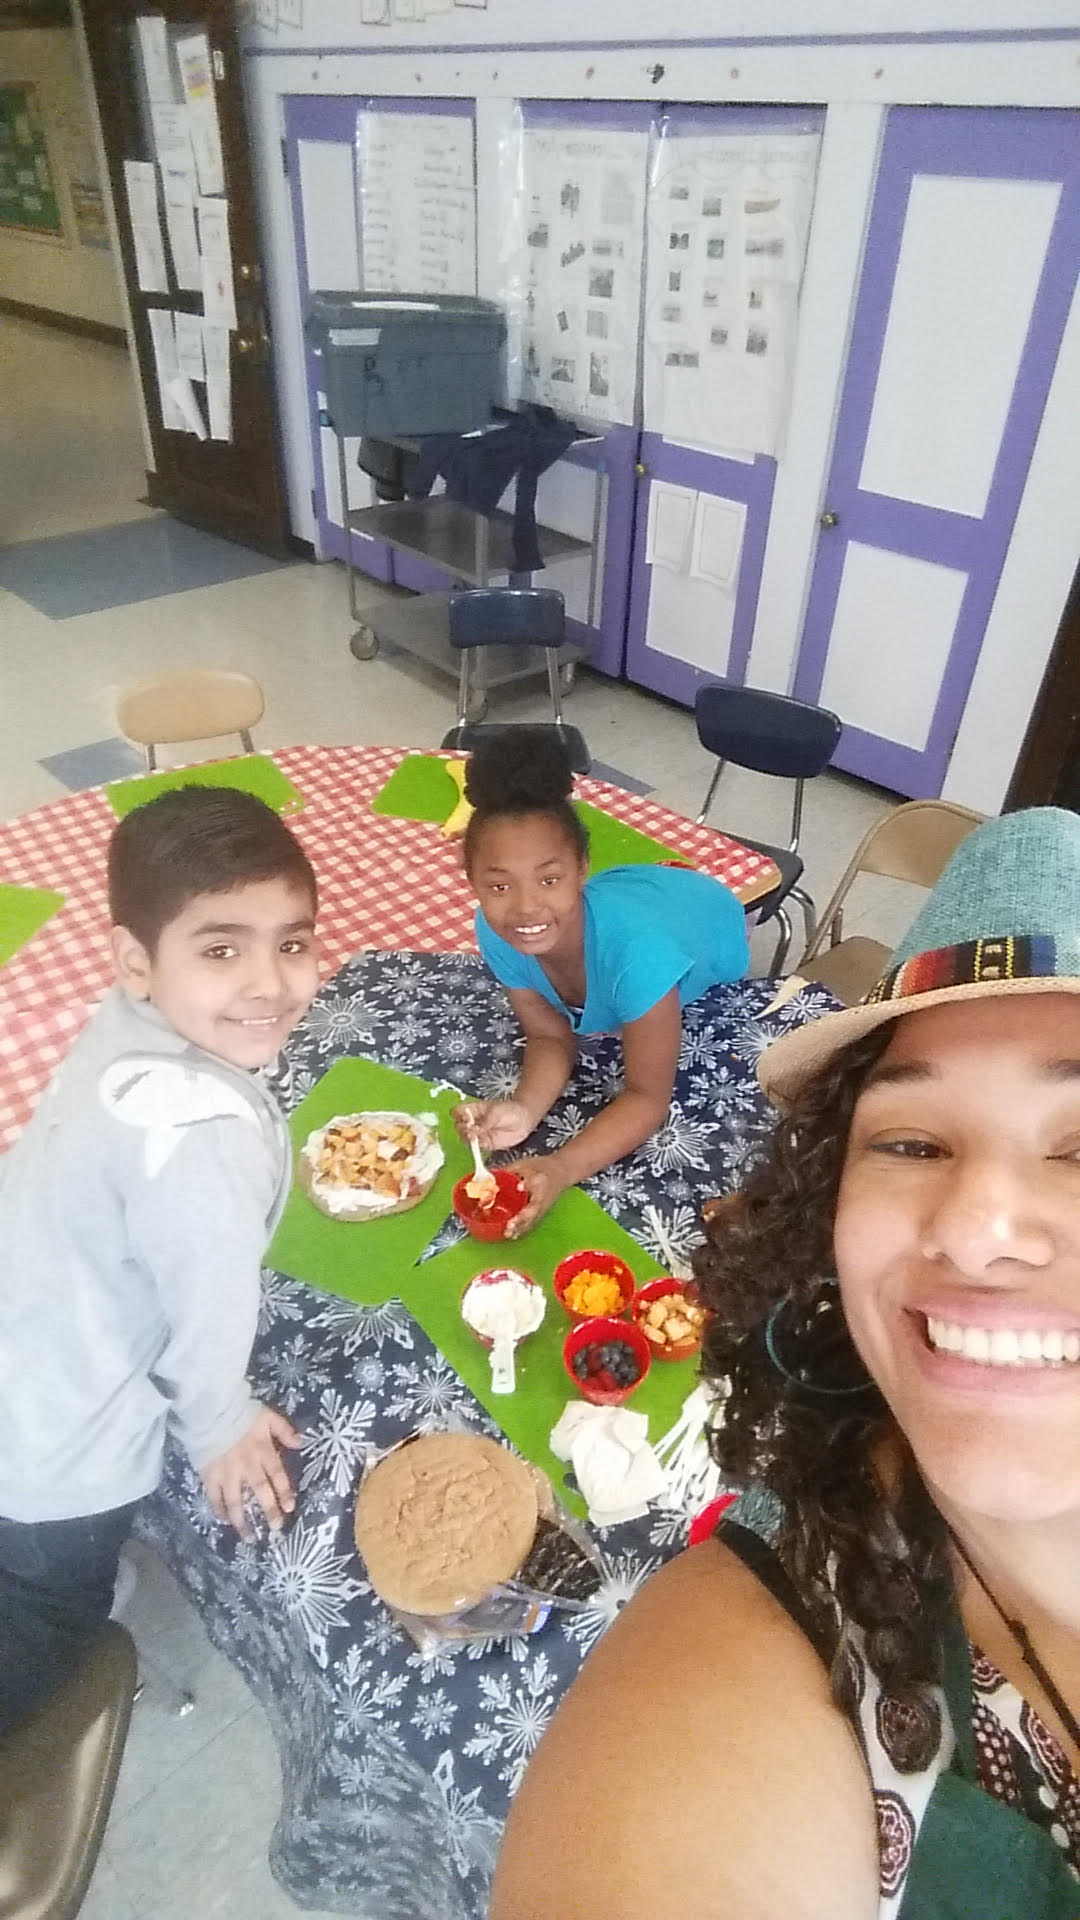
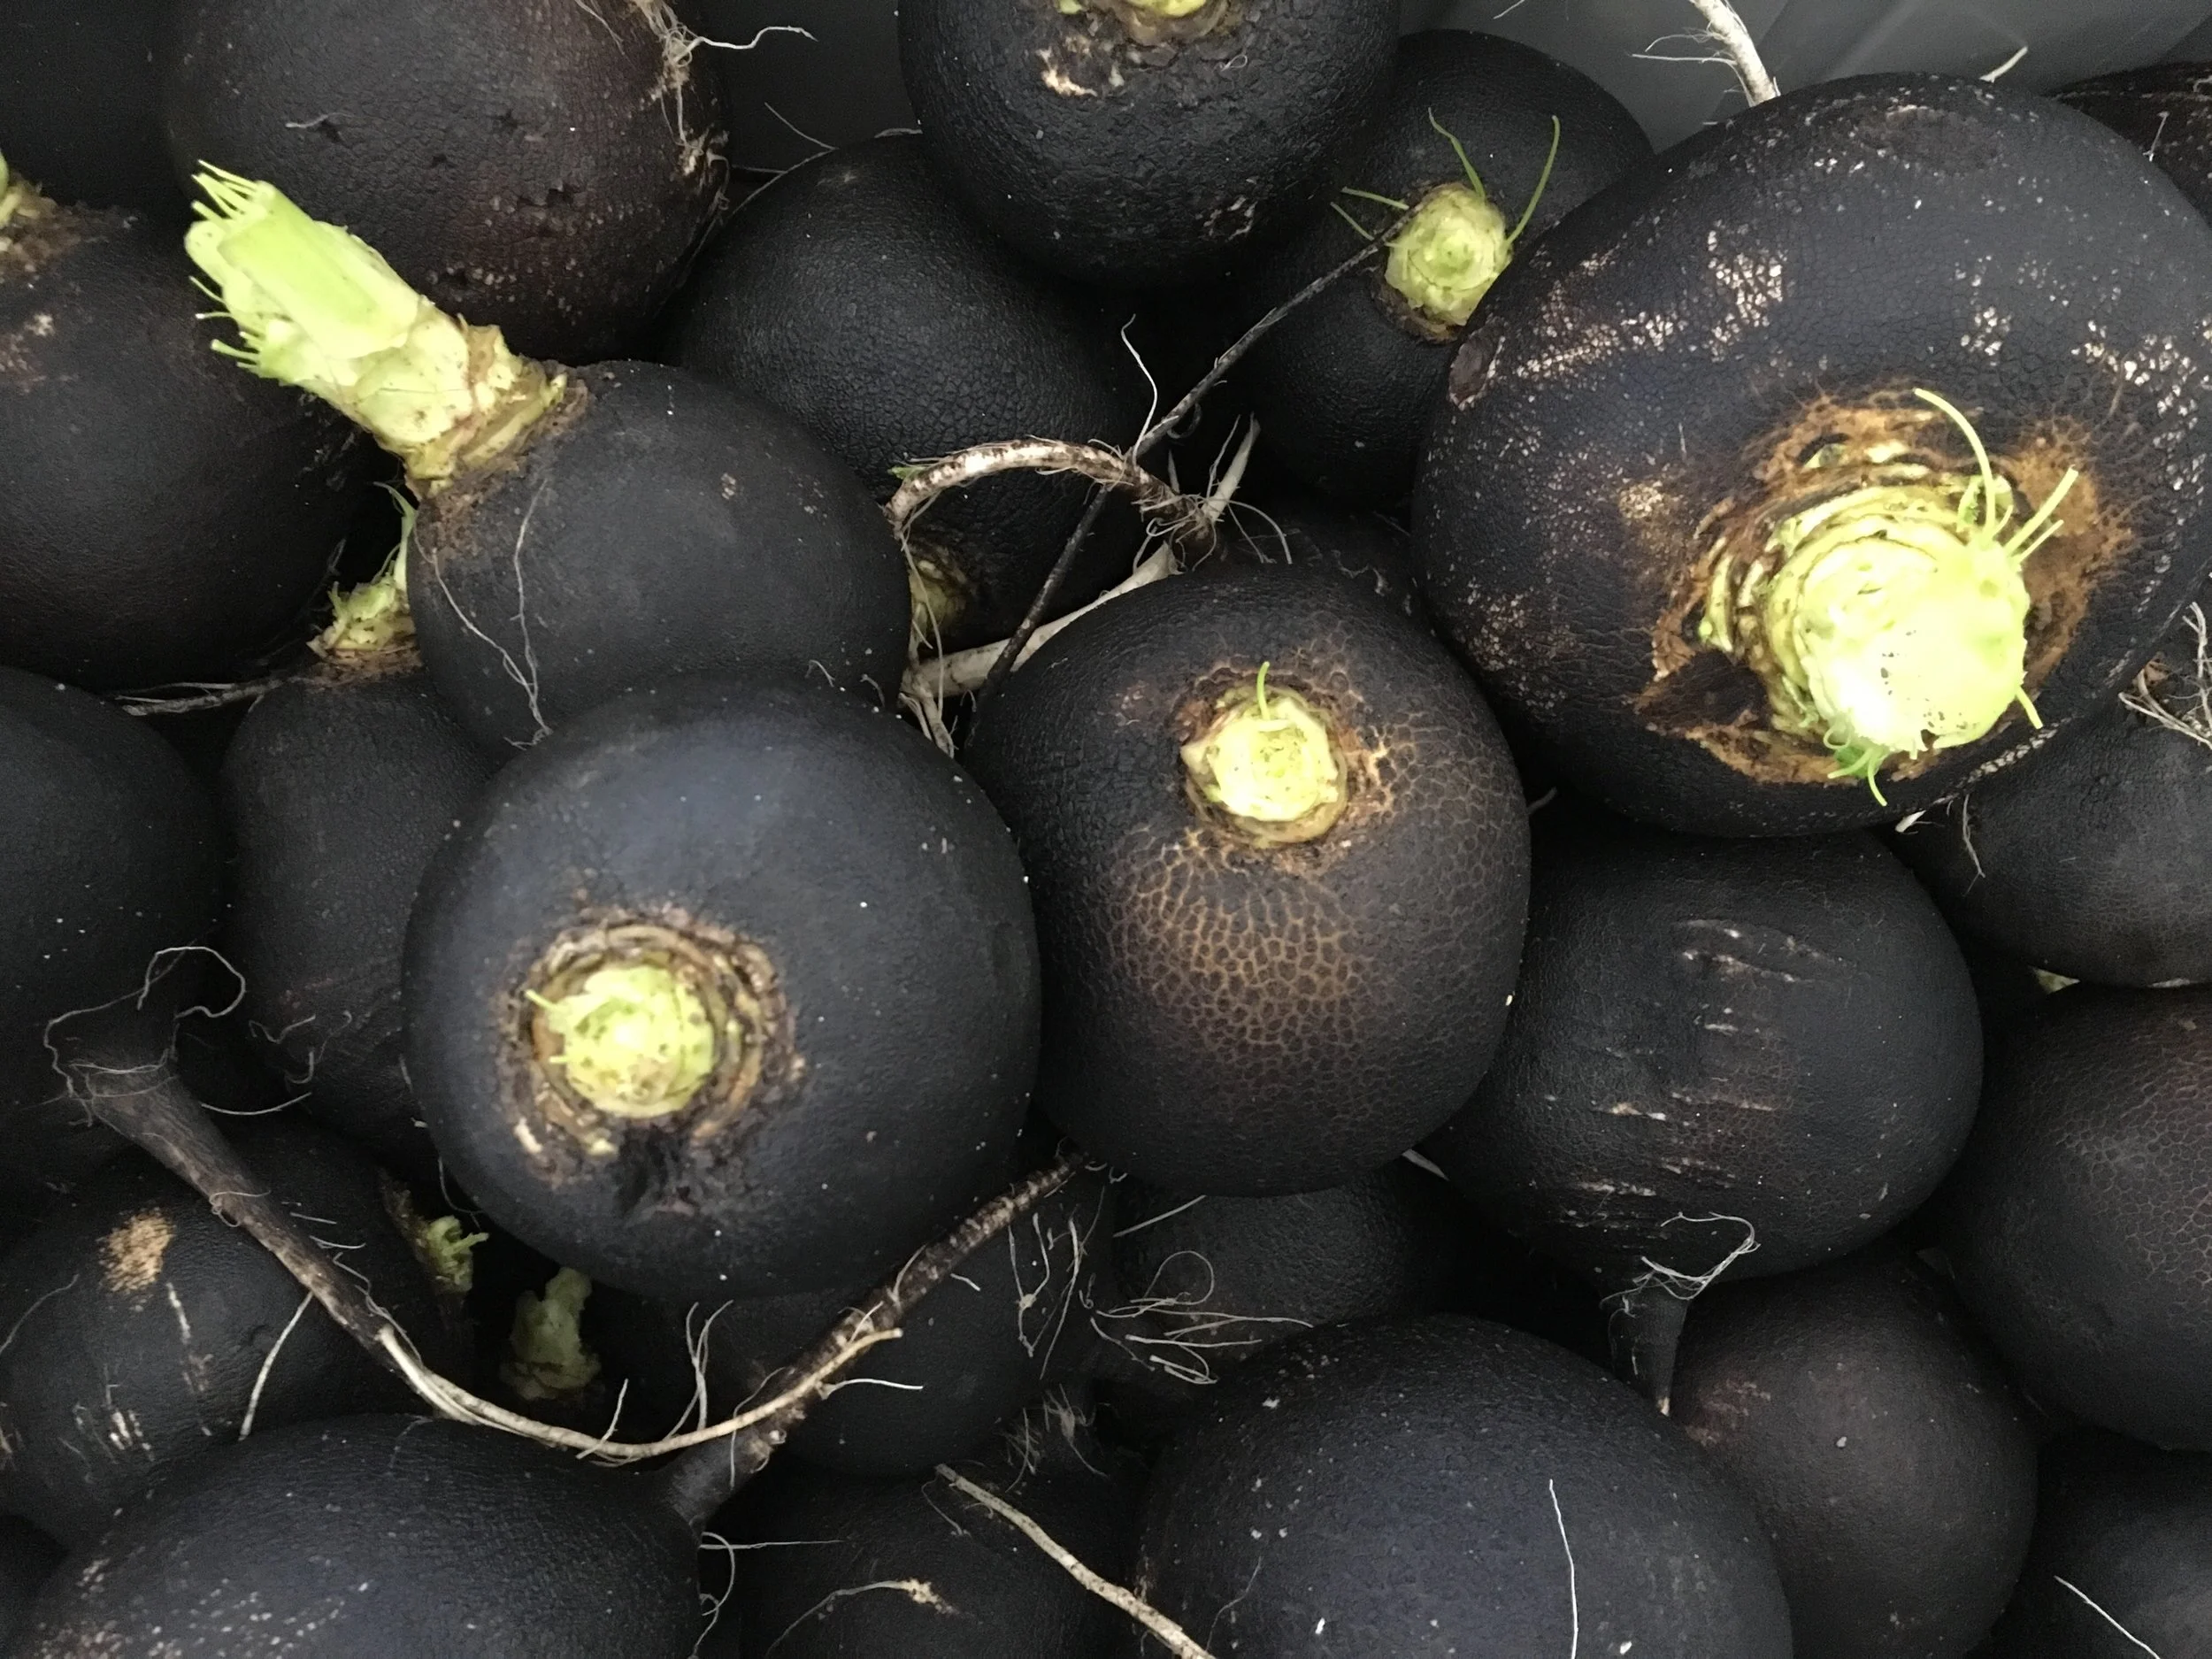
Now we're cookin'!
I smile thinking of how perhaps the hand who seeded a Cortland onion will one day place it onto a wooden chopping board, sizzle it in oil, and salivate as its aroma fills the kitchen. Or perhaps you will feast on the onion that was birthed in our greenhouse, that bulbed under the sun and rain in the black soil of our fields.
As the rush of spring and summer speeds towards us, I want to hang on to this time of seeding, of youth. In the calm before the storm, I hope to myself that we will all remember, when we eat, the journeys of the vegetables that sustain our bodies, that keep us growing, that keep us strong.