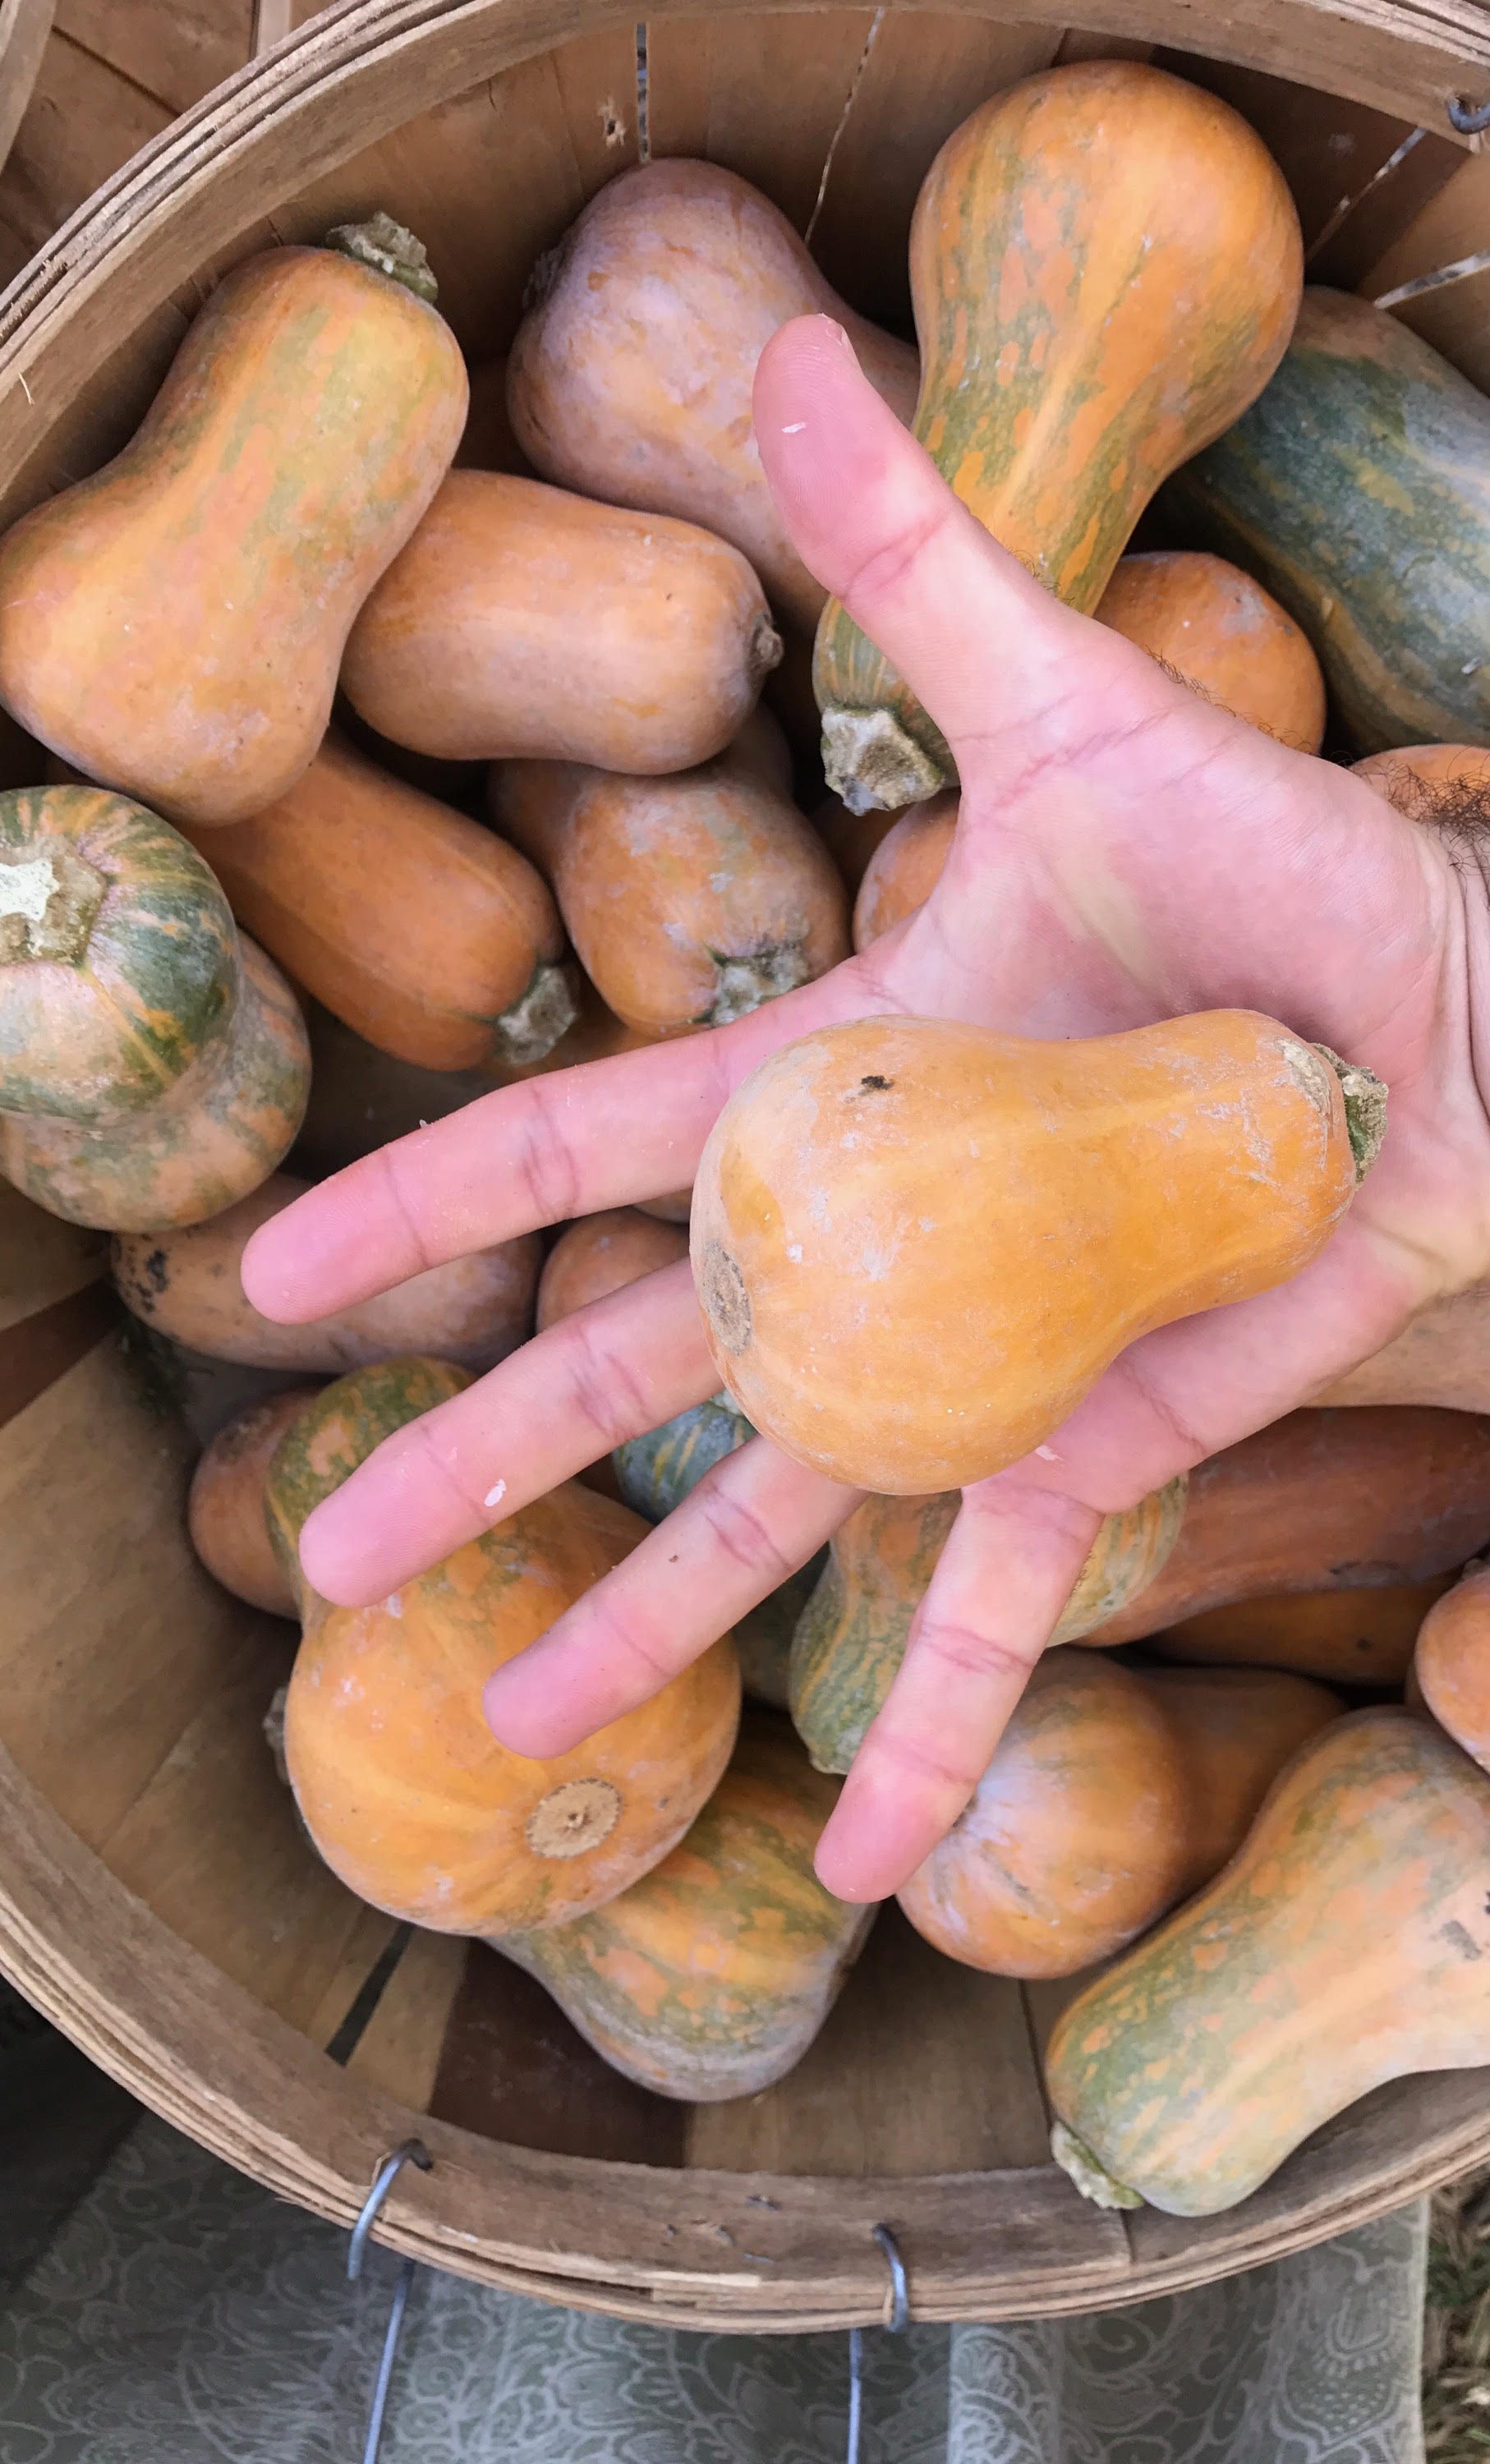
Hello, Winter CSA Members!
This week, we are providing you with nearly all of the ingredients you’ll need to try your hand at simple, safe fermentation: try your hand at sauerkraut, kimchi, or “kraut-chi”, a creative combination of the two!
Simply put, fermentation “cooks” the food, making certain nutrients more available to us and adding/changing the probiotic character of the food, using microbes instead of heat. Yogurt, bread, beer, wine, sake, cheese, meat and pickles are all products of fermentation.
Fermentation is a great way to add vibrant flavors and textures to your plate (without the addition of fats or processed seasonings), get creative in the kitchen, and diversify gut bacteria to aid in digestion. If you’ve never made your own sauerkraut or kimchi before, we hope this week you’ll consider giving it a try.
Have a favorite recipe of your own? Share it with your fellow Winter CSA members! If you’ve got a favorite recipe you’d like to share, submit your recipe here !
And now, let’s get the creative (and culinary) juices flowing:
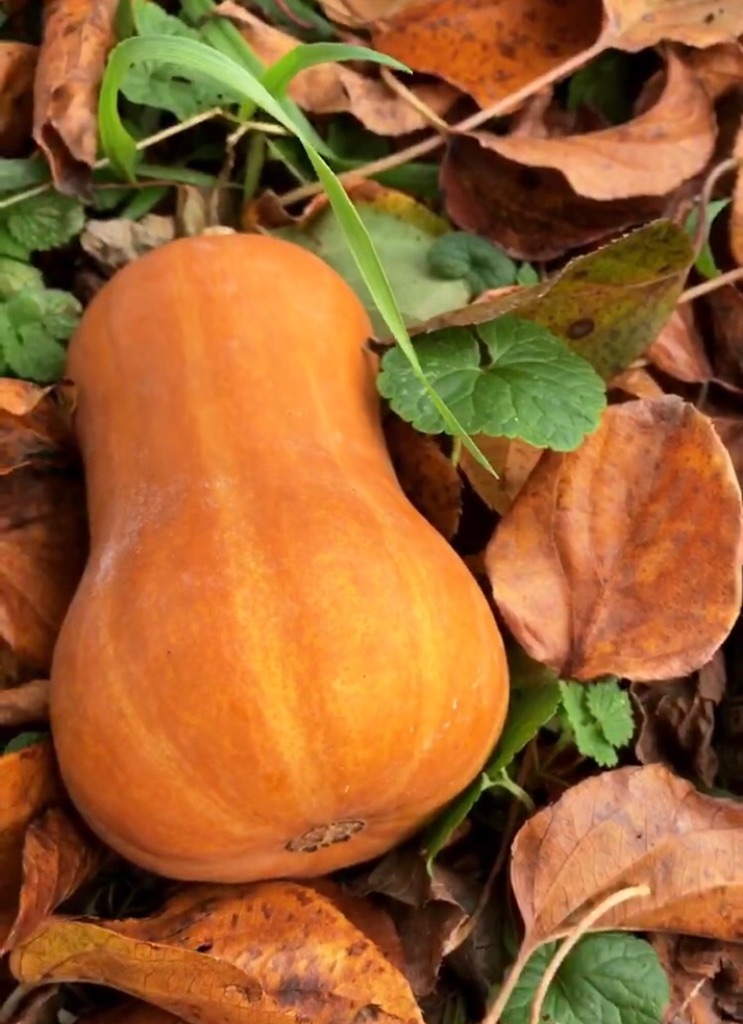
Parsnip and Celeriac Soup
For those of you who won’t be trying your hand at fermentation this week, we suggest this Parsnip and Celeriac Soup: a sweet-and-savory winter soup with a creamy potato base.

Sauerkraut & Kraut-Chi
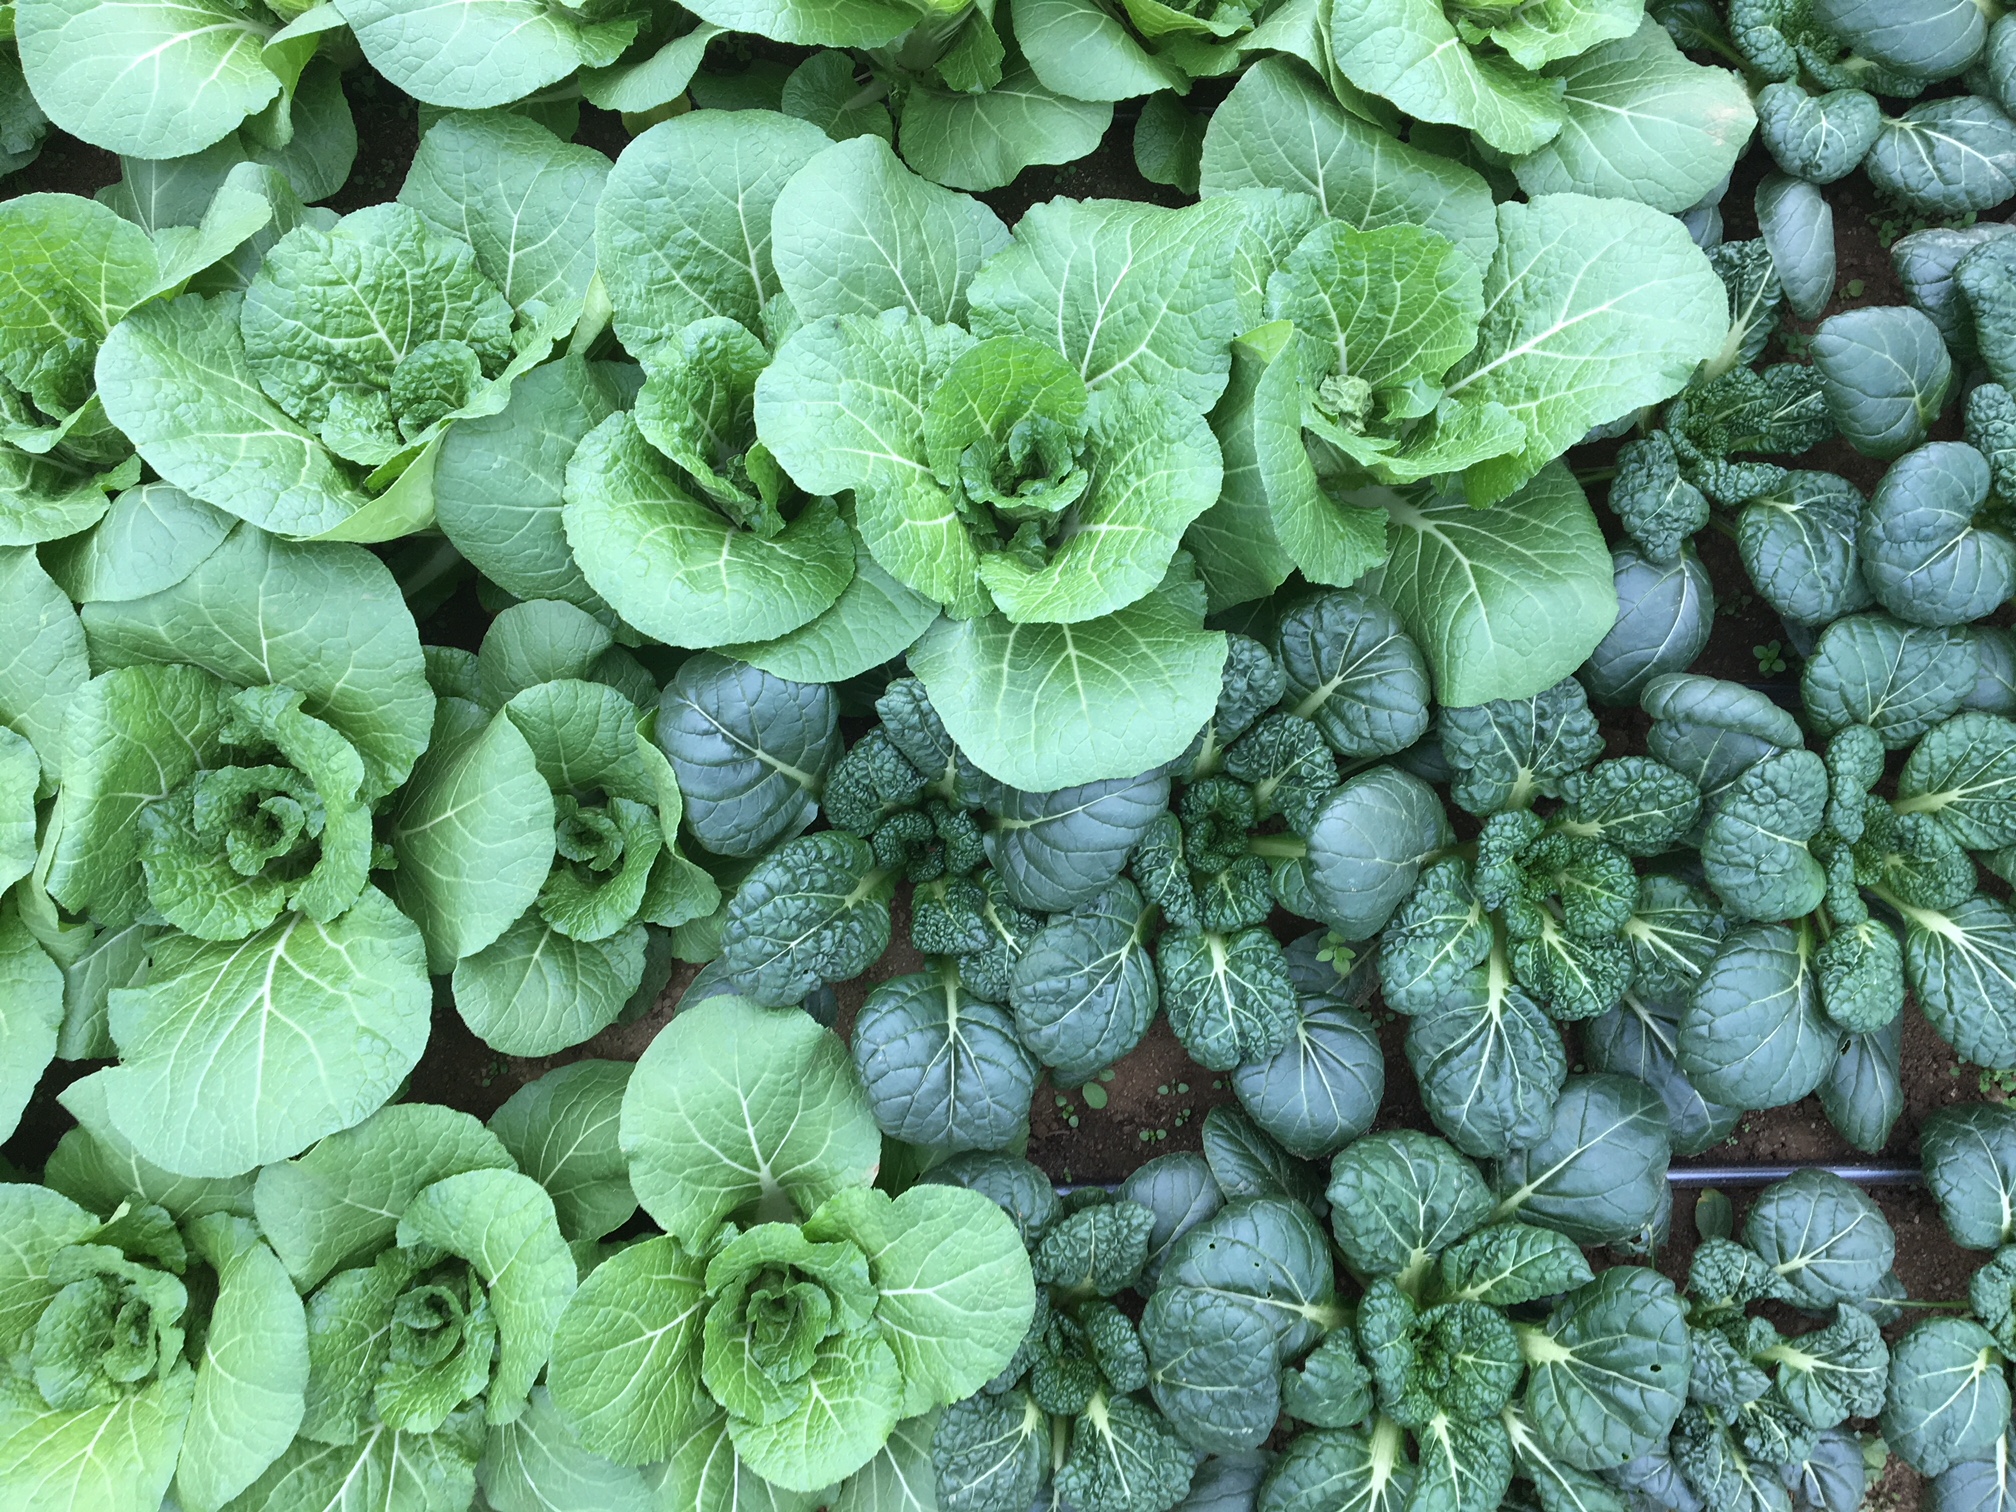
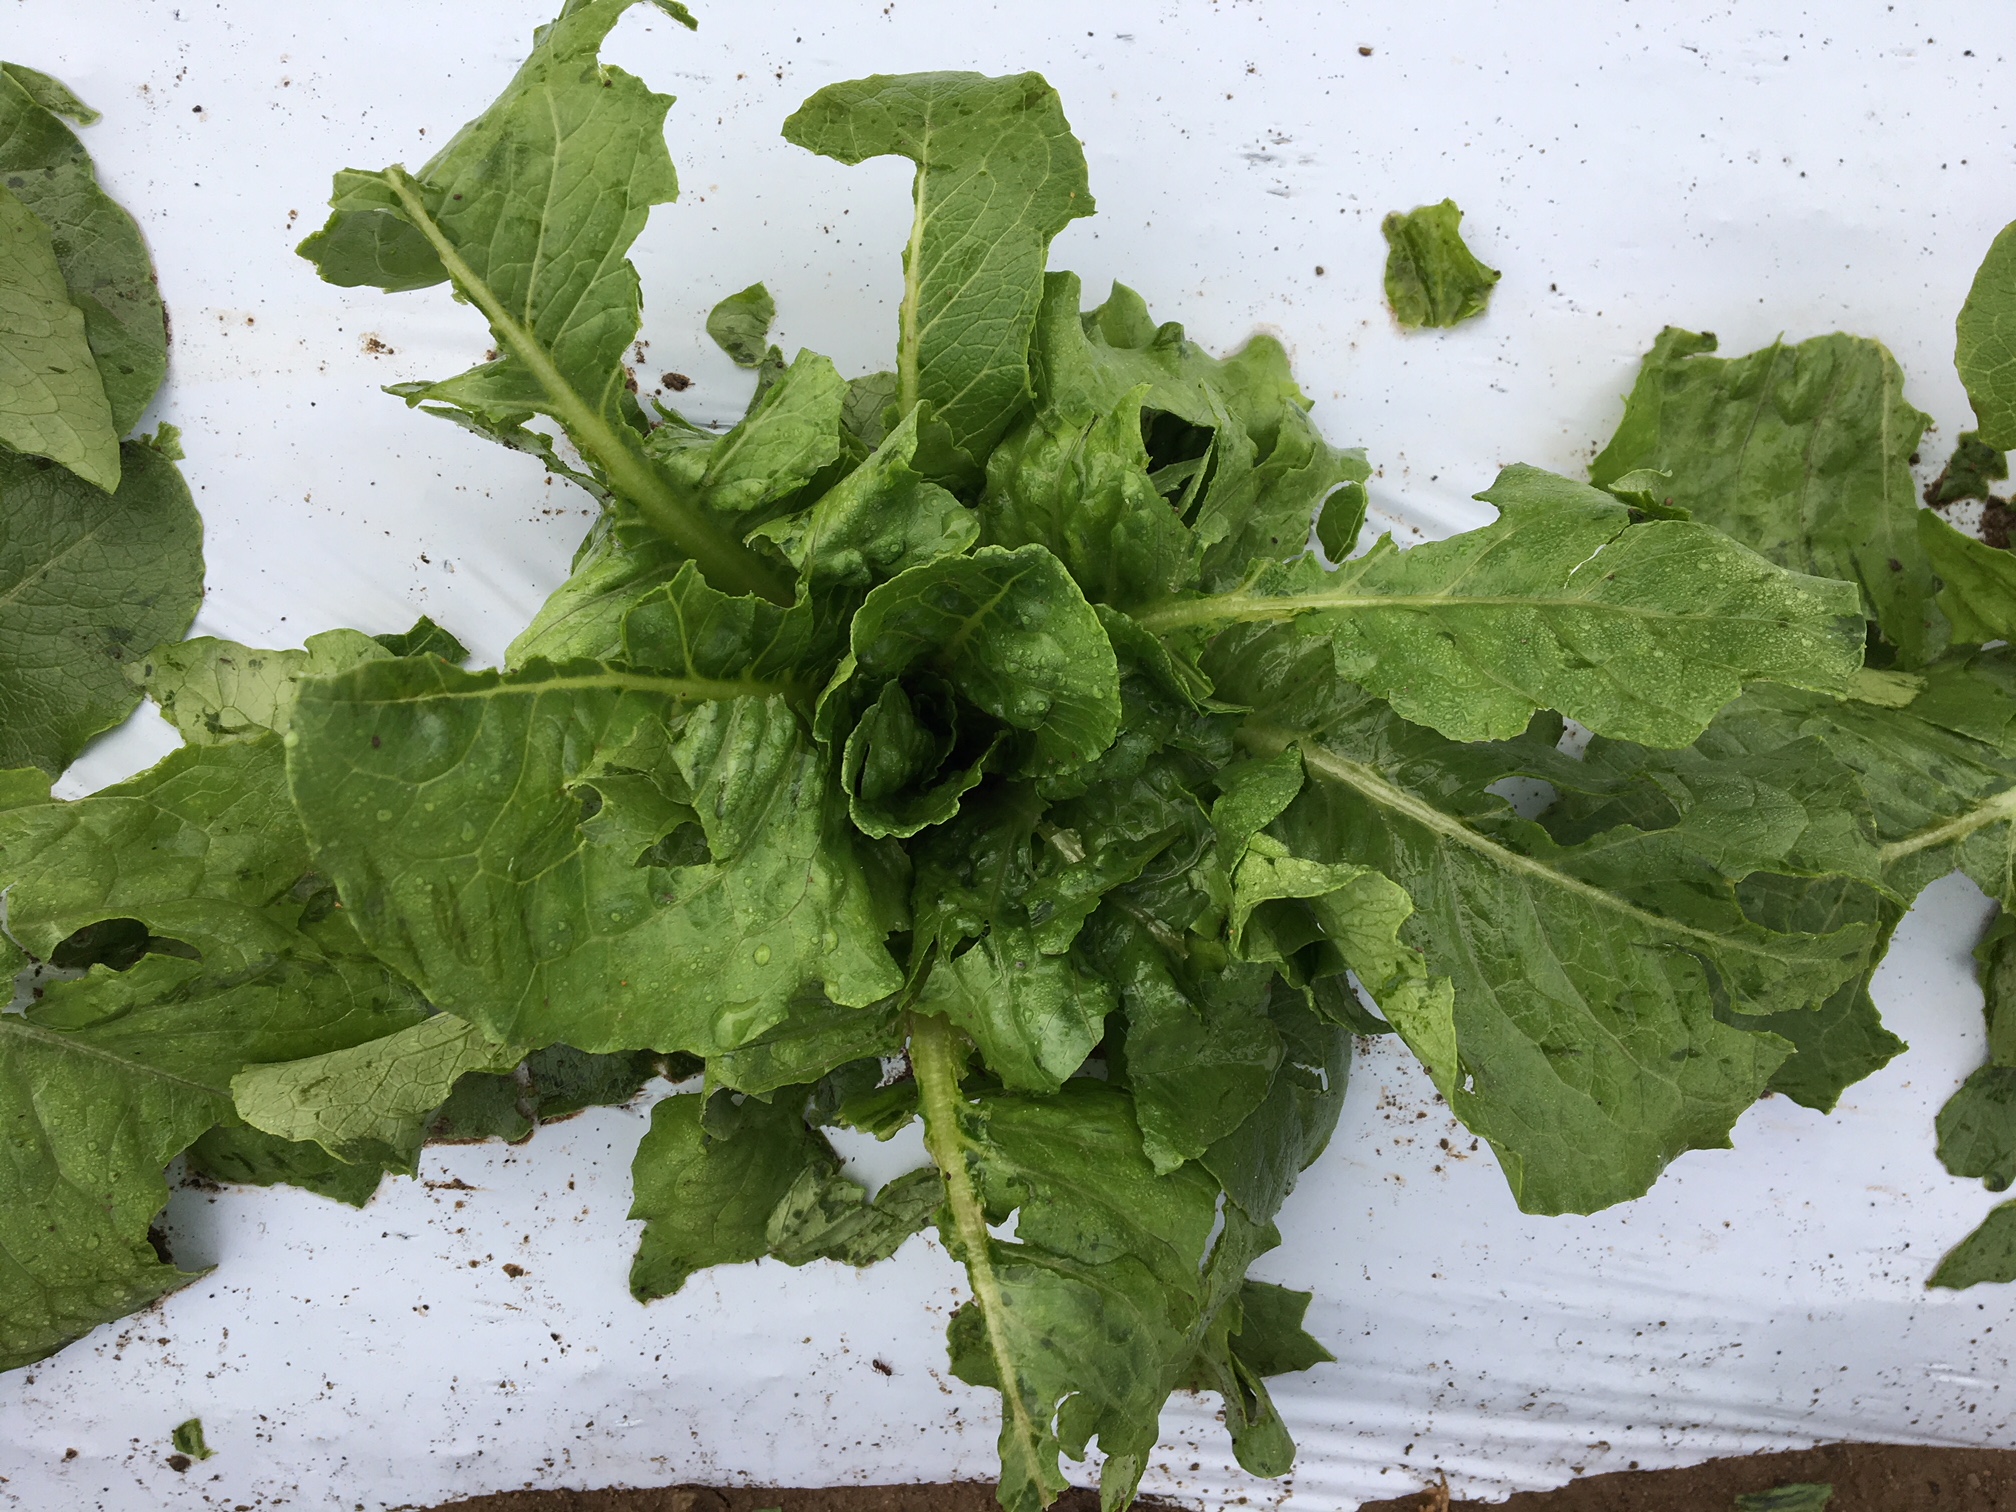
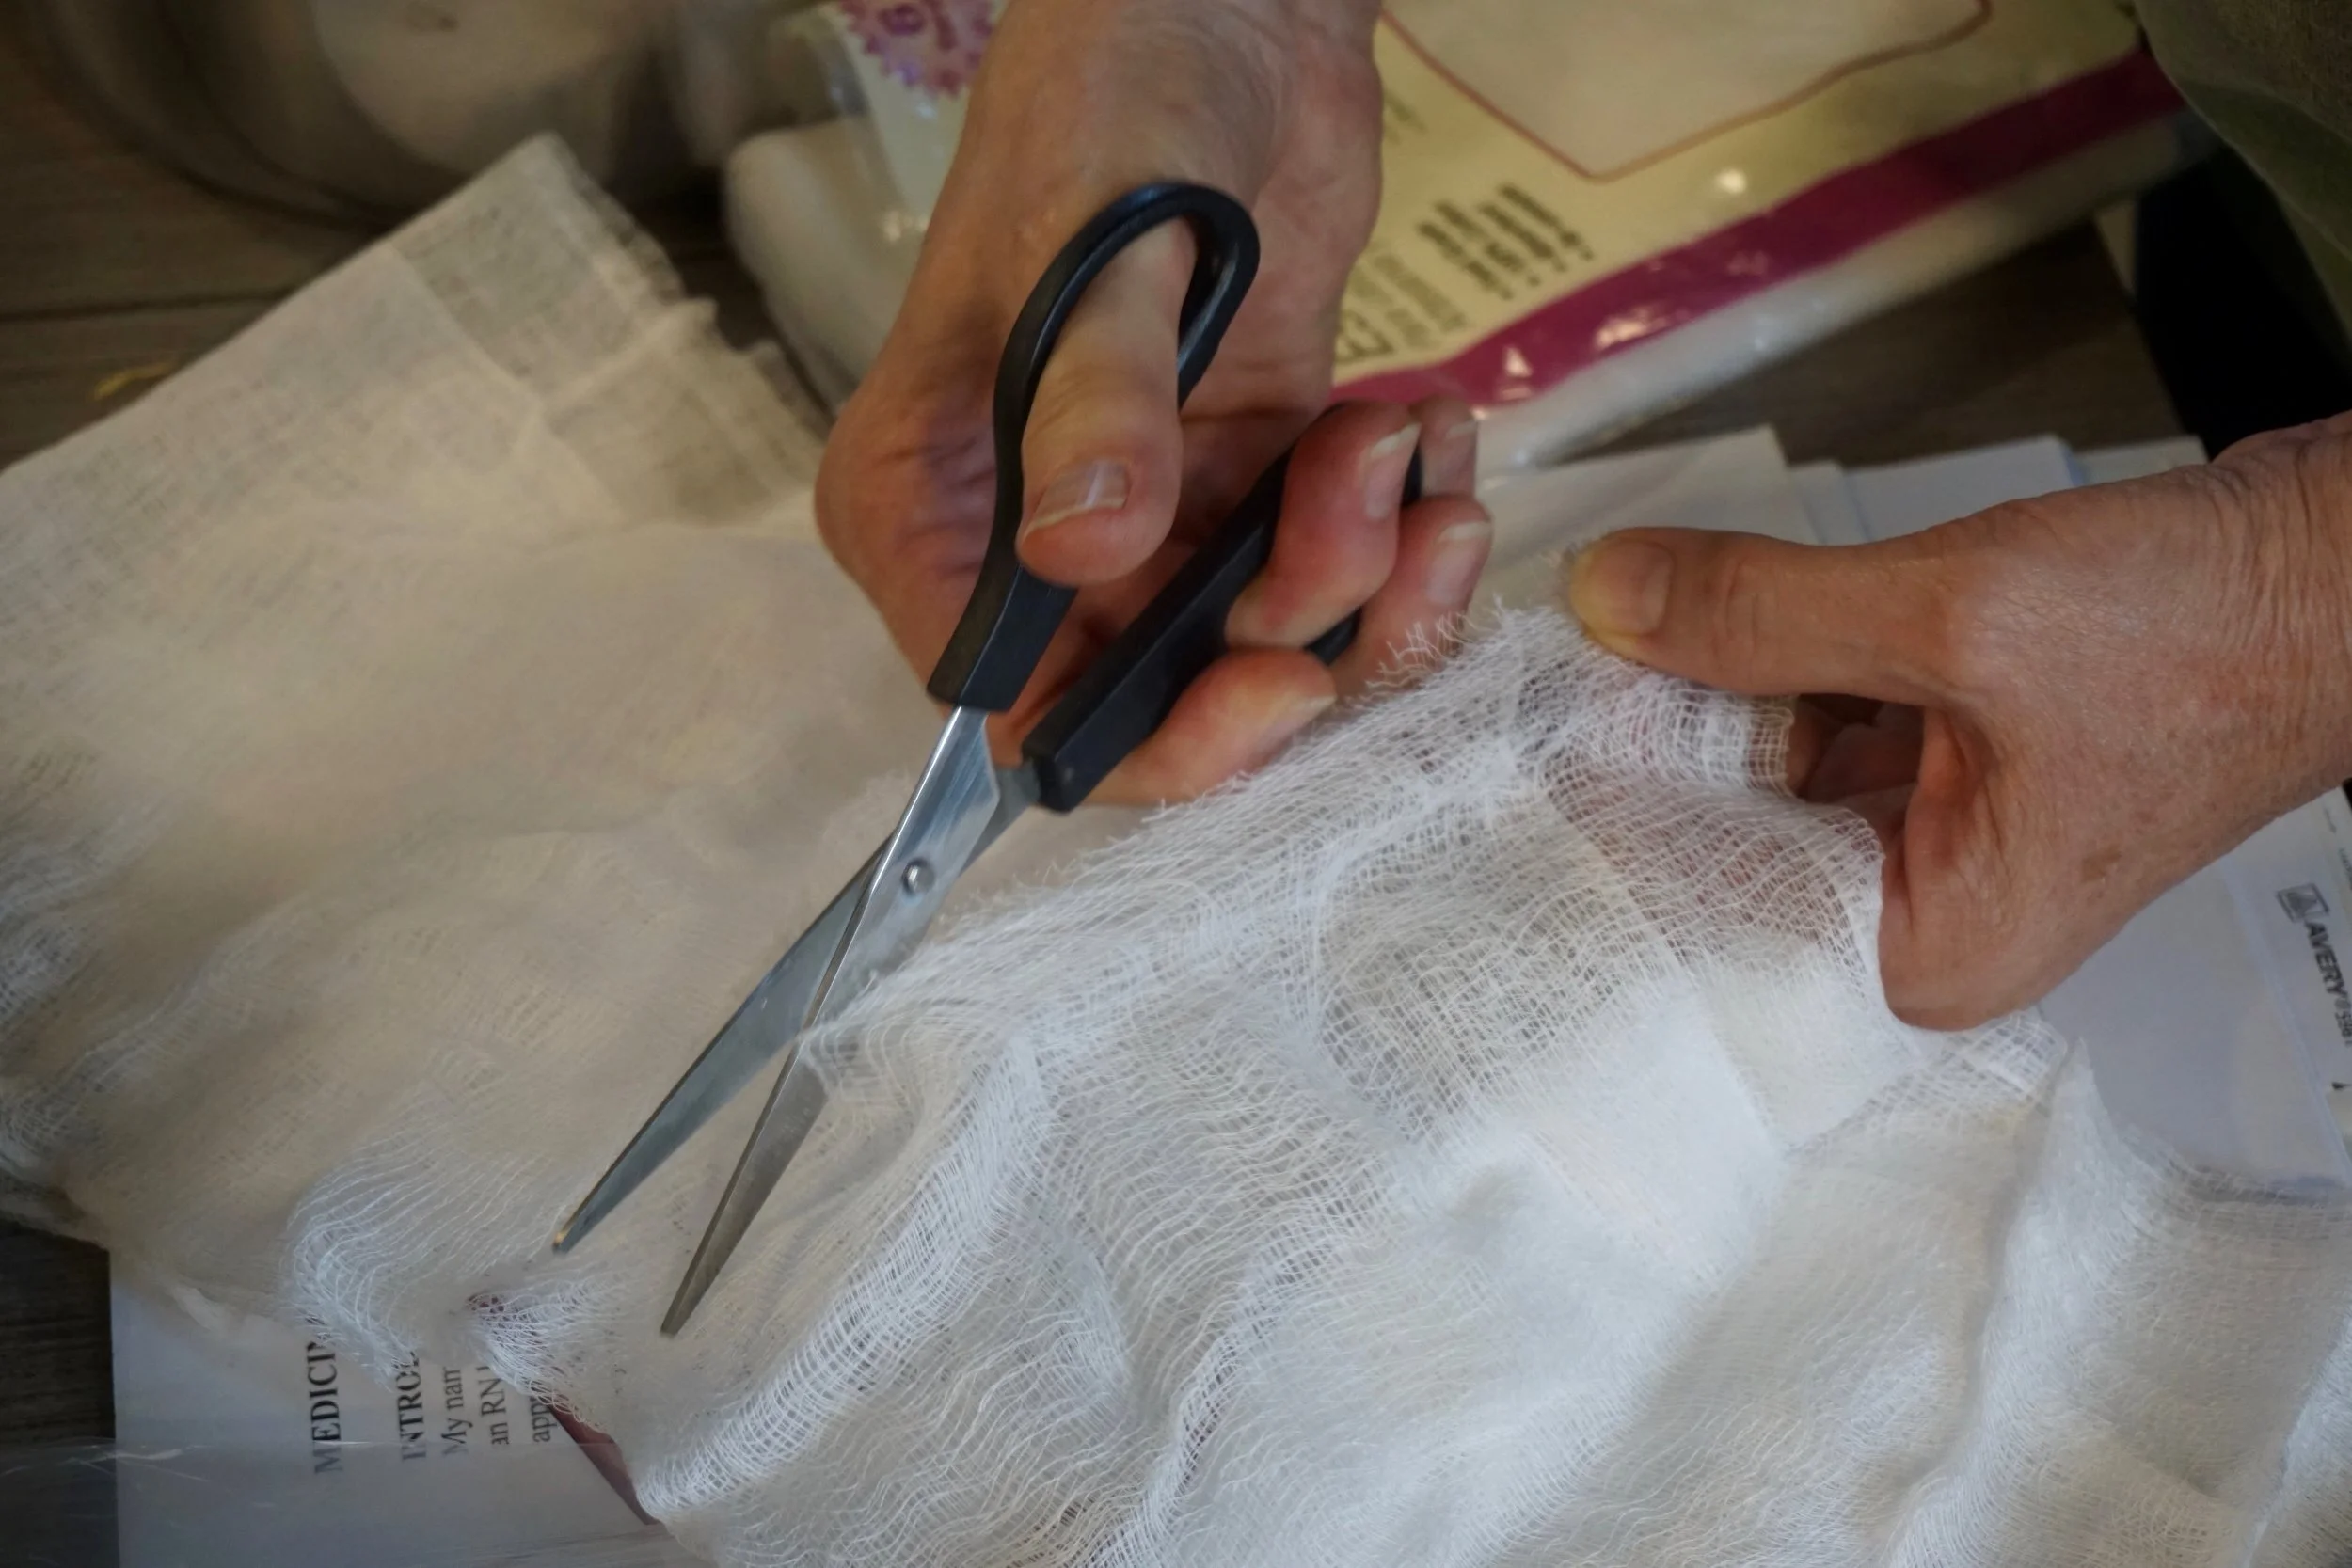
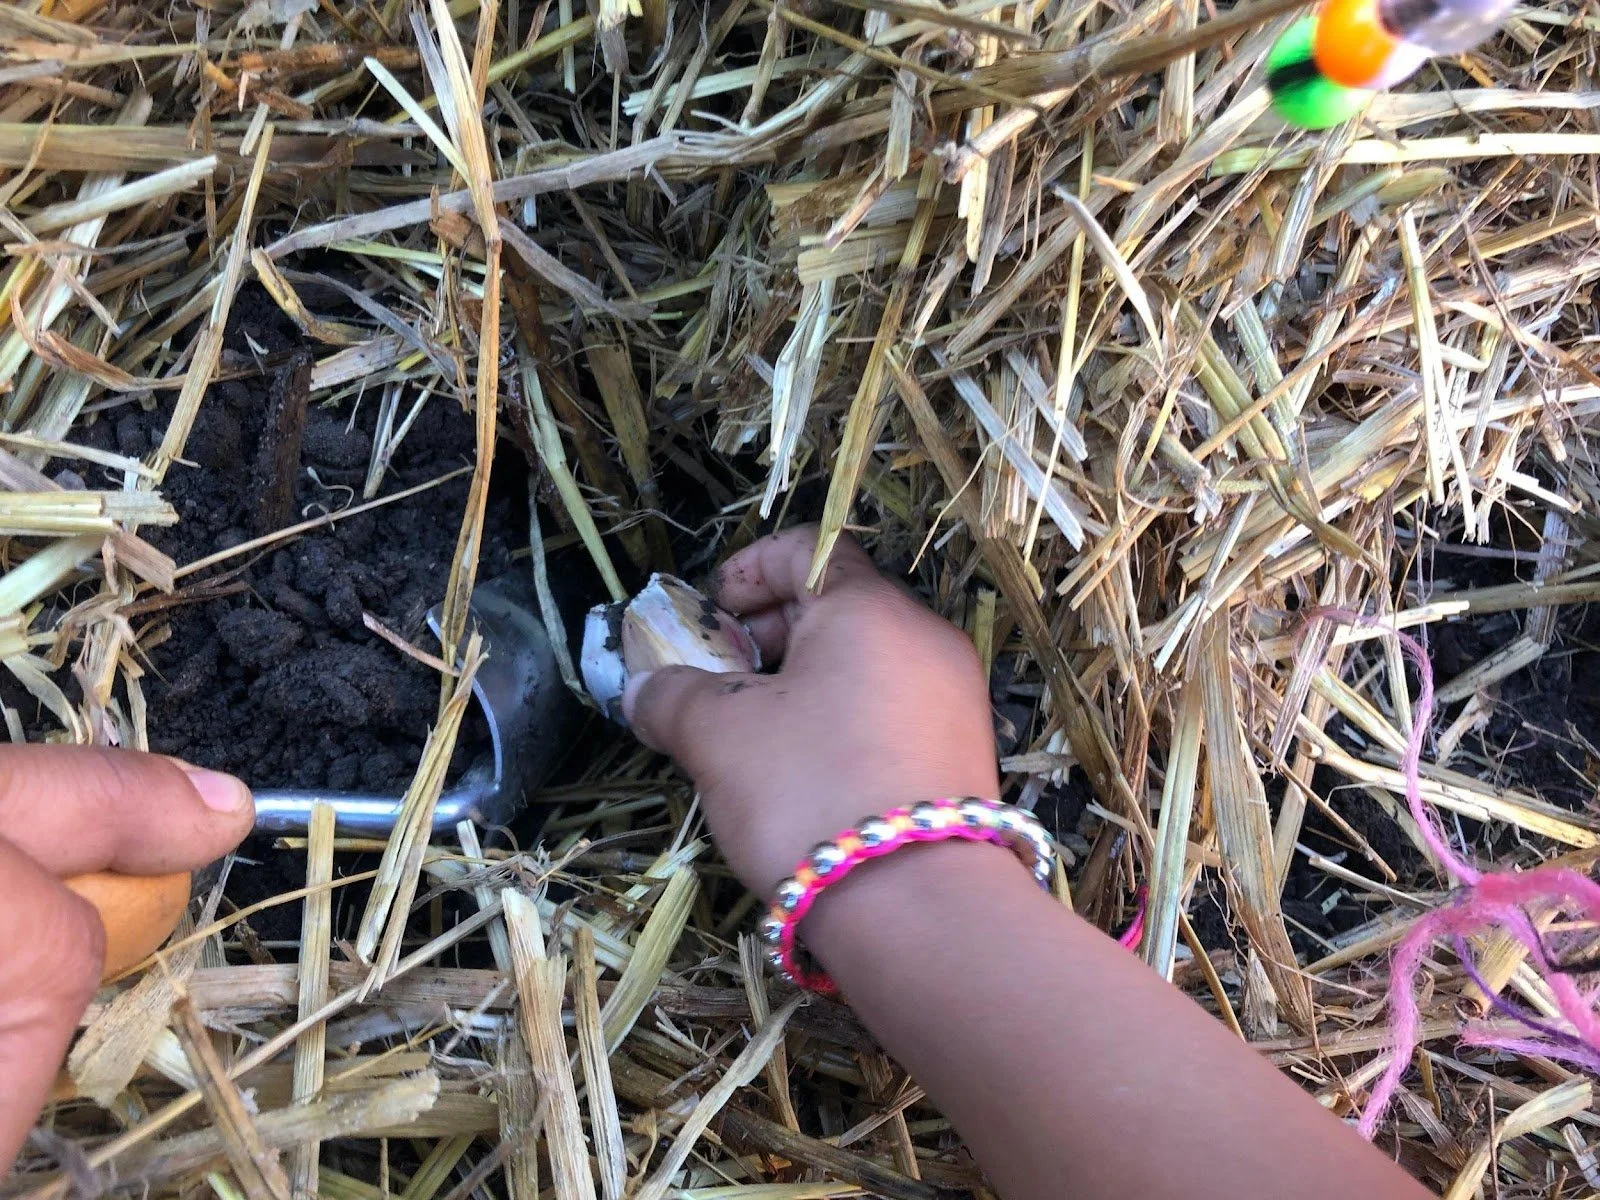
Making sauerkraut, while it may seem intimidating at first, is really something anyone can do! Put simply, you’re using a salty brine solution to keep out the “bad guys” and allow the “good guys” (the microbes that occur naturally on the cabbage) to work their magic.
For step by step instructions with photos, read “Kraut-Chi: A Step-by-Step Guide” from From The Land We Live On which offers some helpful tips, or “Making Sauerkraut” from Wild Fermentation from the fermentation guru himself. Here’s the basic process you’ll follow:
- Remove the outer two leaves and clean off any damaged, discolored or otherwise bad-looking spots. Reserve one whole leaf for later.
- Using a mandoline or a sharp clean knife and a clean cutting board, slice your cabbage very thinly into a big (clean) bowl.
- Sprinkle in some salt . Be sure to use non-iodized, also “canning” or “pickling” salt. You’ll want 1.5-2 tsp per pound of cabbage.
- Massage salt into cabbage with clean hands until it starts to release liquid. This is your brine.
- IF MAKING KRAUT-CHI, follow additional steps below.
- Pack cabbage and brine into a clean (sterilized) glass jar, ideally one that has just come out of a dishwasher or been washed thoroughly and swirled with boiling water.
- Massage a pinch of salt into that whole cabbage leaf you saved at the beginning, and fit it down over the sliced cabbage like a cap .
- Use a smaller jar filled with pebbles or some other heavy material to press and weight the kraut down: your goal is to keep the cabbage submerged below the liquid. Any chunks of cabbage sticking up in the air could begin to mold.
- If after 6 hours your cabbage hasn’t generated enough brine to cover itself, make a salt solution to supplement. Mix 1 heaping tablespoon salt with 2 cups boiling water, allow to cool fully (this is important, as you don’t want to cook your microbes!), and pour over kraut.
- Put a large paper bag, if you have one, over the jar. It helps prevent any ambient dust from settling into the kraut. I Also I enjoy writing fun things like “Ssshh I am fermenting” or “Burp me often!” on the bag.)
- Now, wait. Let it sit. In 1-2 days you’ll see bubbles forming, and can press down on the weight to “burp” your kraut if the brine is in danger of overflowing. It should stop bubbling in 2-5 days.
- Start tasting after a week. The longer you leave it out, the more sour it will get. You can start eating it at any time it tastes good to you. If you want to slow/stop the fermentation, put a lid on it and place it in the refrigerator.
Kraut-Chi Additions
Note: Some processes call for salting your cabbage, letting it sit, draining it, rinsing it, and then proceeding with the following steps. For the sake of simplicity, we’ve omitted those steps here.
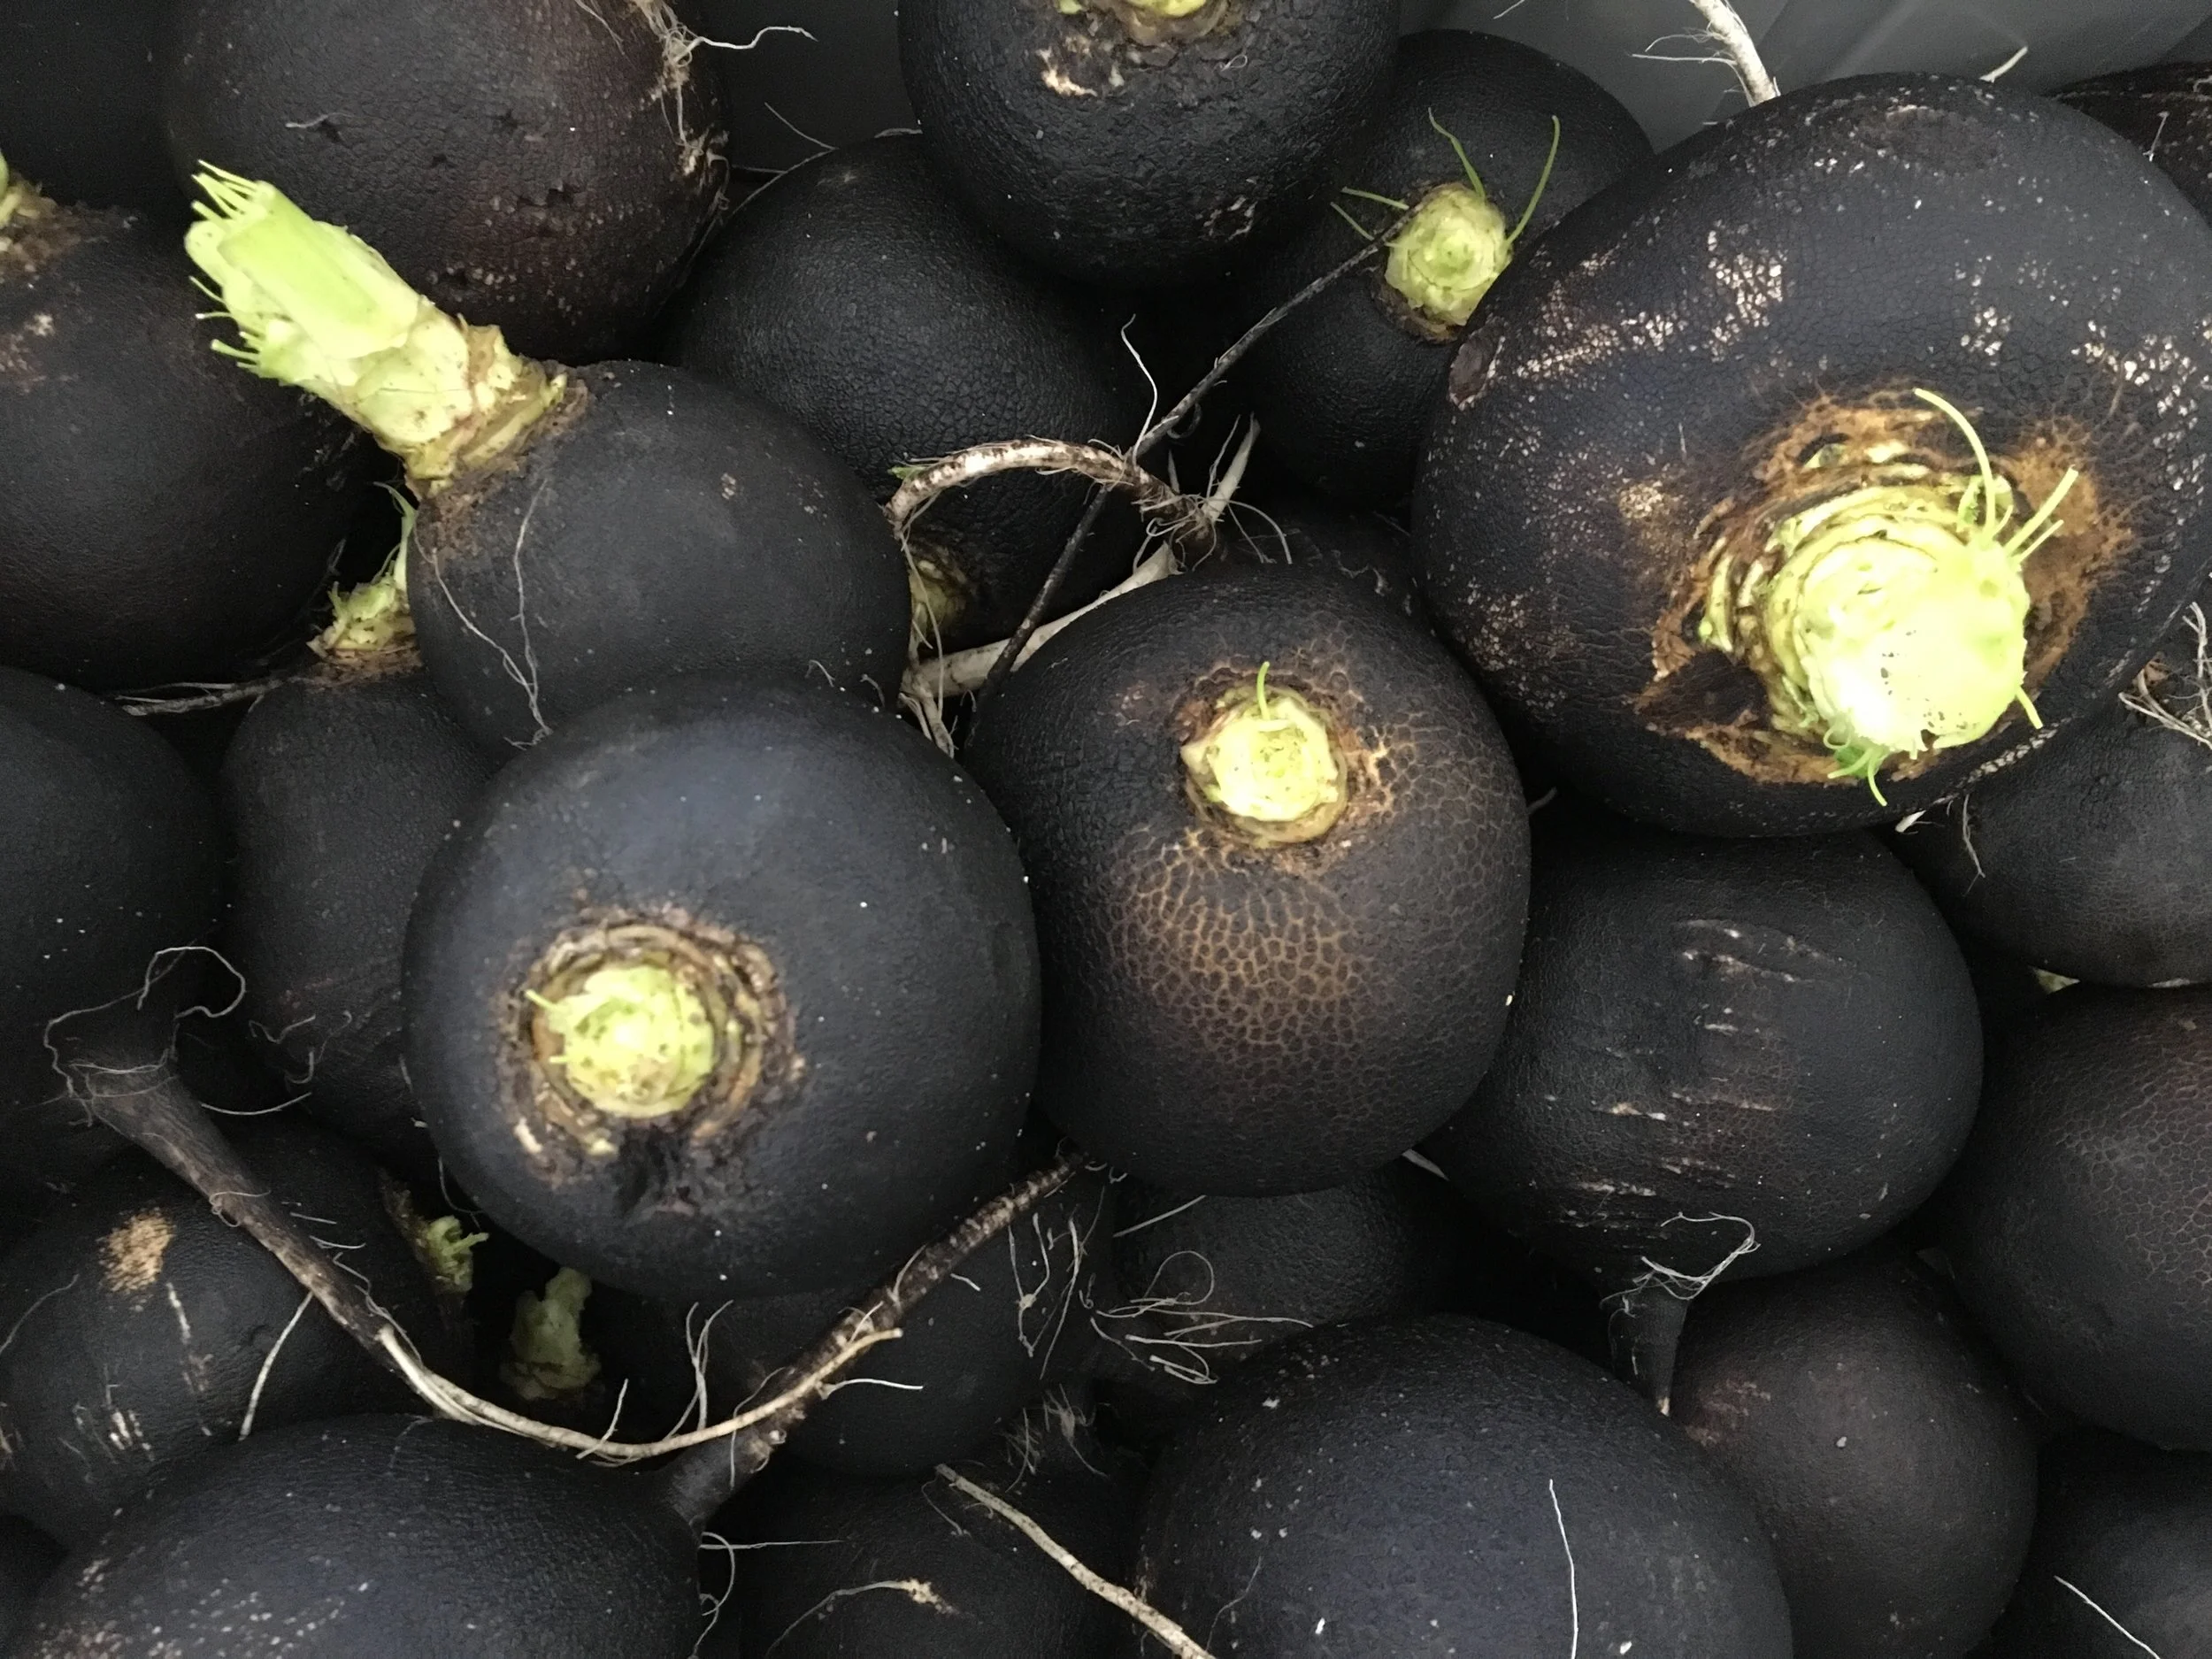
- Add any/all of the following: Chinese cabbage or bok choy (thinly sliced), daikon or other radish (thinly sliced/shredded/julienned), scarlet turnip or carrot (thinly sliced/shredded/julienned), green onions/scallions (chopped), garlic and ginger (finely chopped), gochugaru (or some red pepper flakes or finely chopped fresh hot pepper), and/or seaweed flakes or fish sauce (optional).
- A more complicated process calls for making a paste out of the garlic, ginger, green onion, chili/gochugaru, fish sauce, and some of the vegetable brine, and stirring this into the sliced cabbage/radish/carrot mixture. This gives kimchi its distinctive reddish color. Make your own, or you can purchase kimchi paste from any number of sources.
To make straight-up kimchi, which traditionally includes the draining process and paste-making, check out ”How To Make Easy Kimchi At Home” from The Kitchn .

Tips and Notes on Safety
Fermenting vegetables is a very safe, low-risk endeavor. Sandor Katz, the guru of Fermentation (and author of Wild Fermentation and The Art of Fermentation), asserts that, according to the USDA, there has never been single documented case of food poisoning from fermented vegetables. That said, here are some tips regarding cleanliness and safety.
Cleanliness is key! Make sure all materials (knives, cutting boards, jars, hands) are clean and/or sanitized with hot water or vinegar. There are ample online resources that provide information on best practices with regards to safety.
Smell: A funky, stinky-but-yummy fermented smell is good! Bad bacteria will smell… well, bad. Trust your nose, which should tell you if something is off.
Mold: Any material not submerged in the protective brine could start to mold. If you see any mold, just pull these pieces out, or skim off the top until what’s left looks fine. A little mold on top shouldn’t compromise the kraut that’s submerged.
Sliminess: Slime is bad! The kraut should have firm texture, and the brine should stay thin, like salty water. If anything gets slimy (and smelly), compost it and start again.
Happy Fermenting!