
Here at the farm, it’s the calm before the storm.
Already, the light is longer, and the sun is setting later. Soon, the spring seeding will begin. Soon, we’ll be joined by a bright-eyed and eager group of Vassar students, who will be working on the farm as part of a Community Engaged Learning program. Sooner than we realize, the bell curve of the season will slope steeply uphill, and before we know it we’ll be knee-deep in onion transplants and harvesting hundreds of pounds of cucumbers.
But for now, everything is still cold and quiet. Quiet is nice… but it’s also a little lonely.
The woodchucks and wild turkeys are nowhere to be seen. The songbirds are quietly snuggled into their shelters. Rarely these weeks have we seen runners, dog-walkers, or frolicking students around the preserve. It seems only the geese (and, once every two weeks, our intrepid winter CSA members) are braving this cold snap to venture out and visit us!
And so, in an effort to bring some fresh new (human) energy onto the farm, we recently decided to offer a volunteer day.
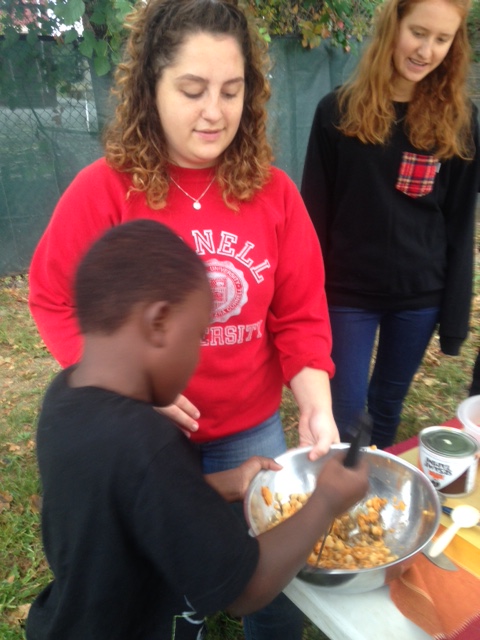
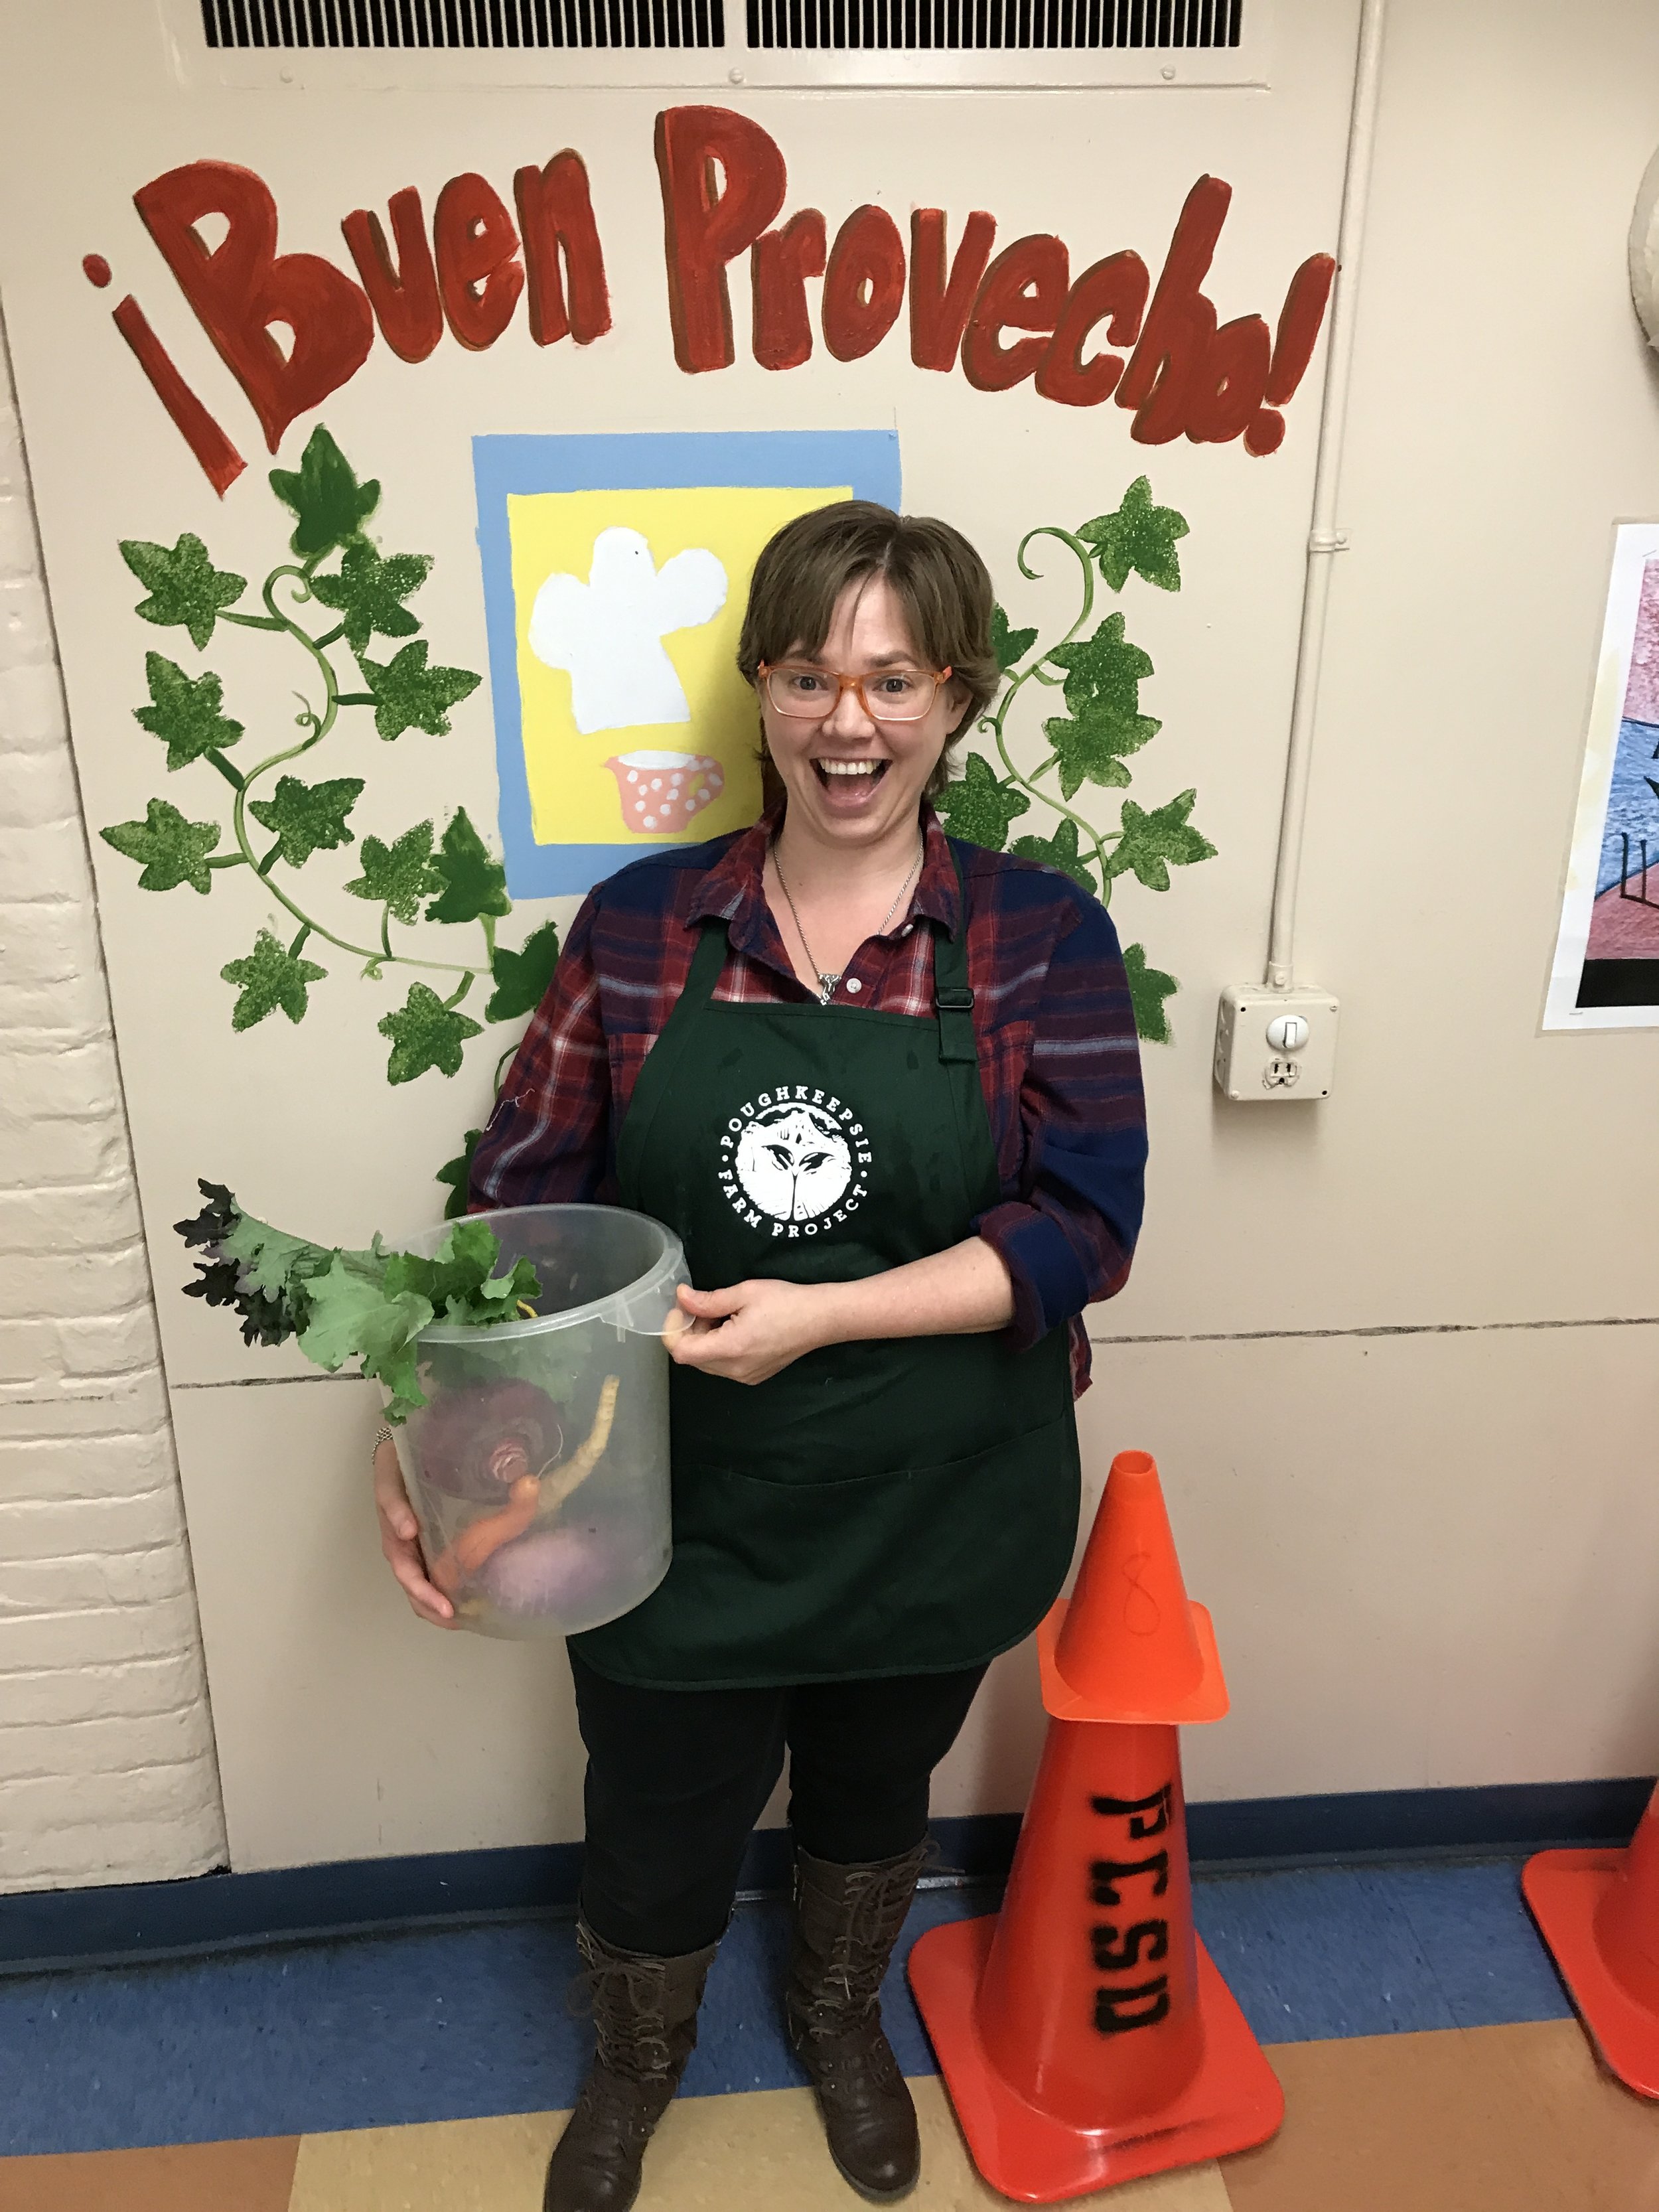
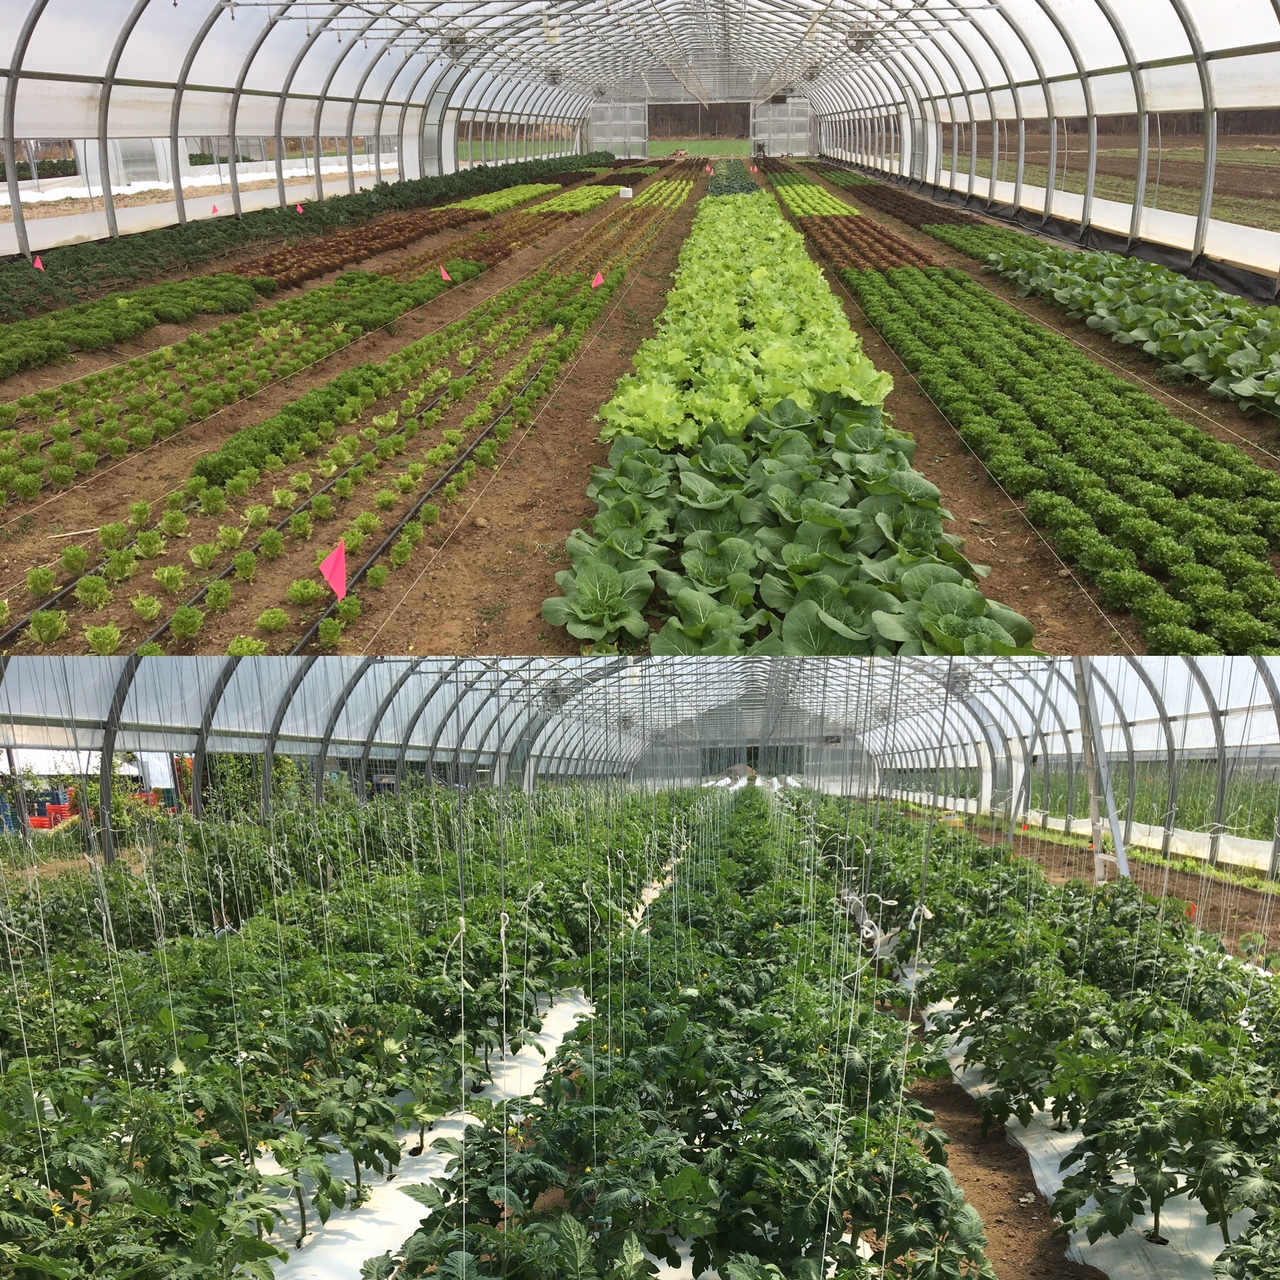
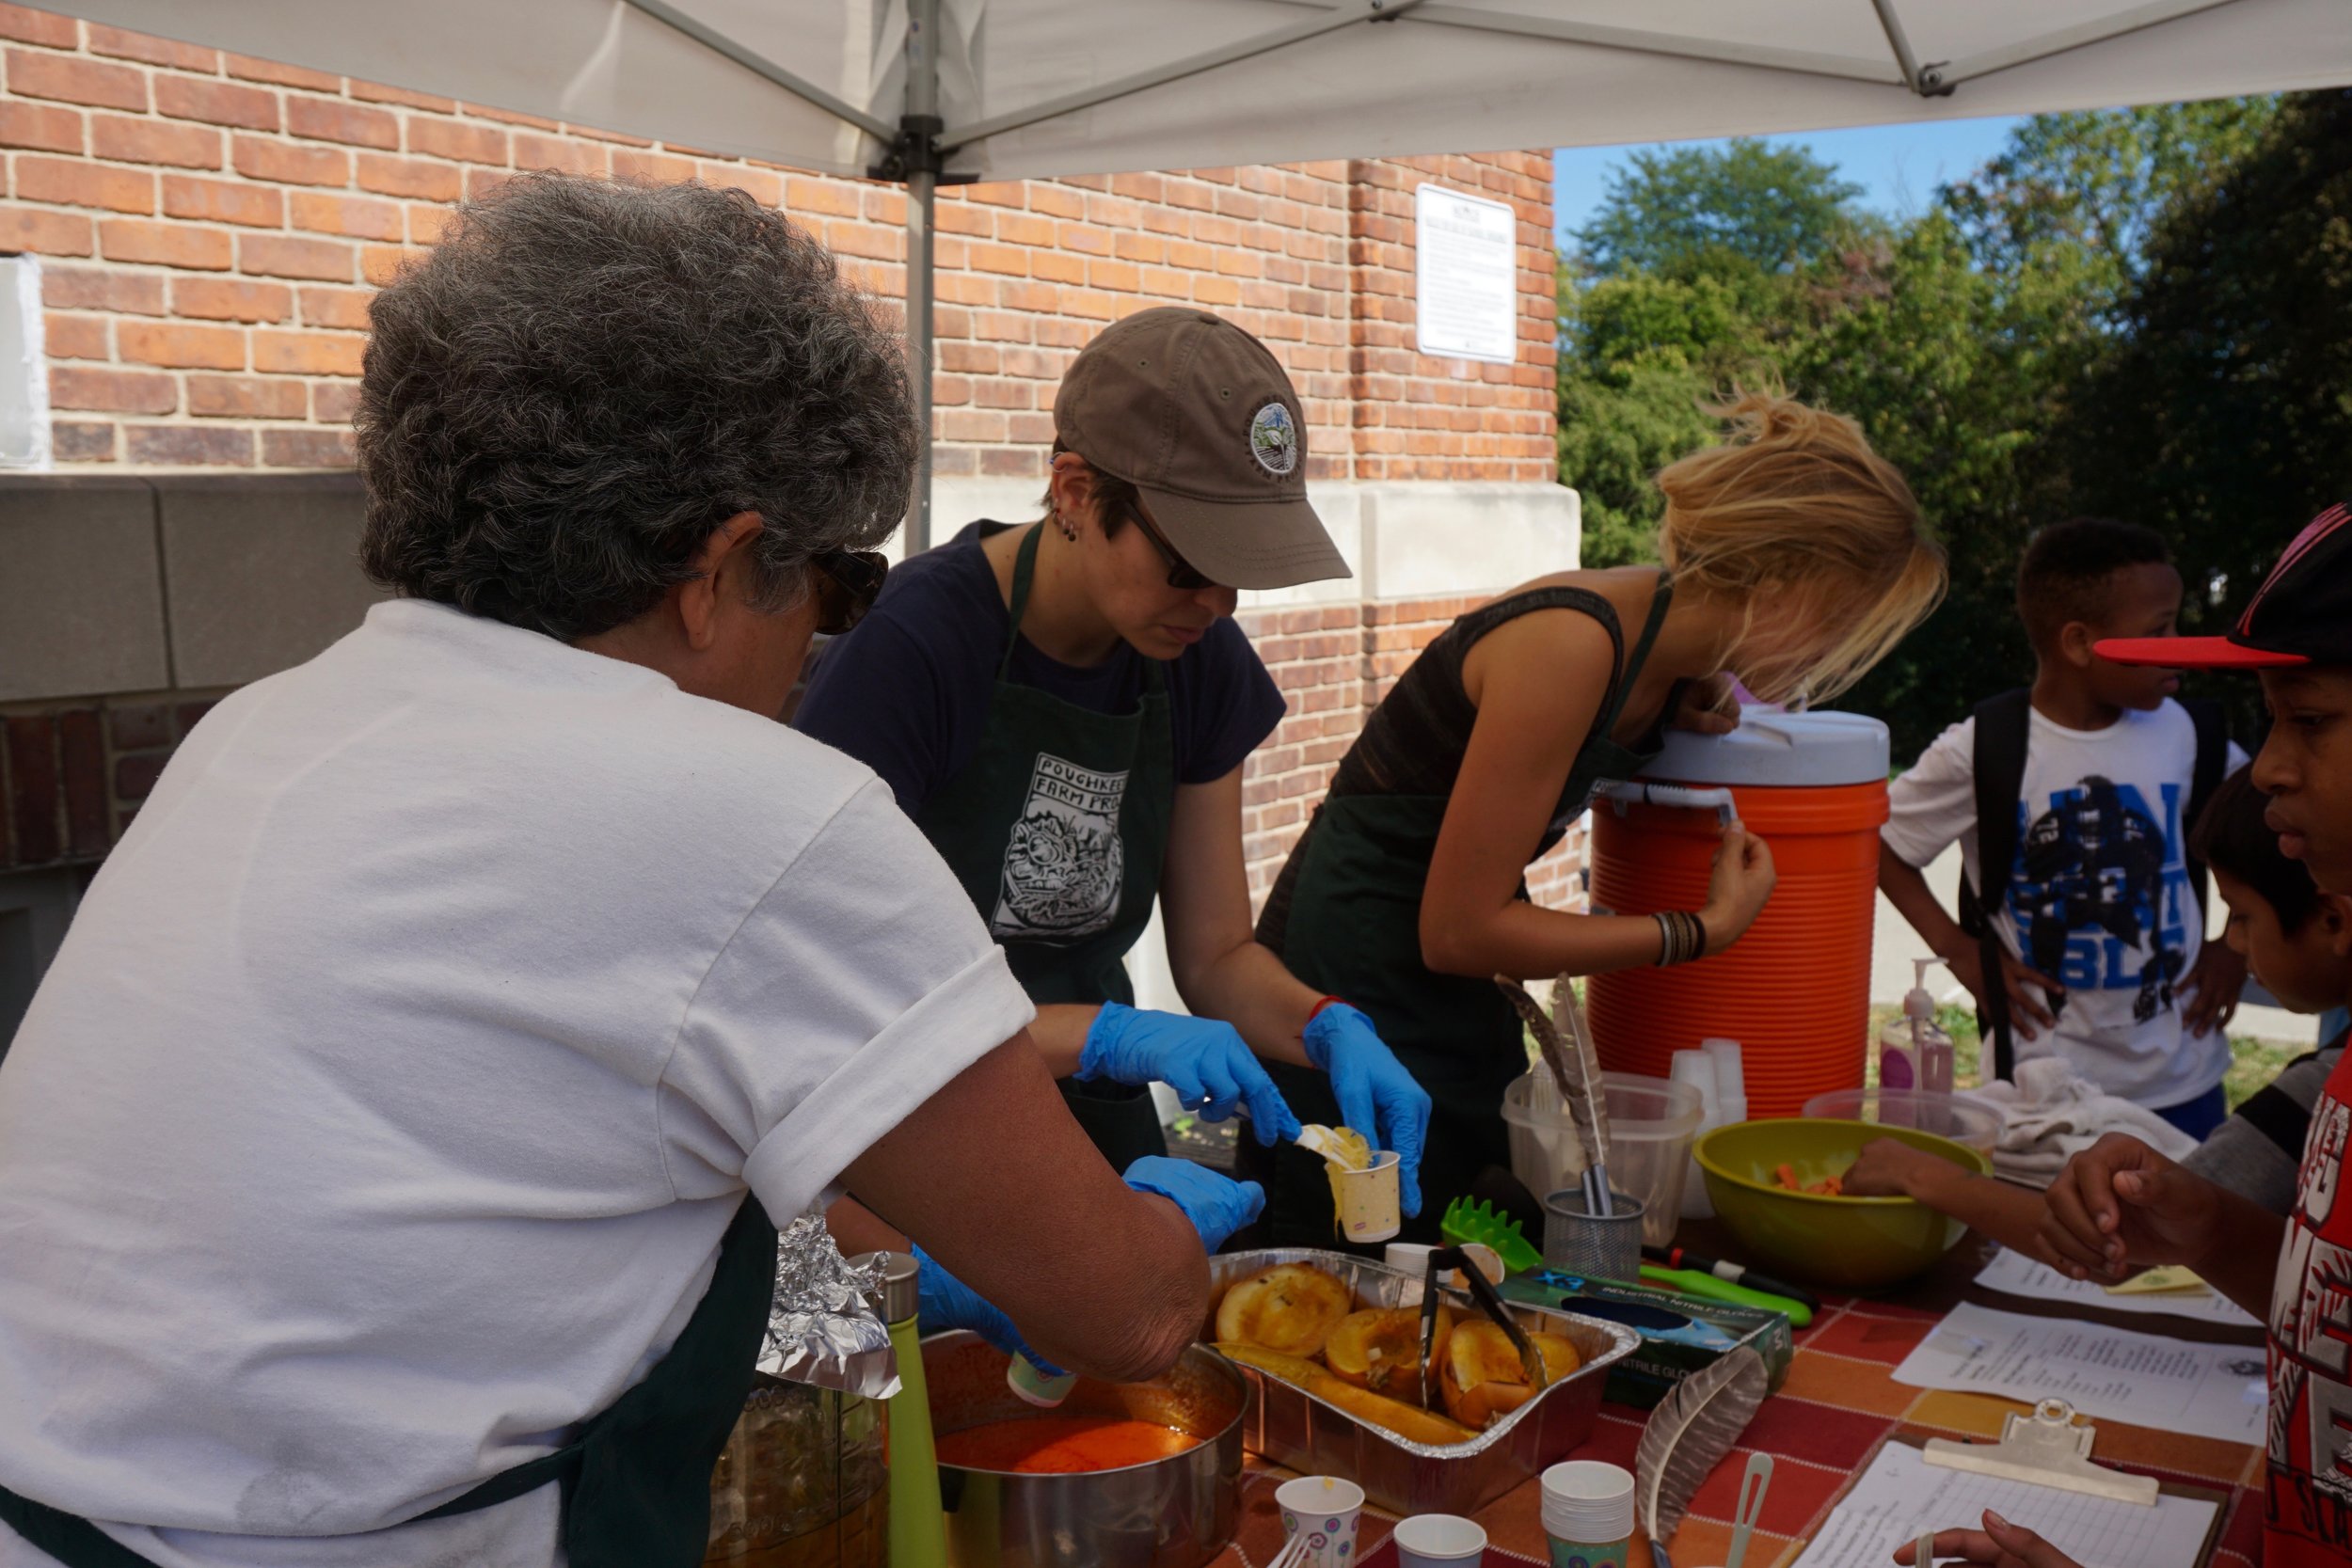
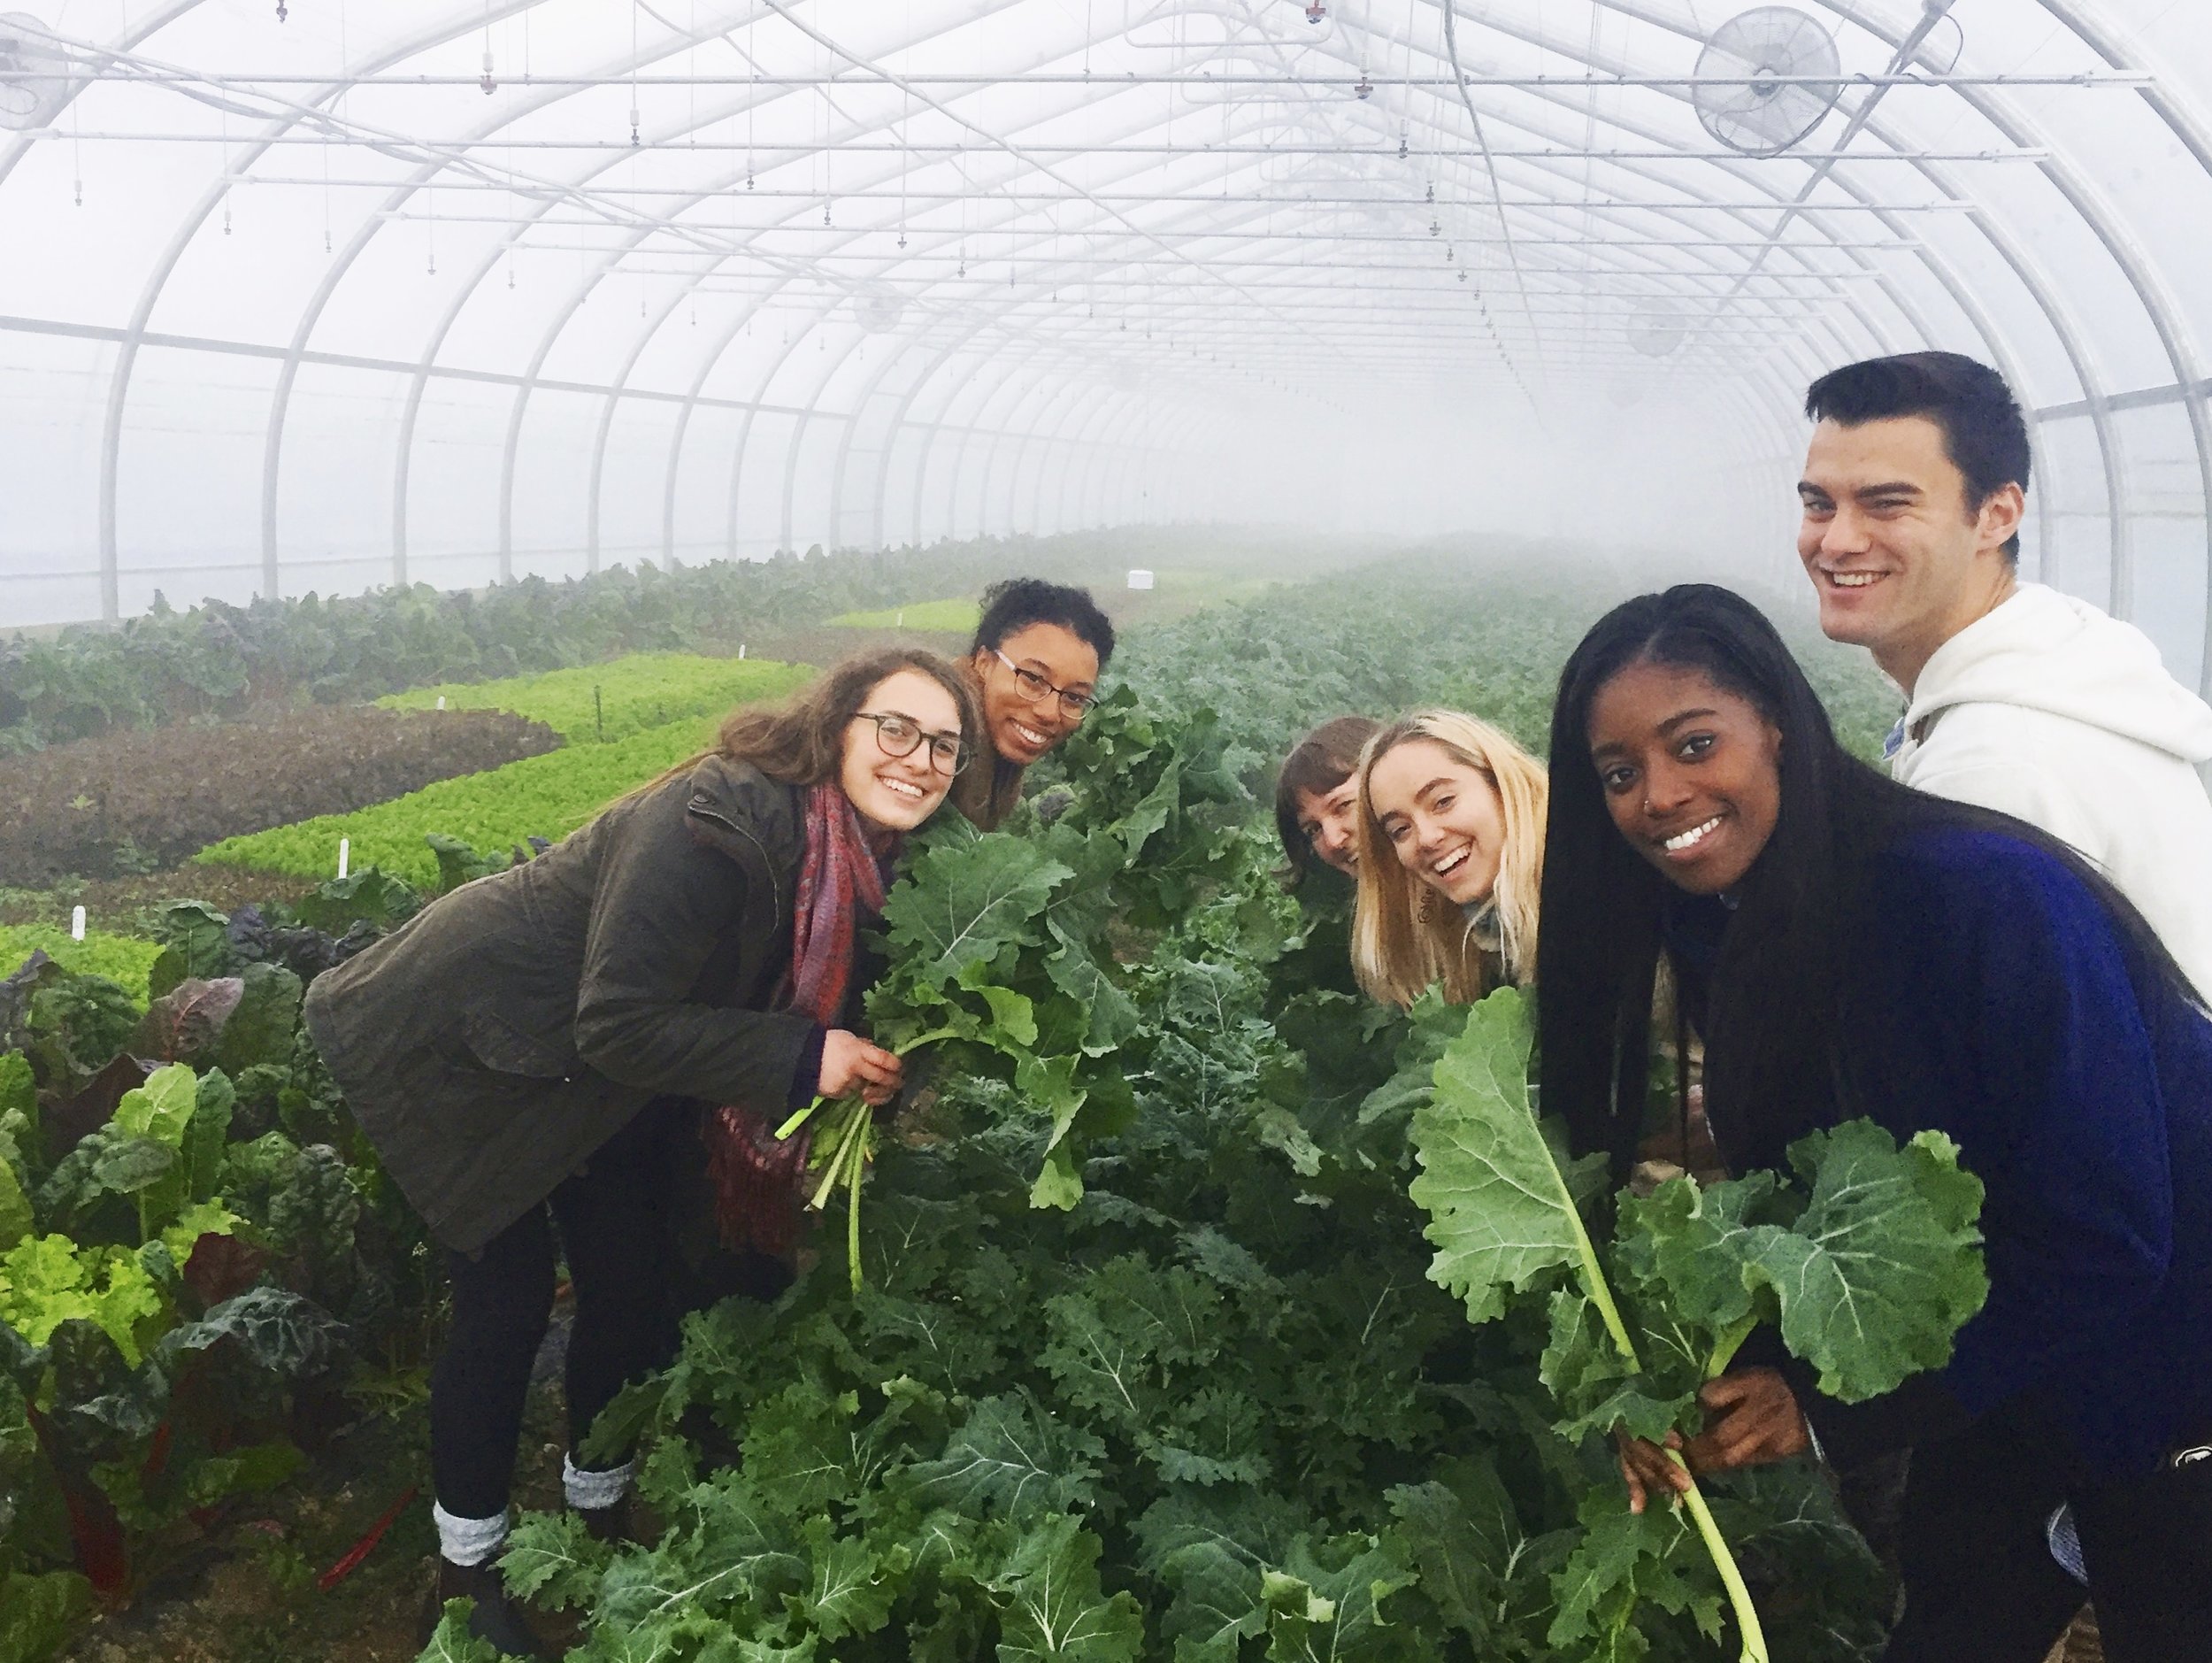
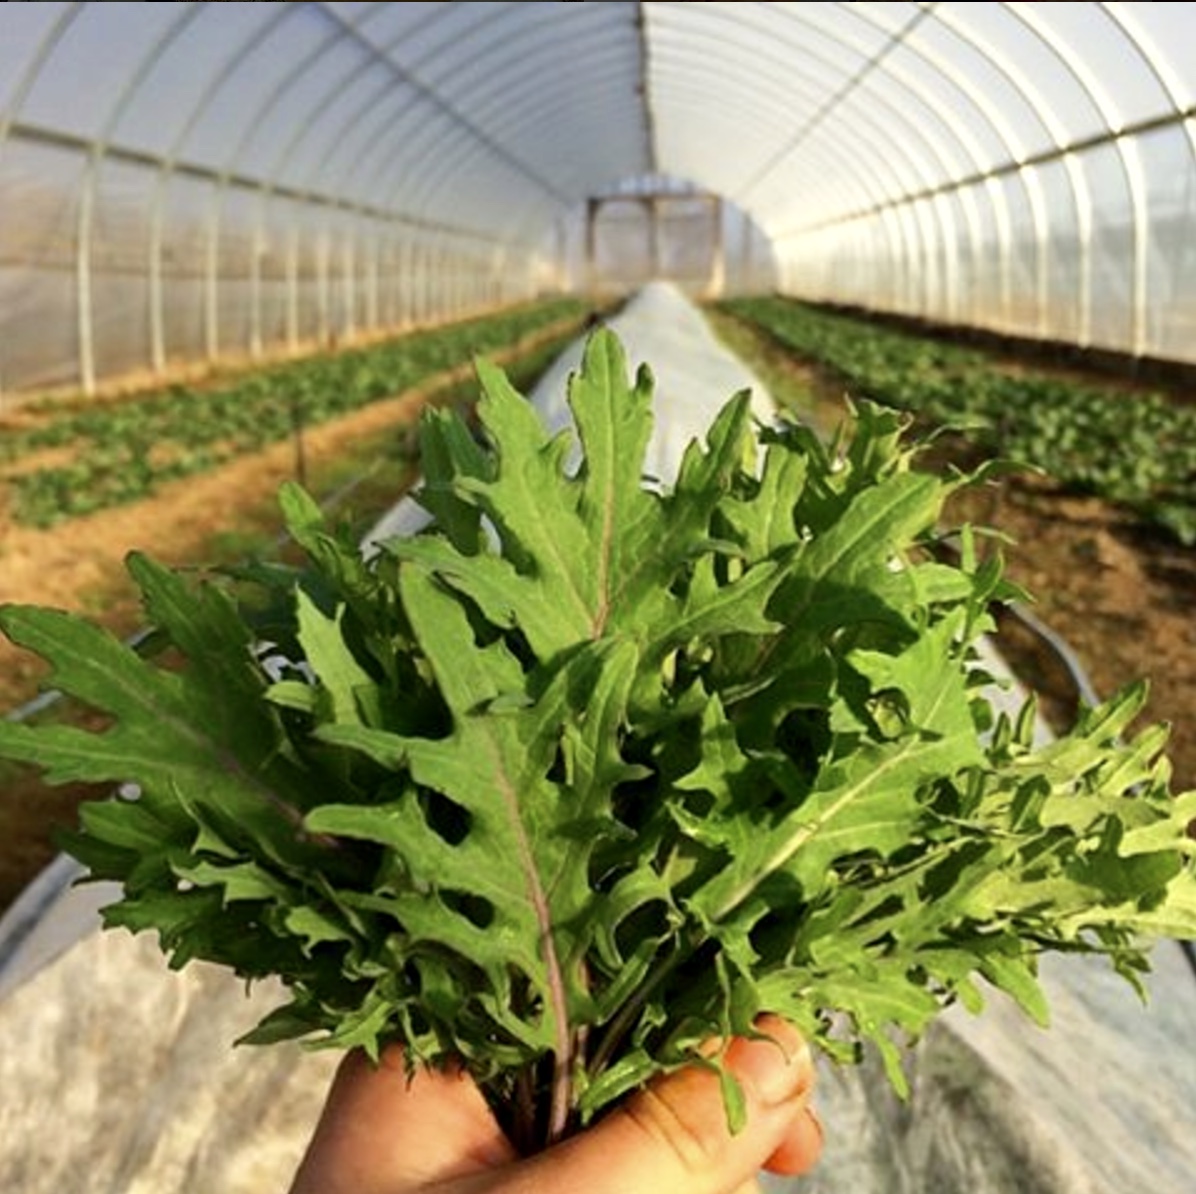
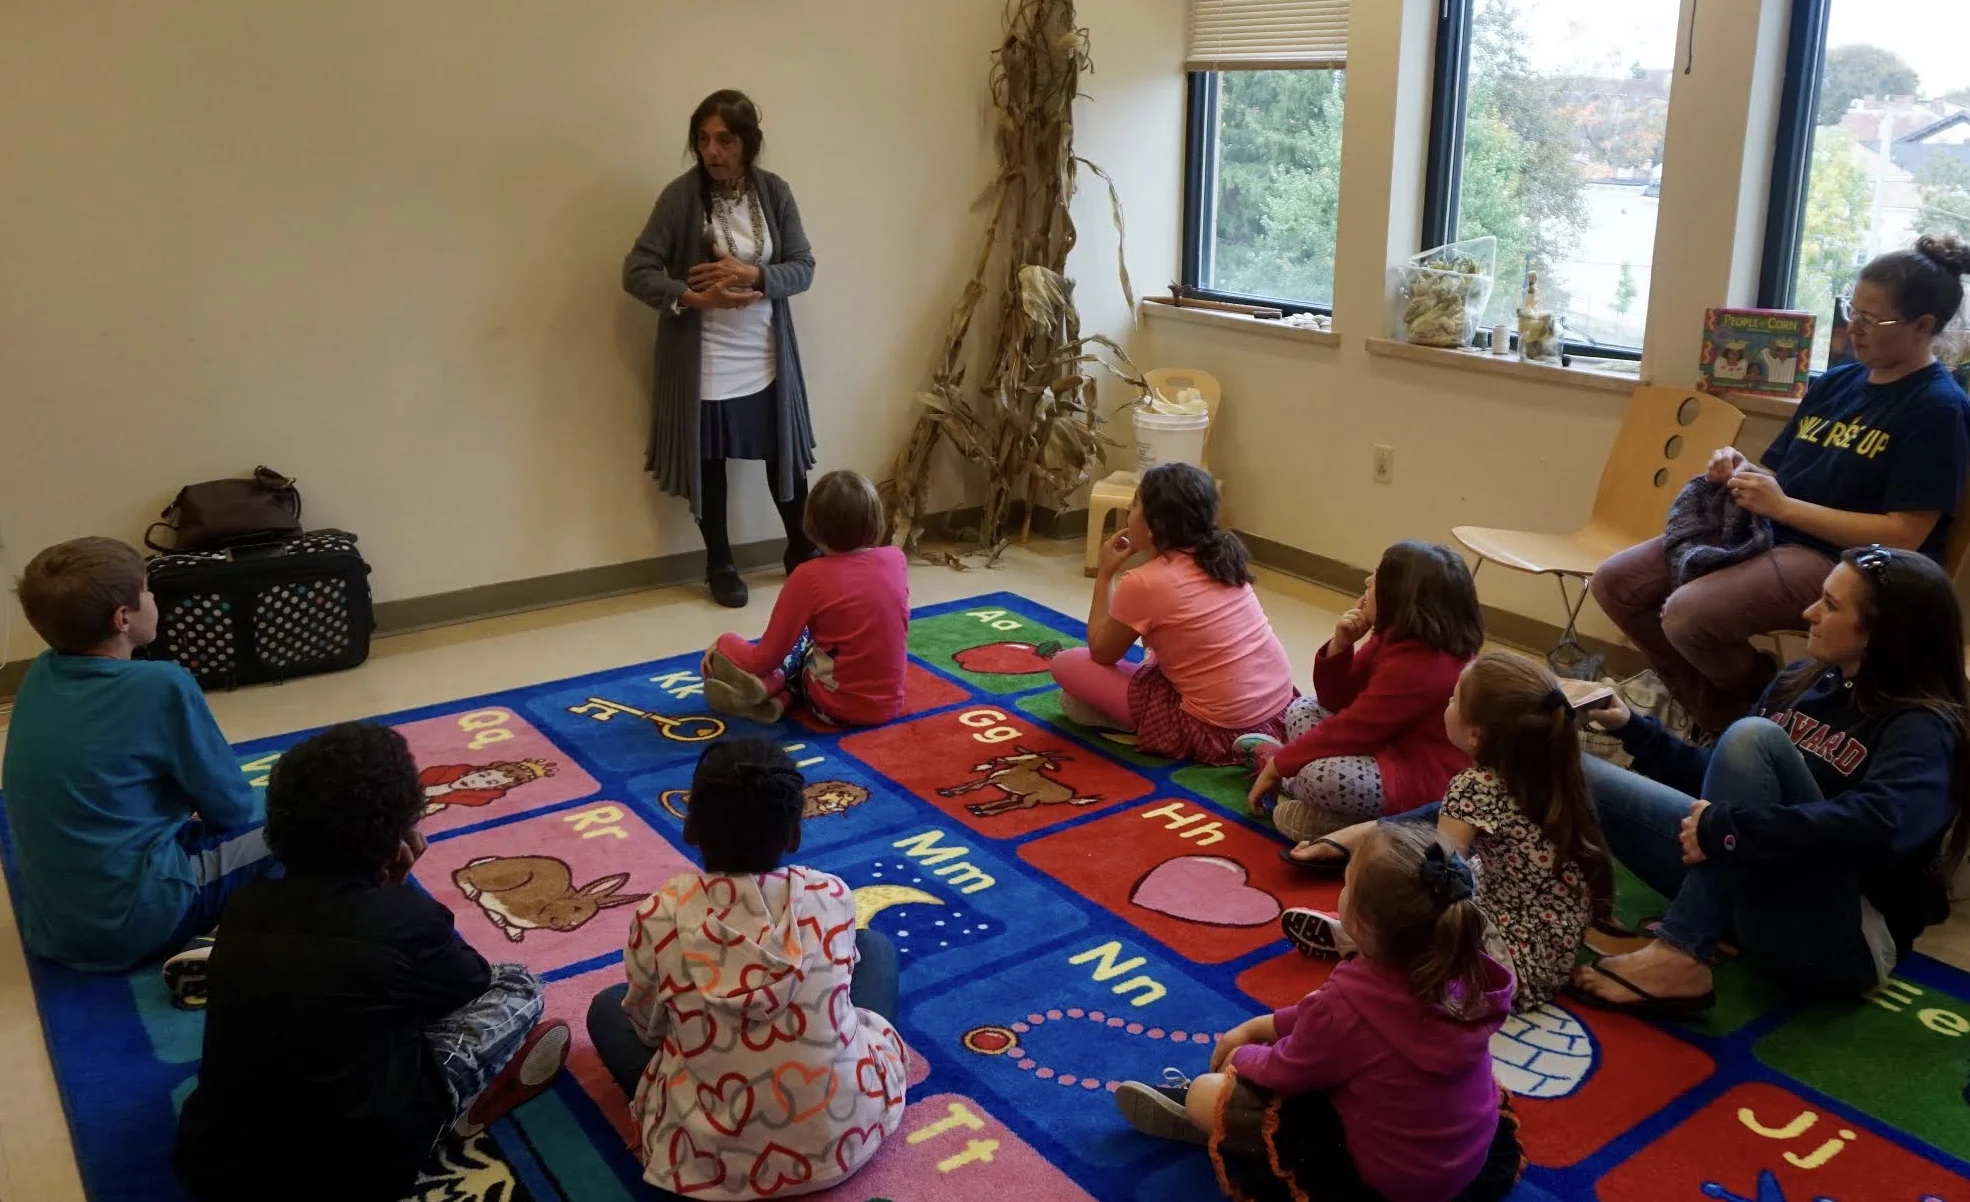
Our awesome Education team answered our call, and came out with a bounty of positive energy and enthusiasm (along with a few representatives of Vassar College, Dutchess Outreach, and our new Interim Director, Ray Armiter) for some mid-winter farm work. The tunnels were buzzing! In just a few short hours, this amazing group of 15+ completely cleared out and prepped Tunnel 4, removing roughly 200 lbs organic materials to the compost pile and broadforking all three beds to be ready to receive transplants -- and still had time to clear out nearly half the chickweed in Tunnel 2.

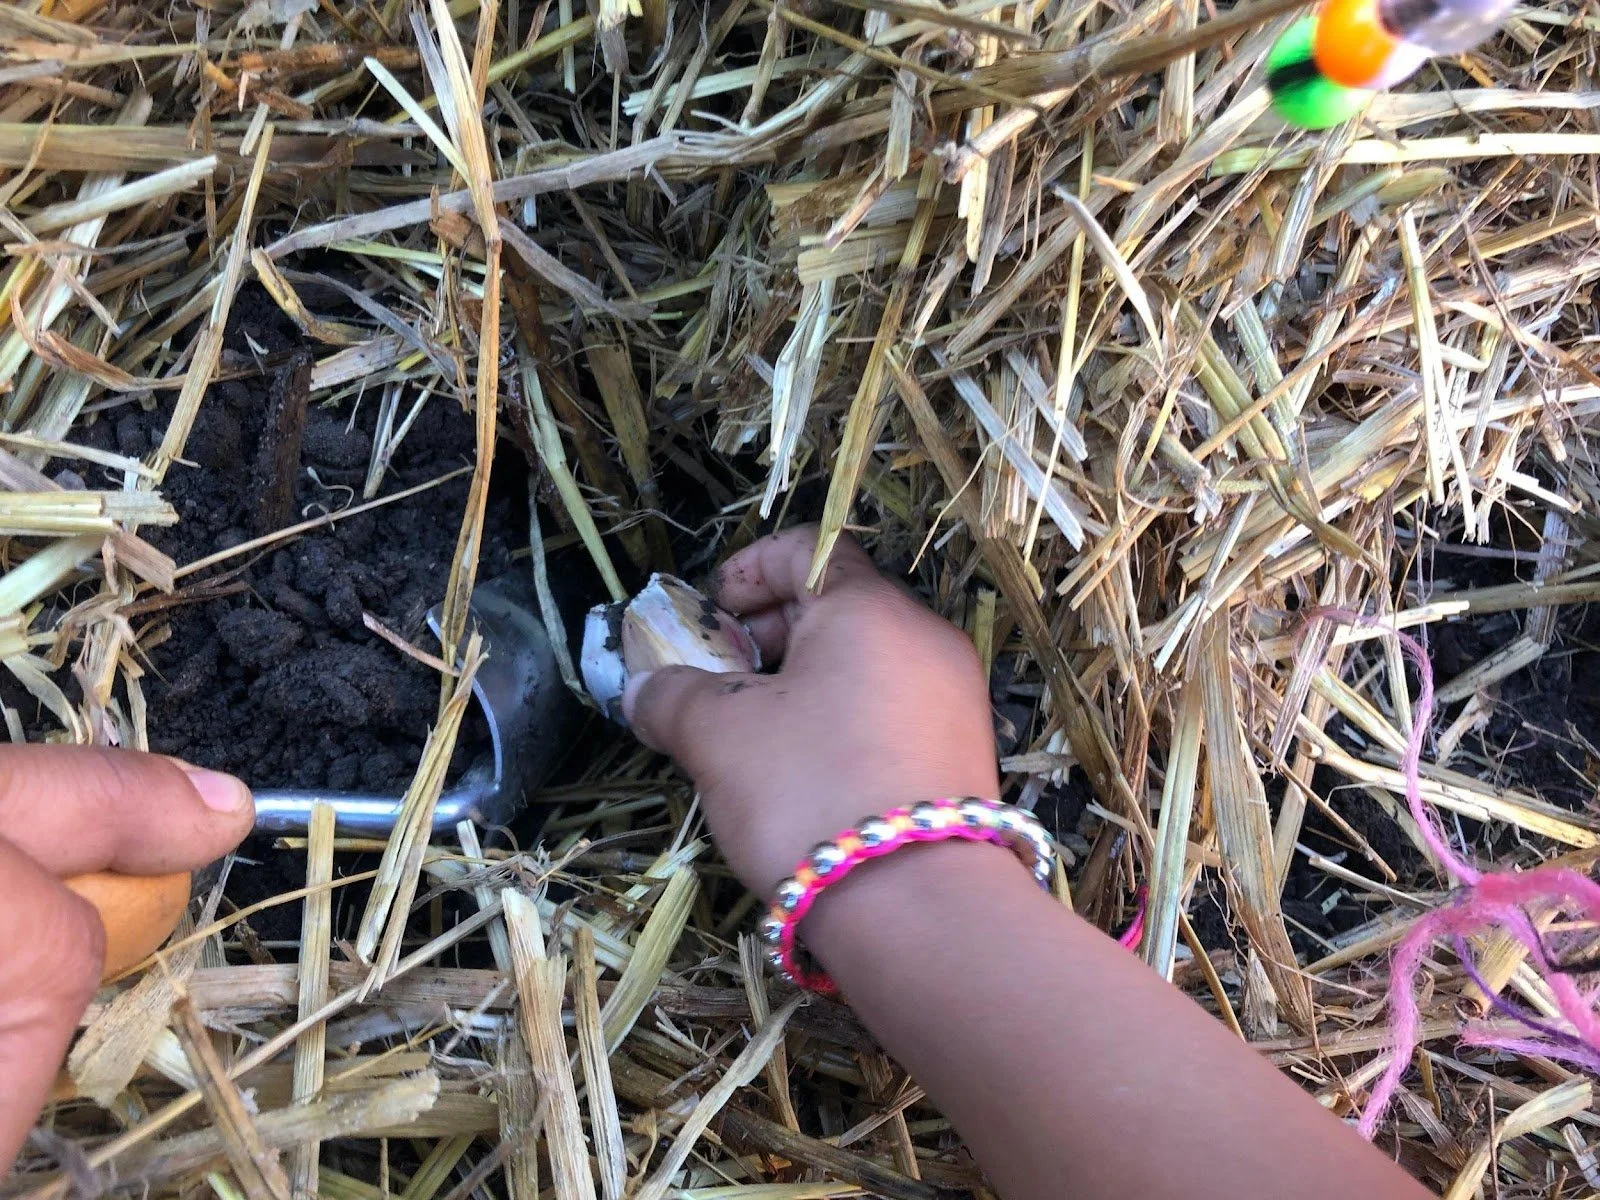
Before
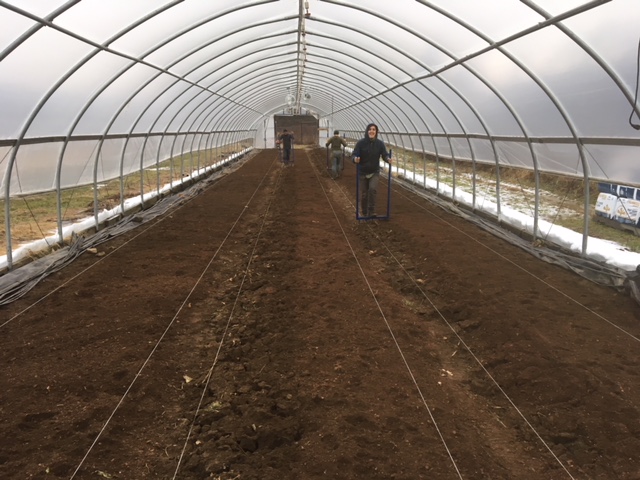
After!
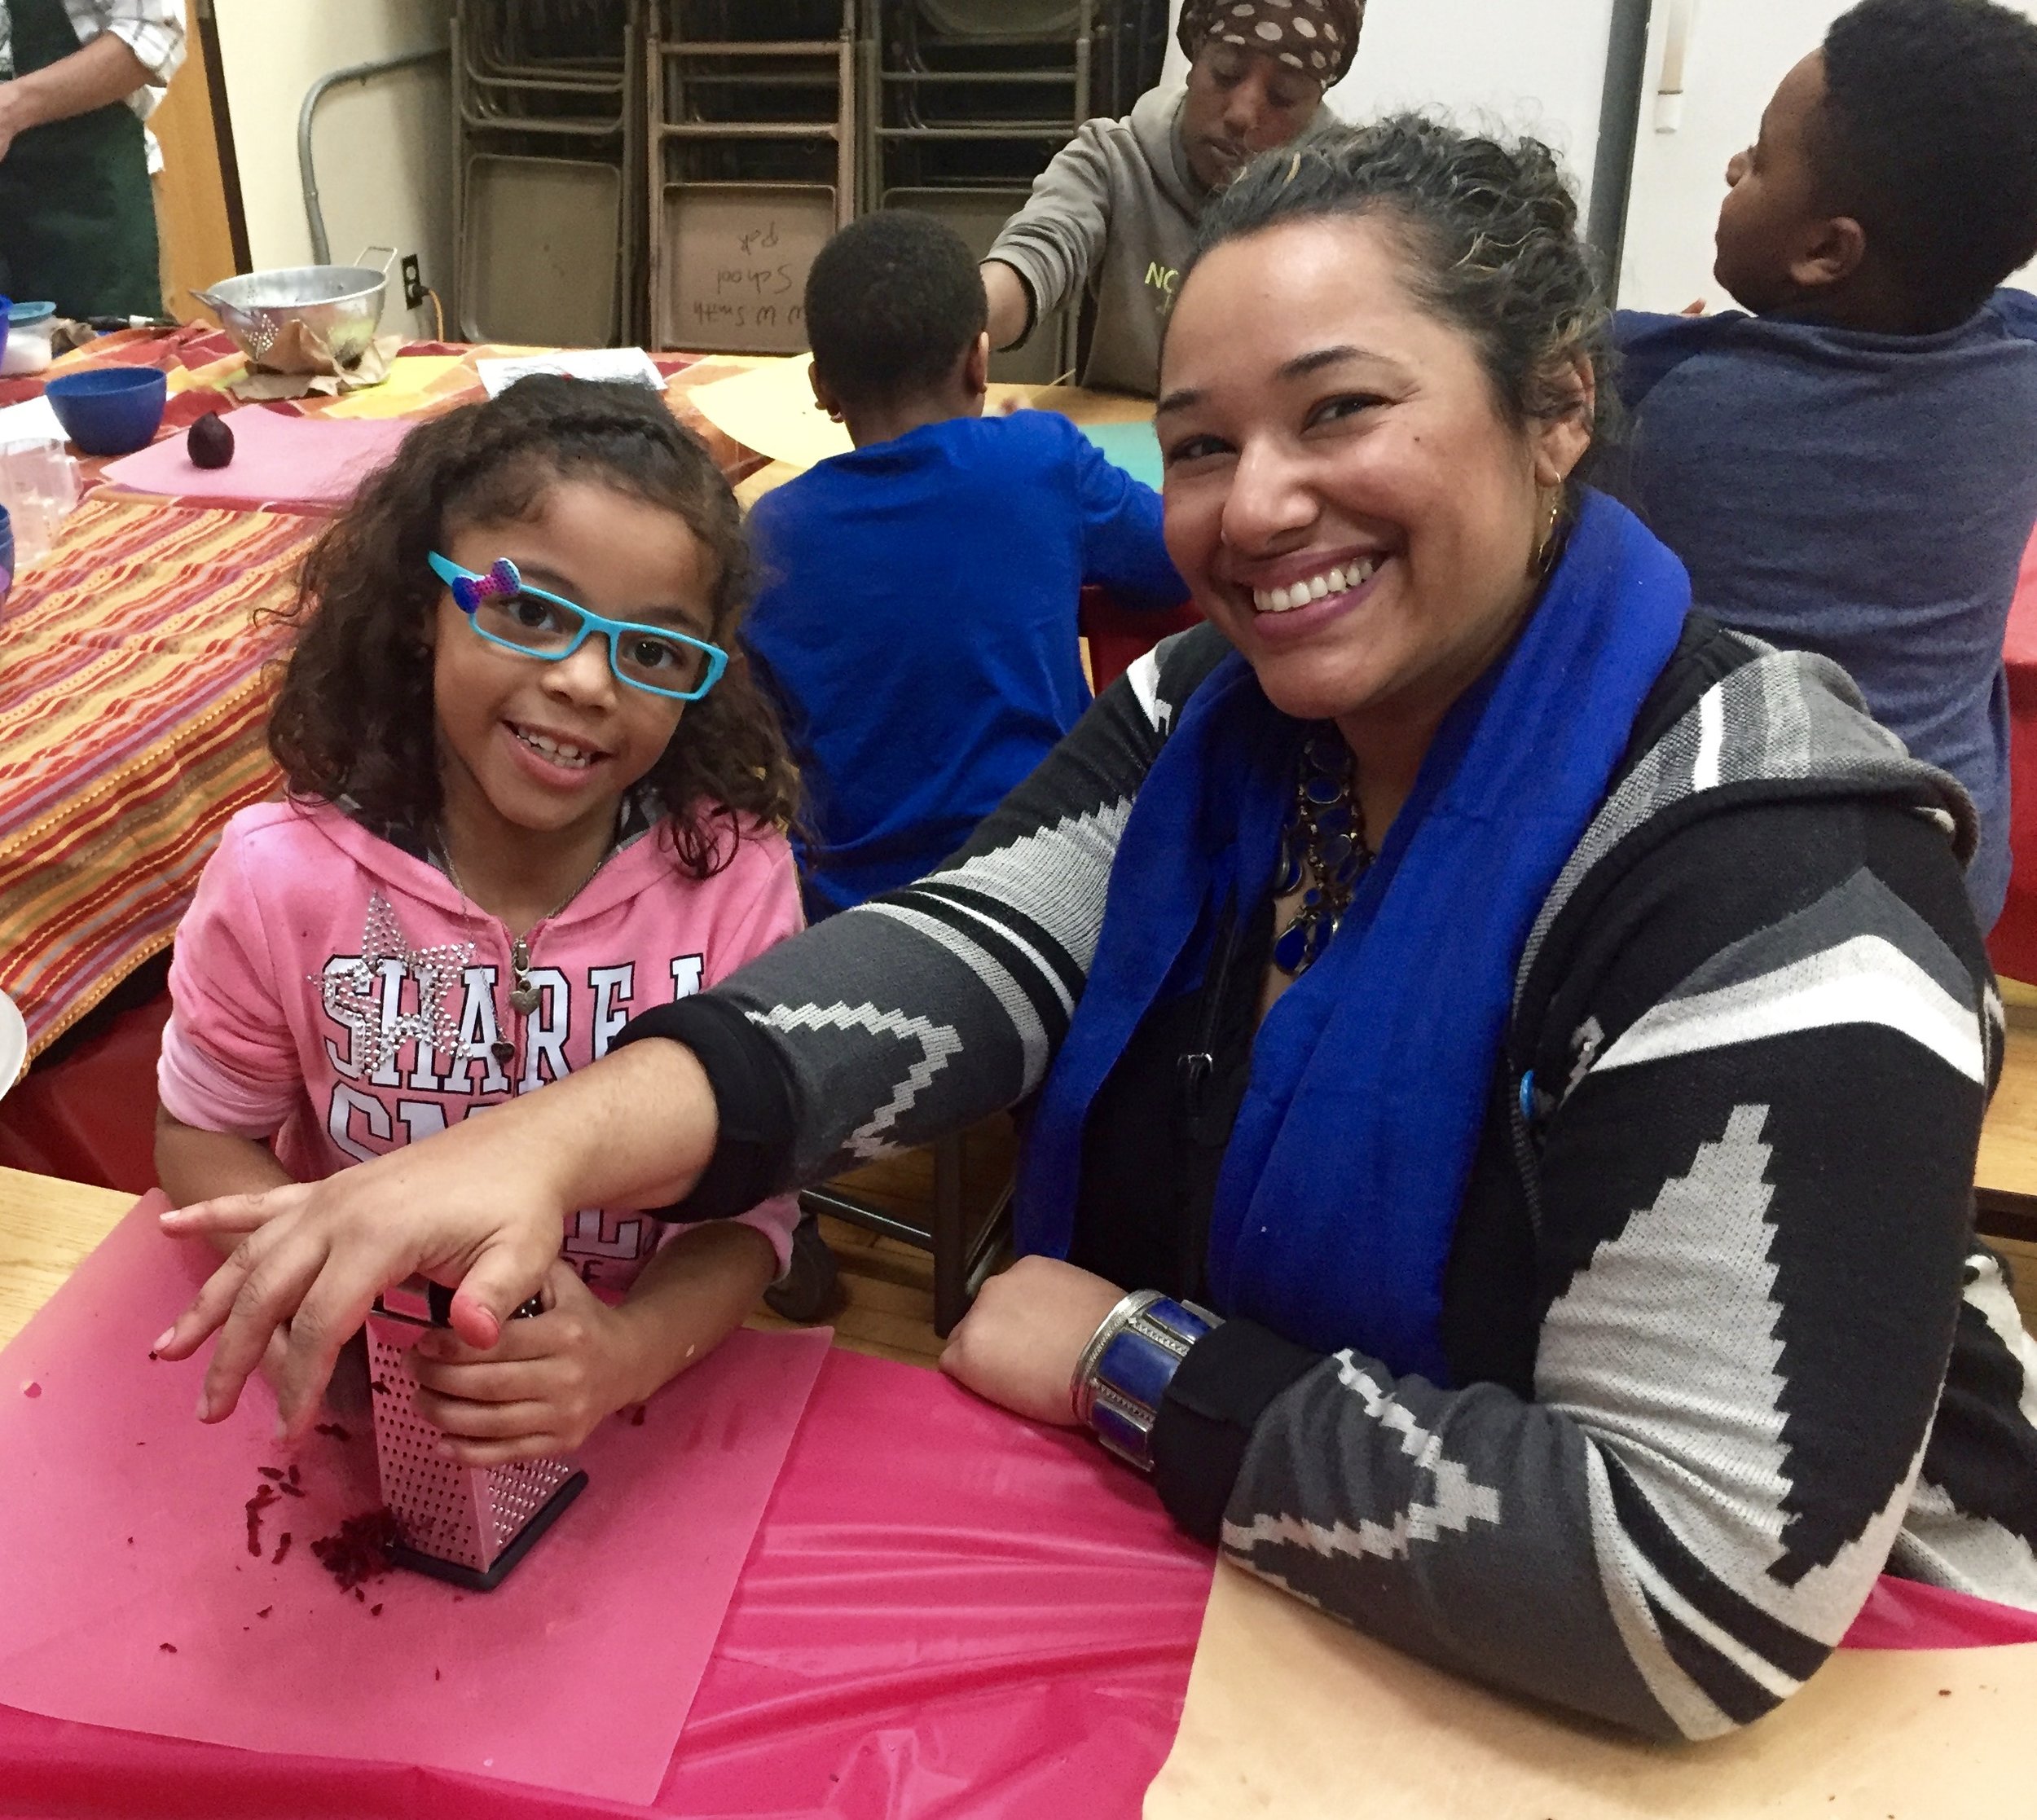
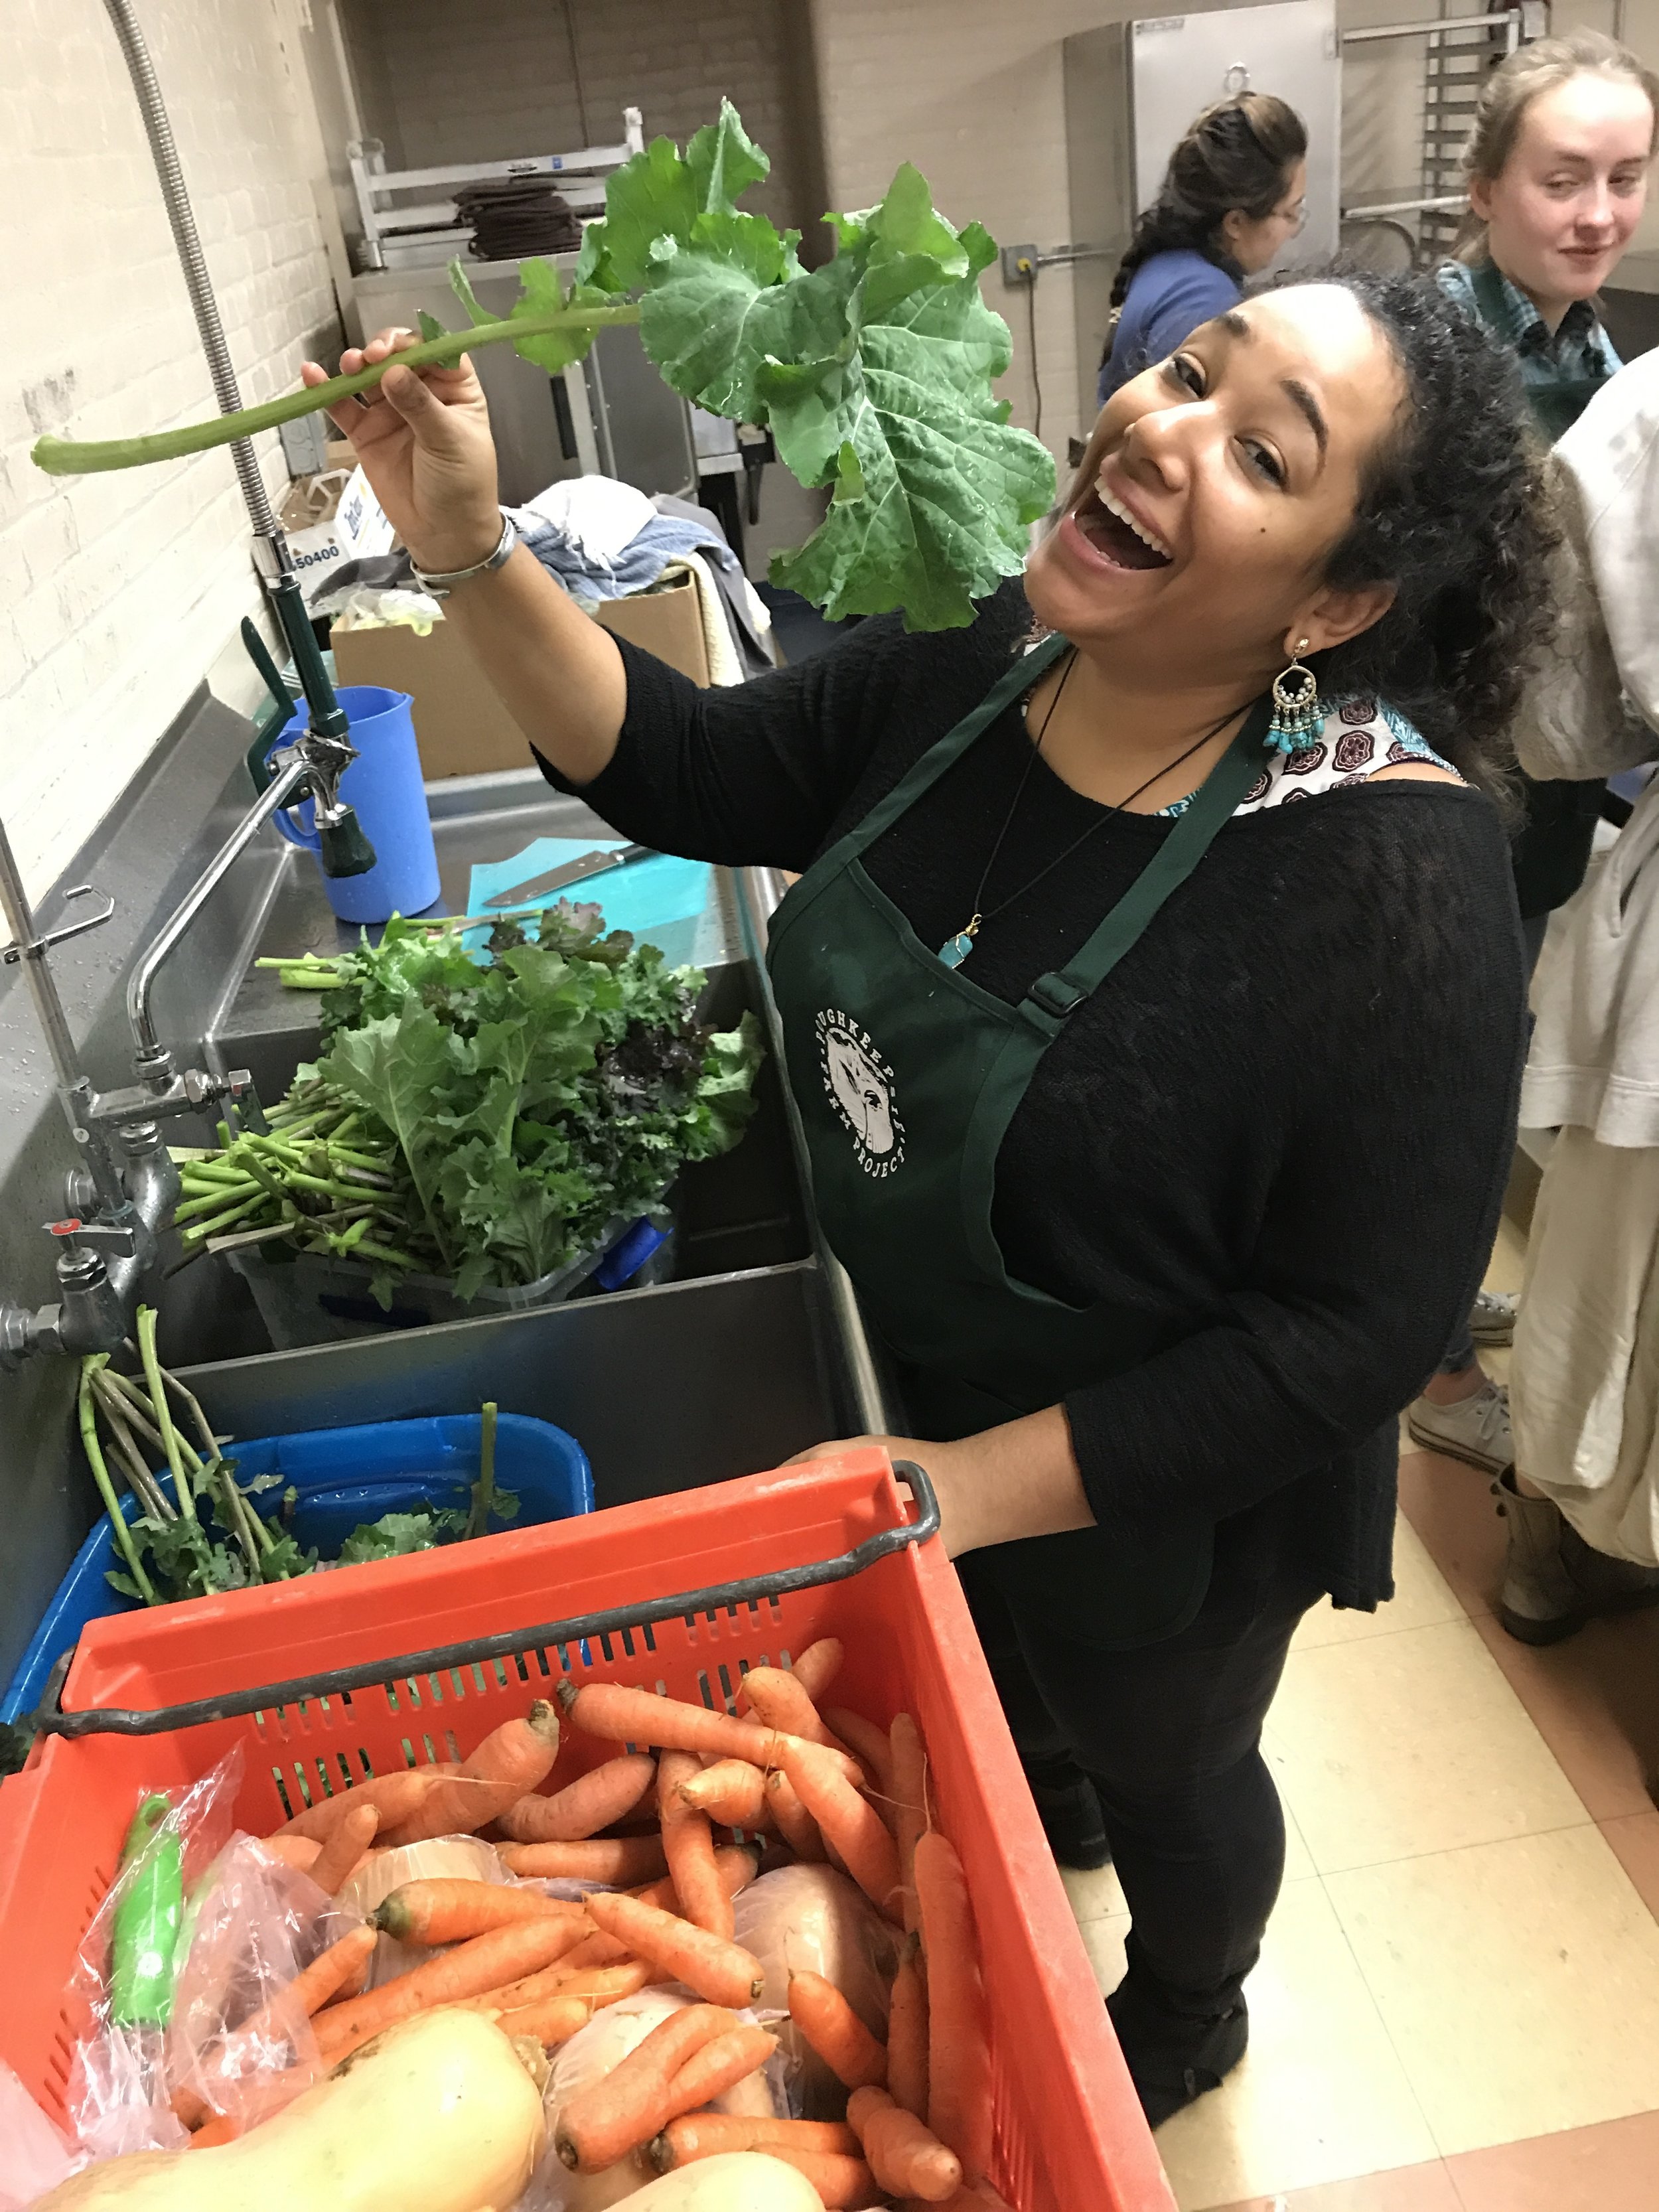
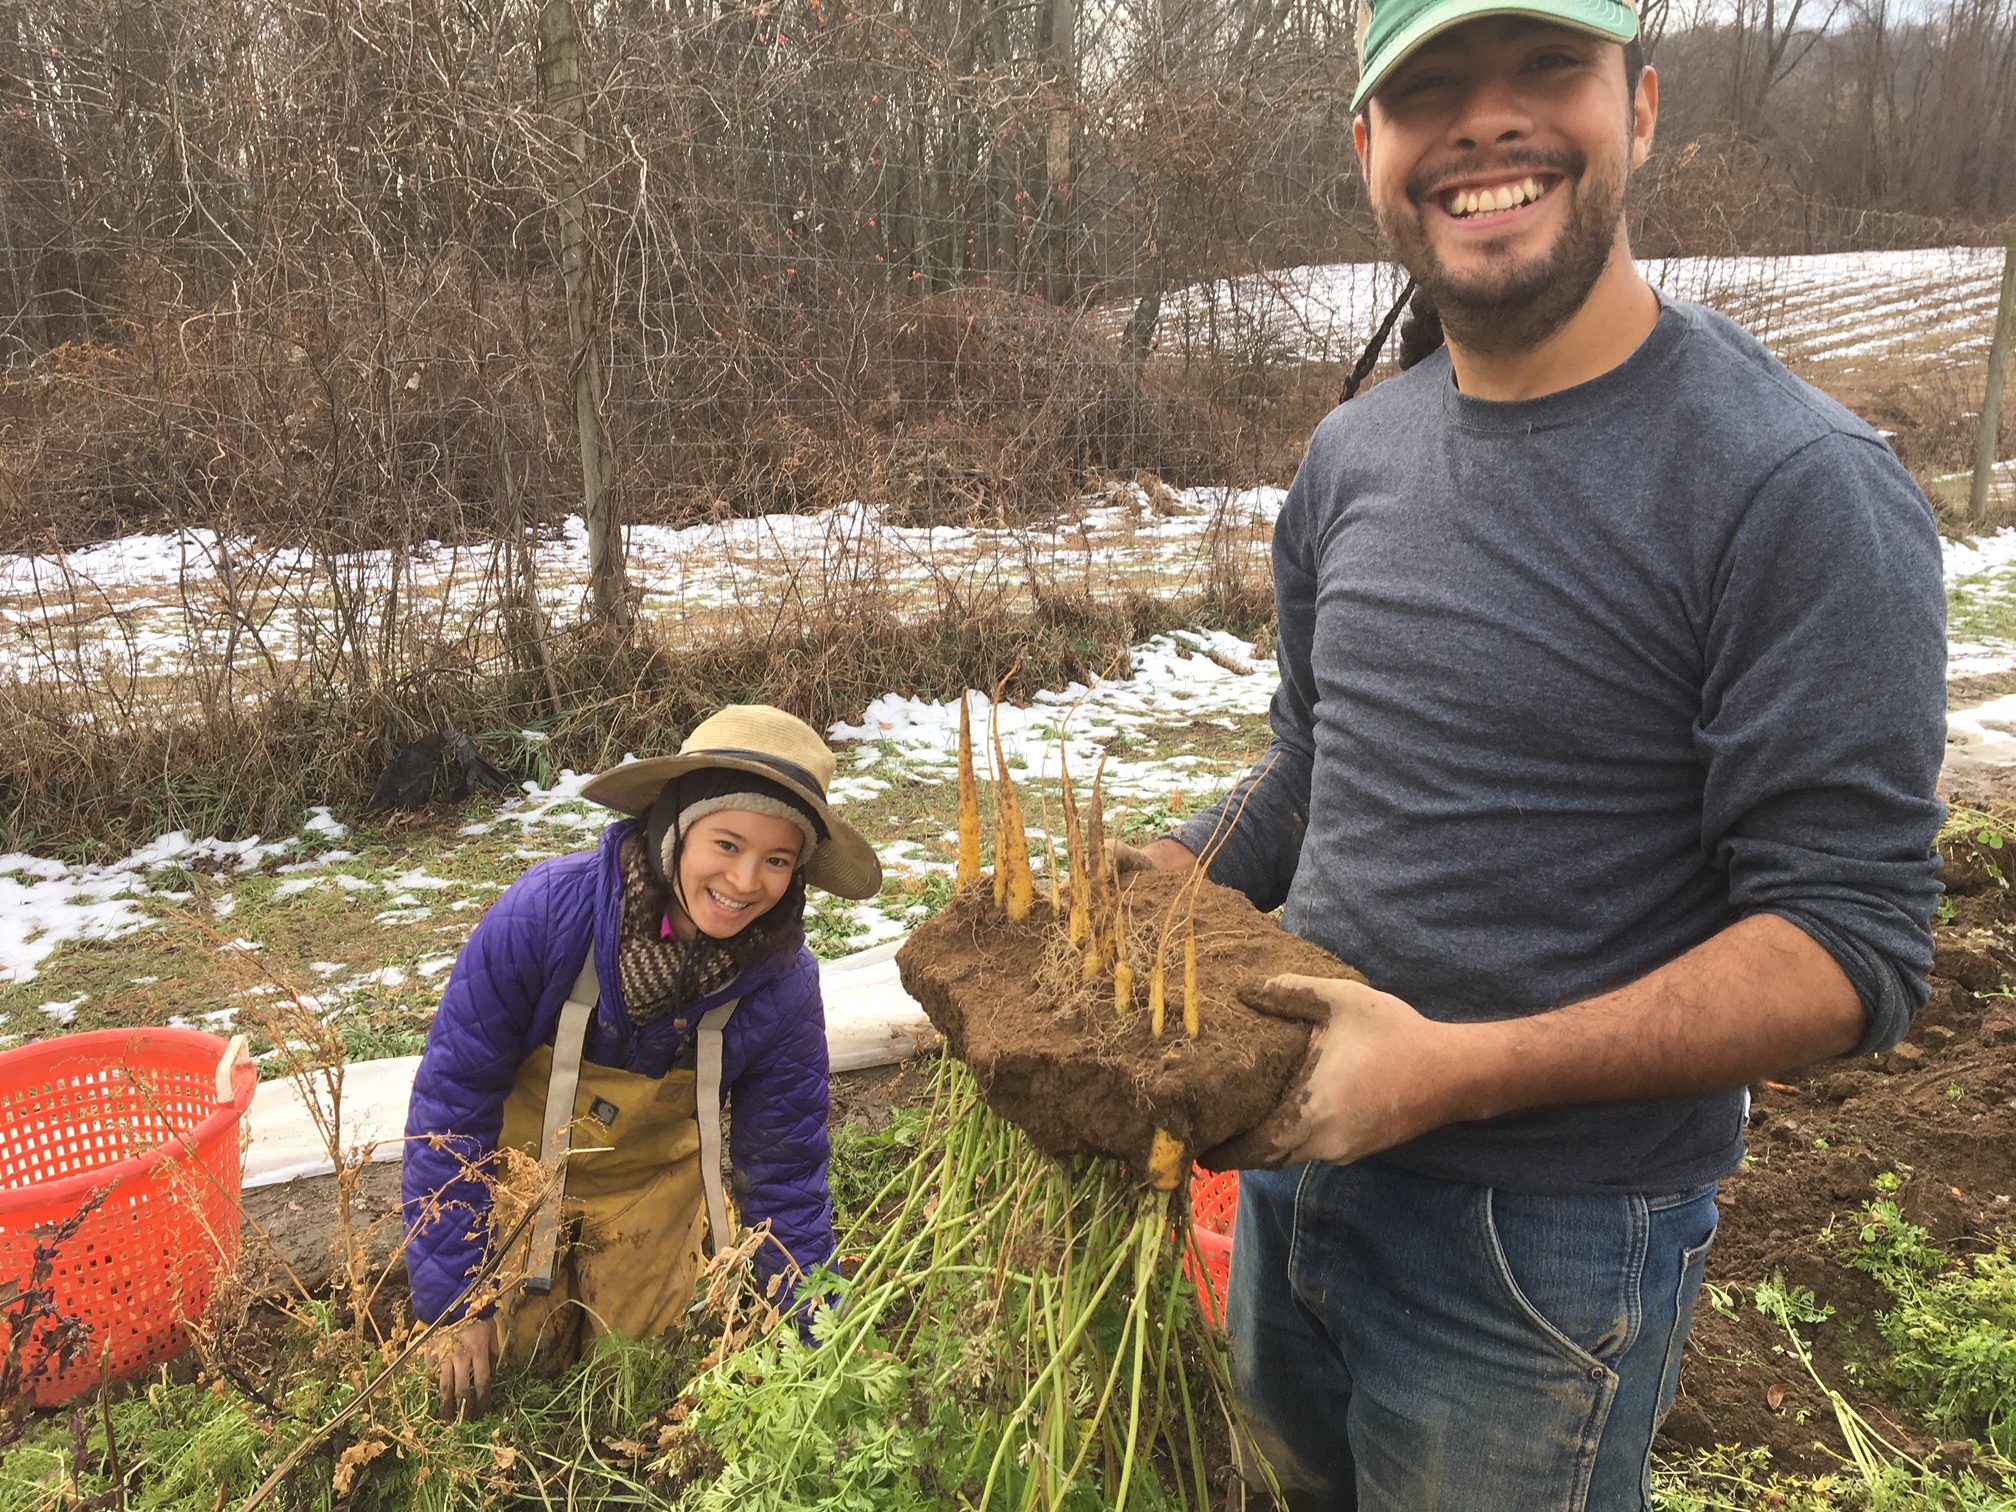
For the farm team, it was energizing to have some new (and familiar) faces out working with us -- and everyone who came out to help left with dirty hands and big smiles.
In fact, it was so much fun that we’ve decided to do it again: every Tuesday. We’ll be here, holding open volunteer hours, every Tuesday from 10am-12pm. If you’re interested in joining us, please email me at crew(at)farmproject(dot)org to let us know you’re coming -- or just show up.

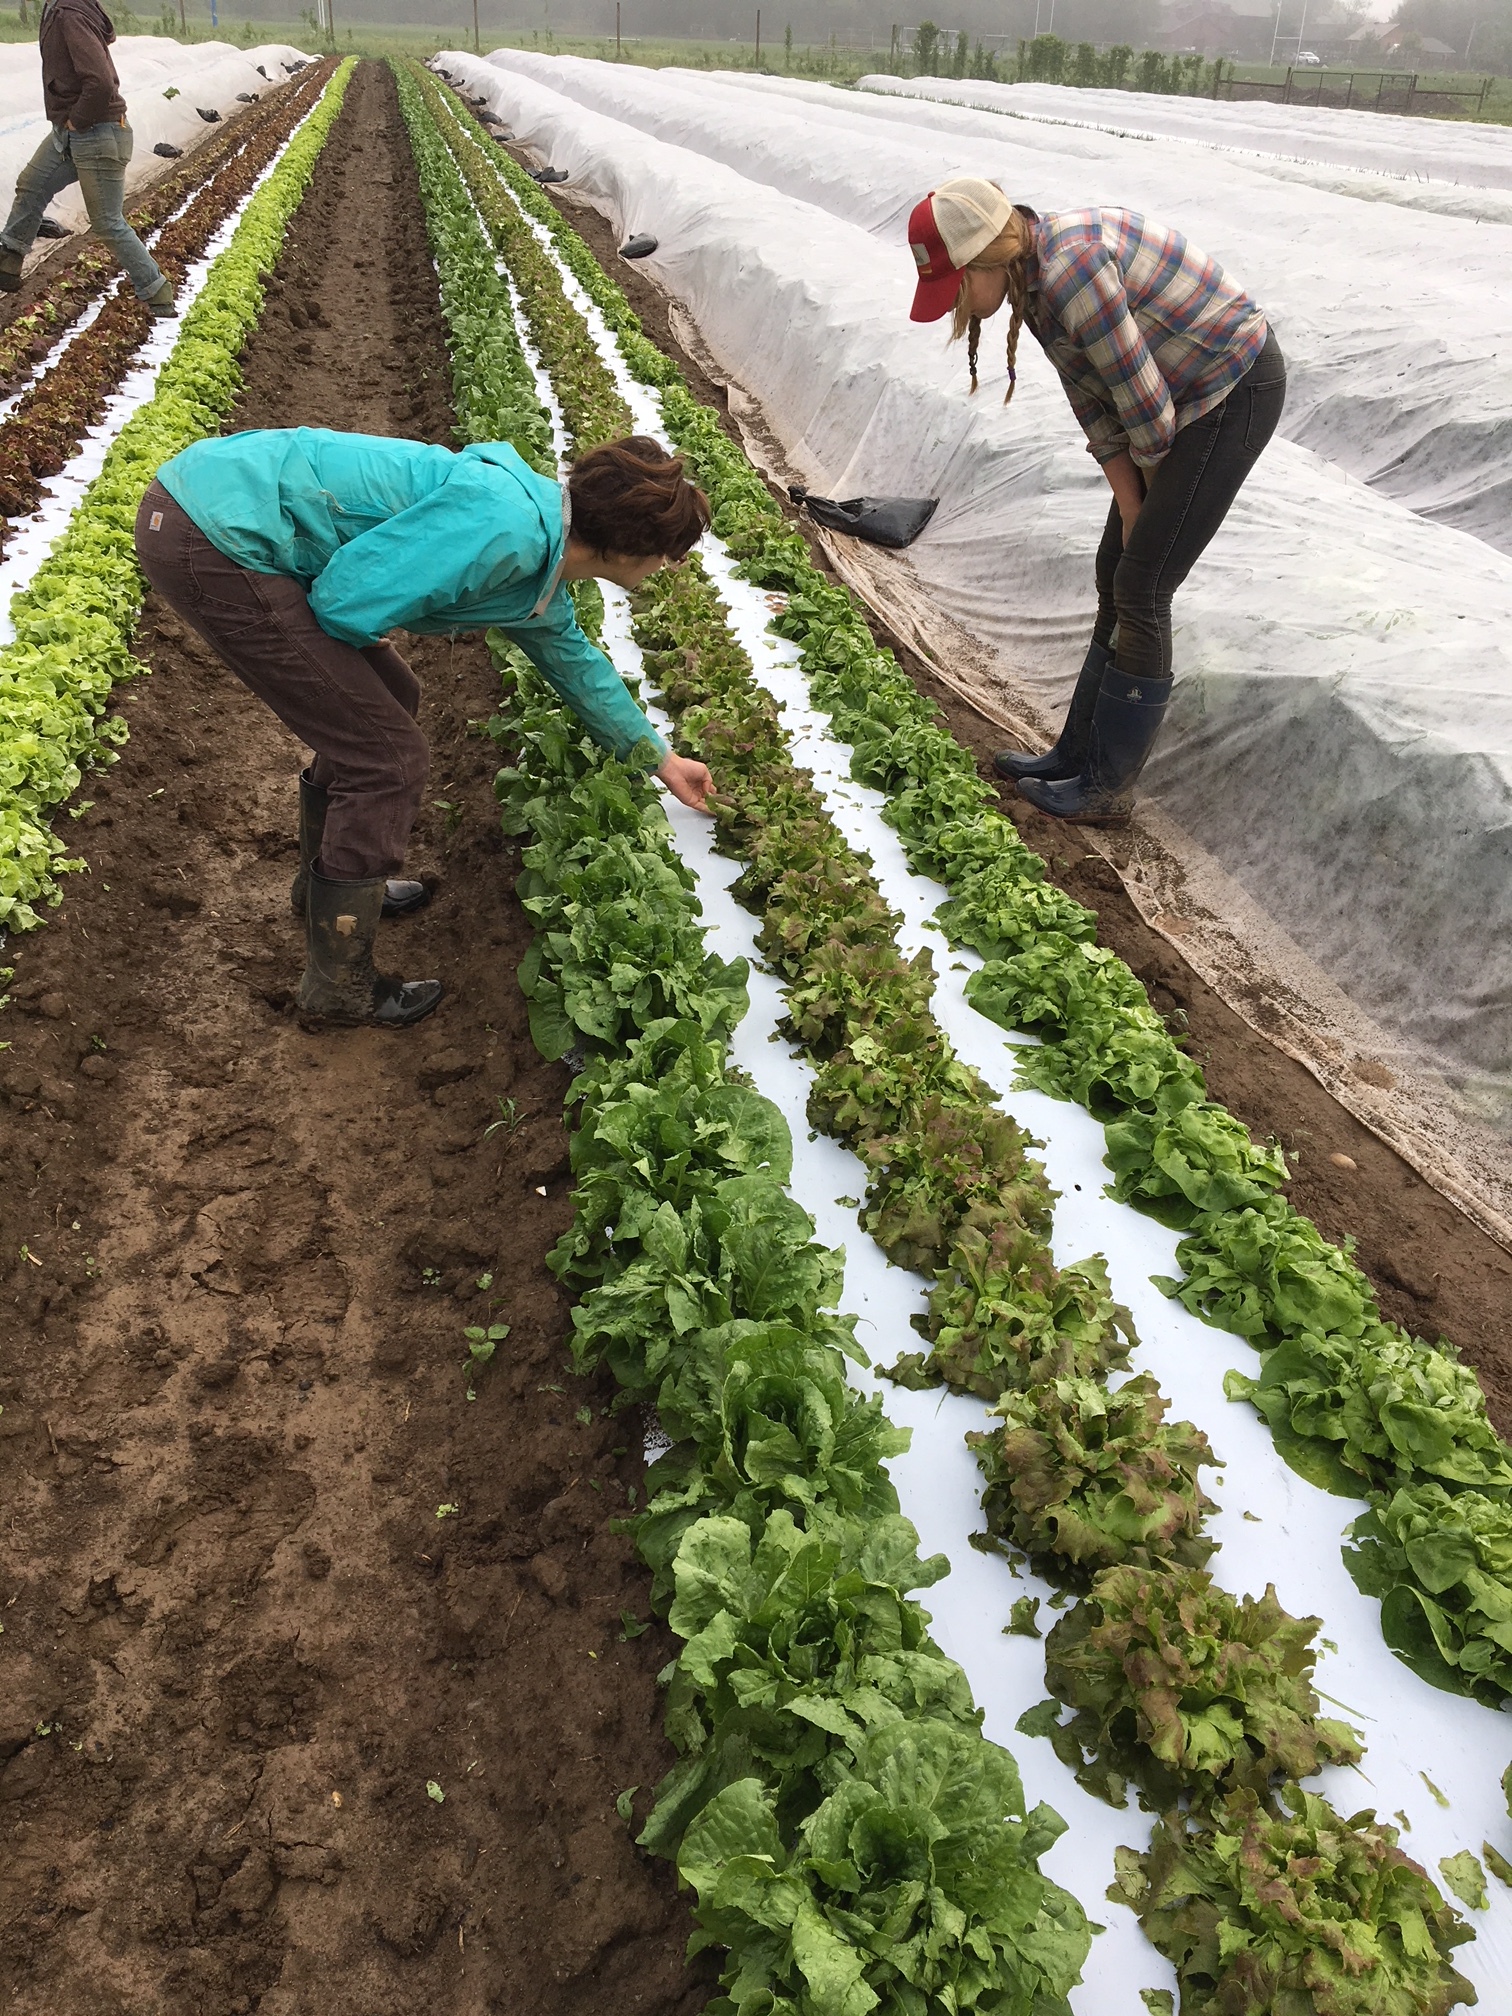
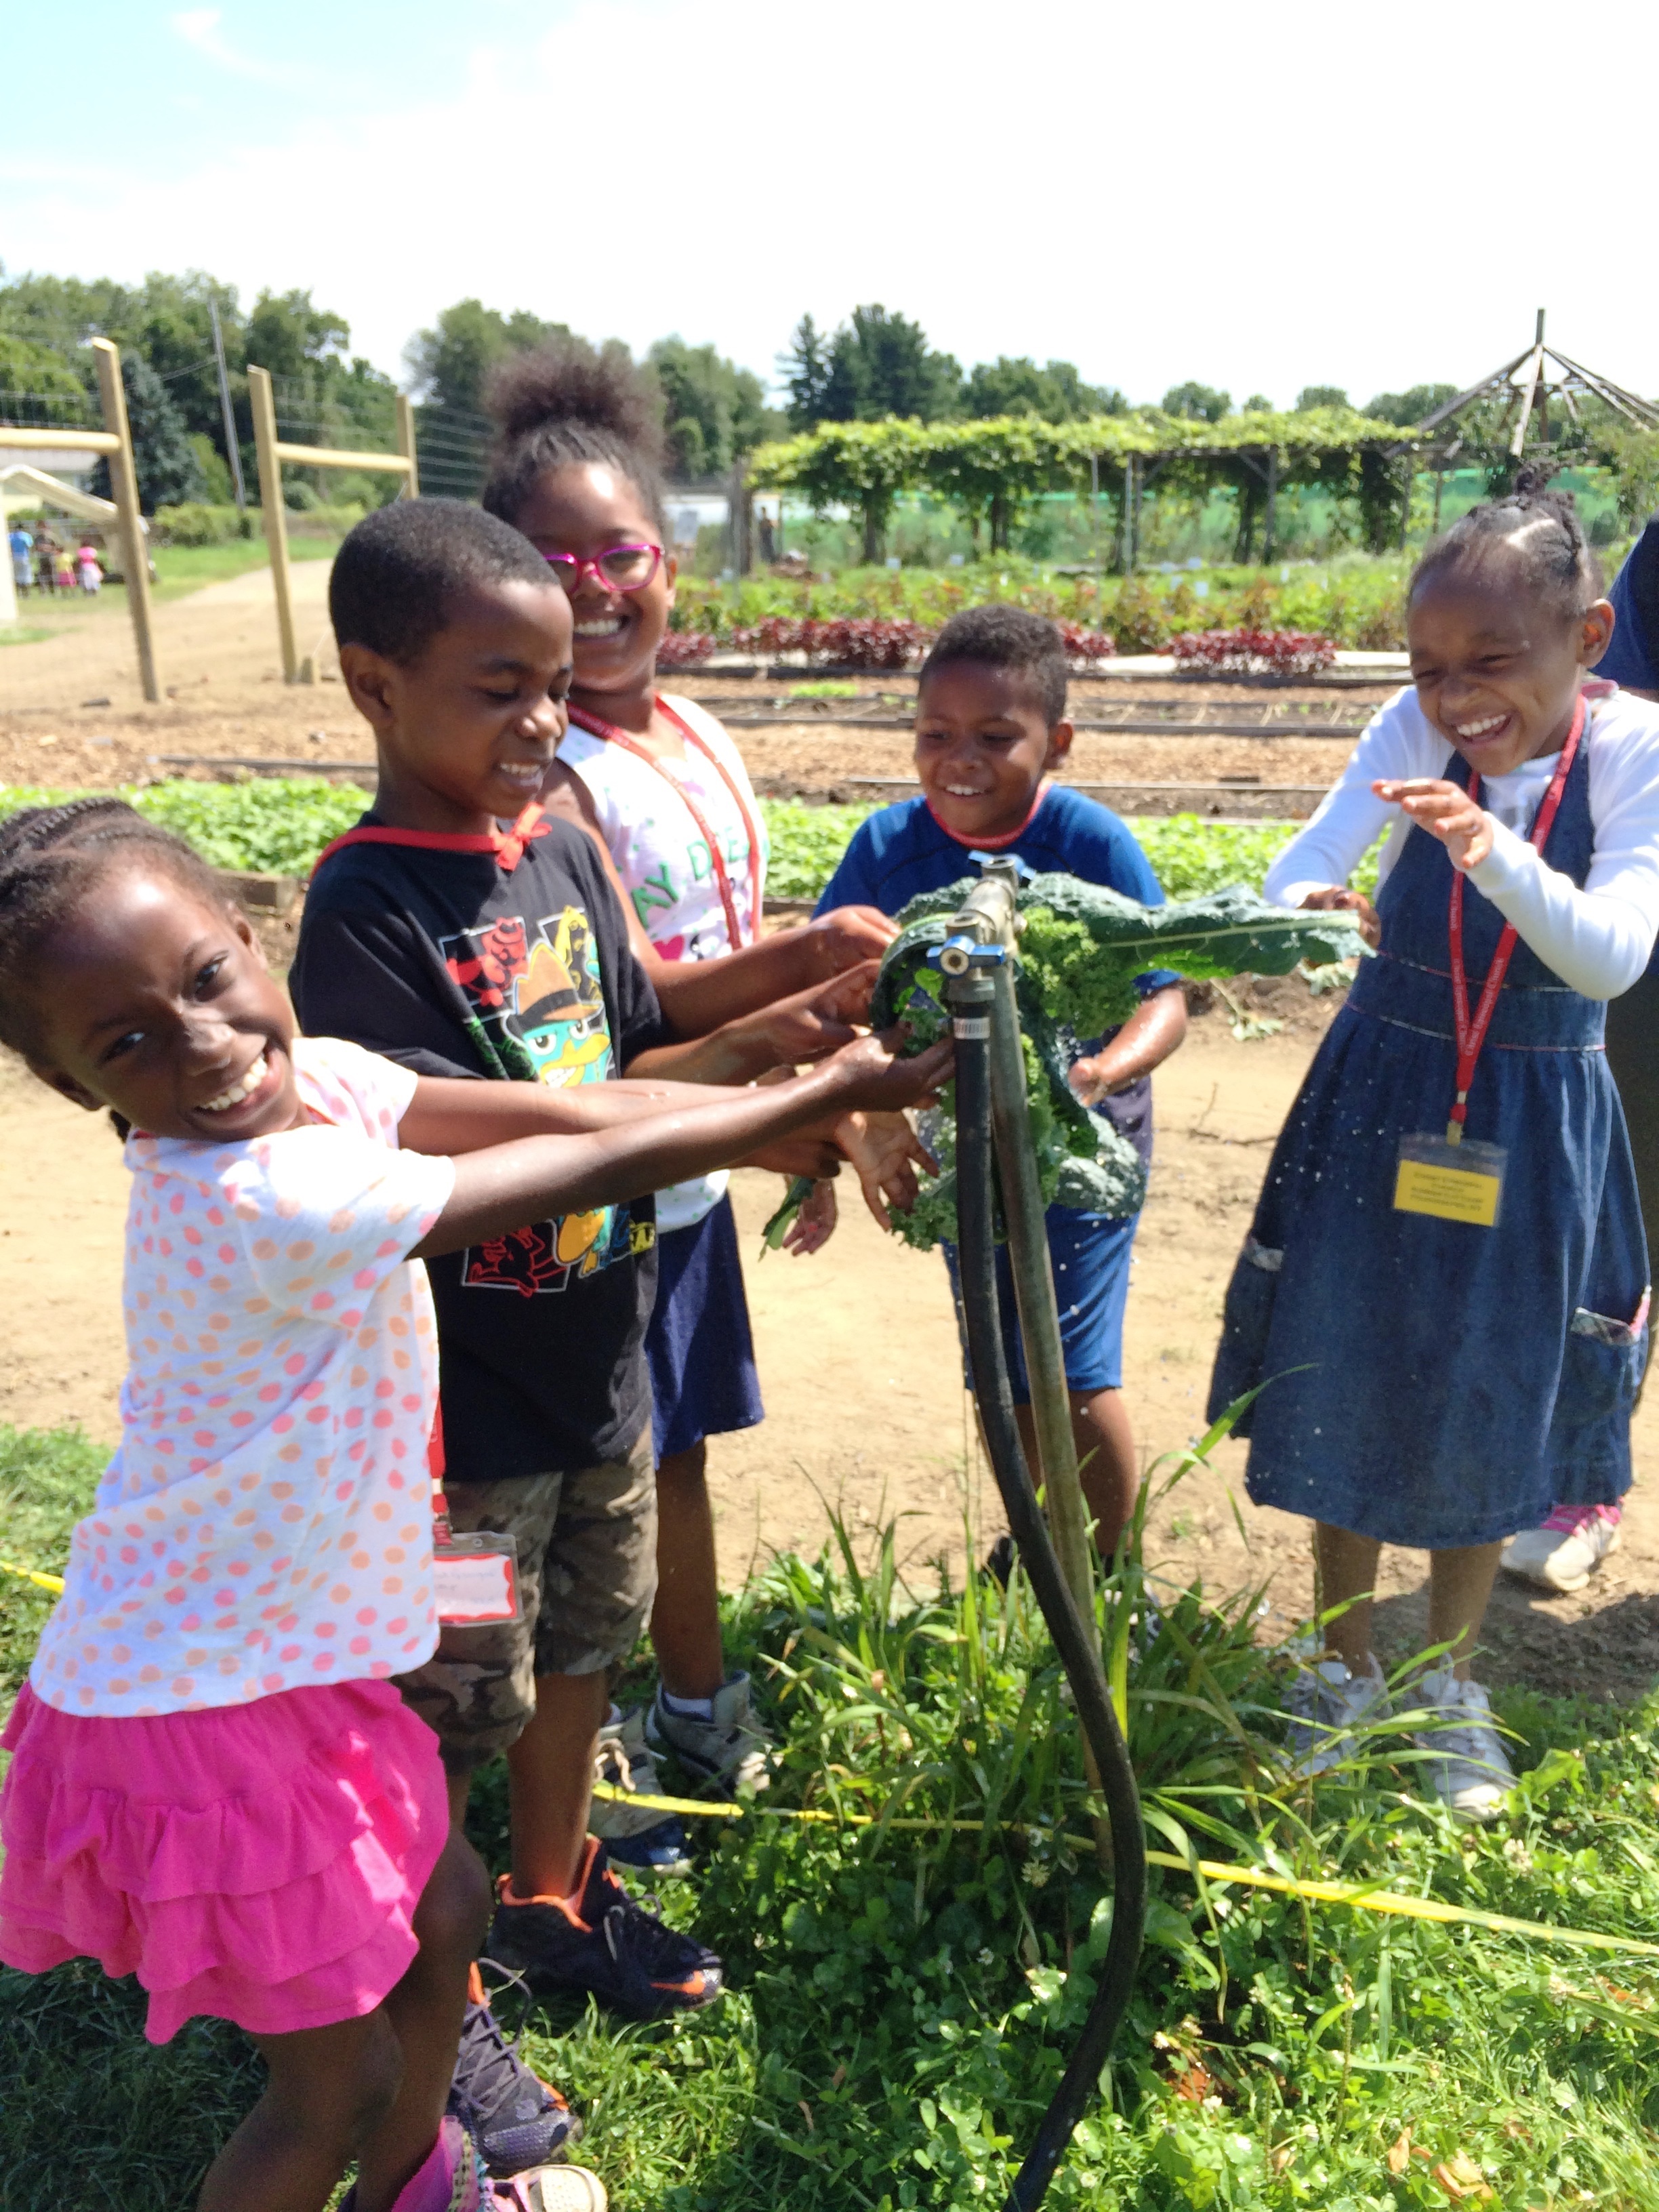
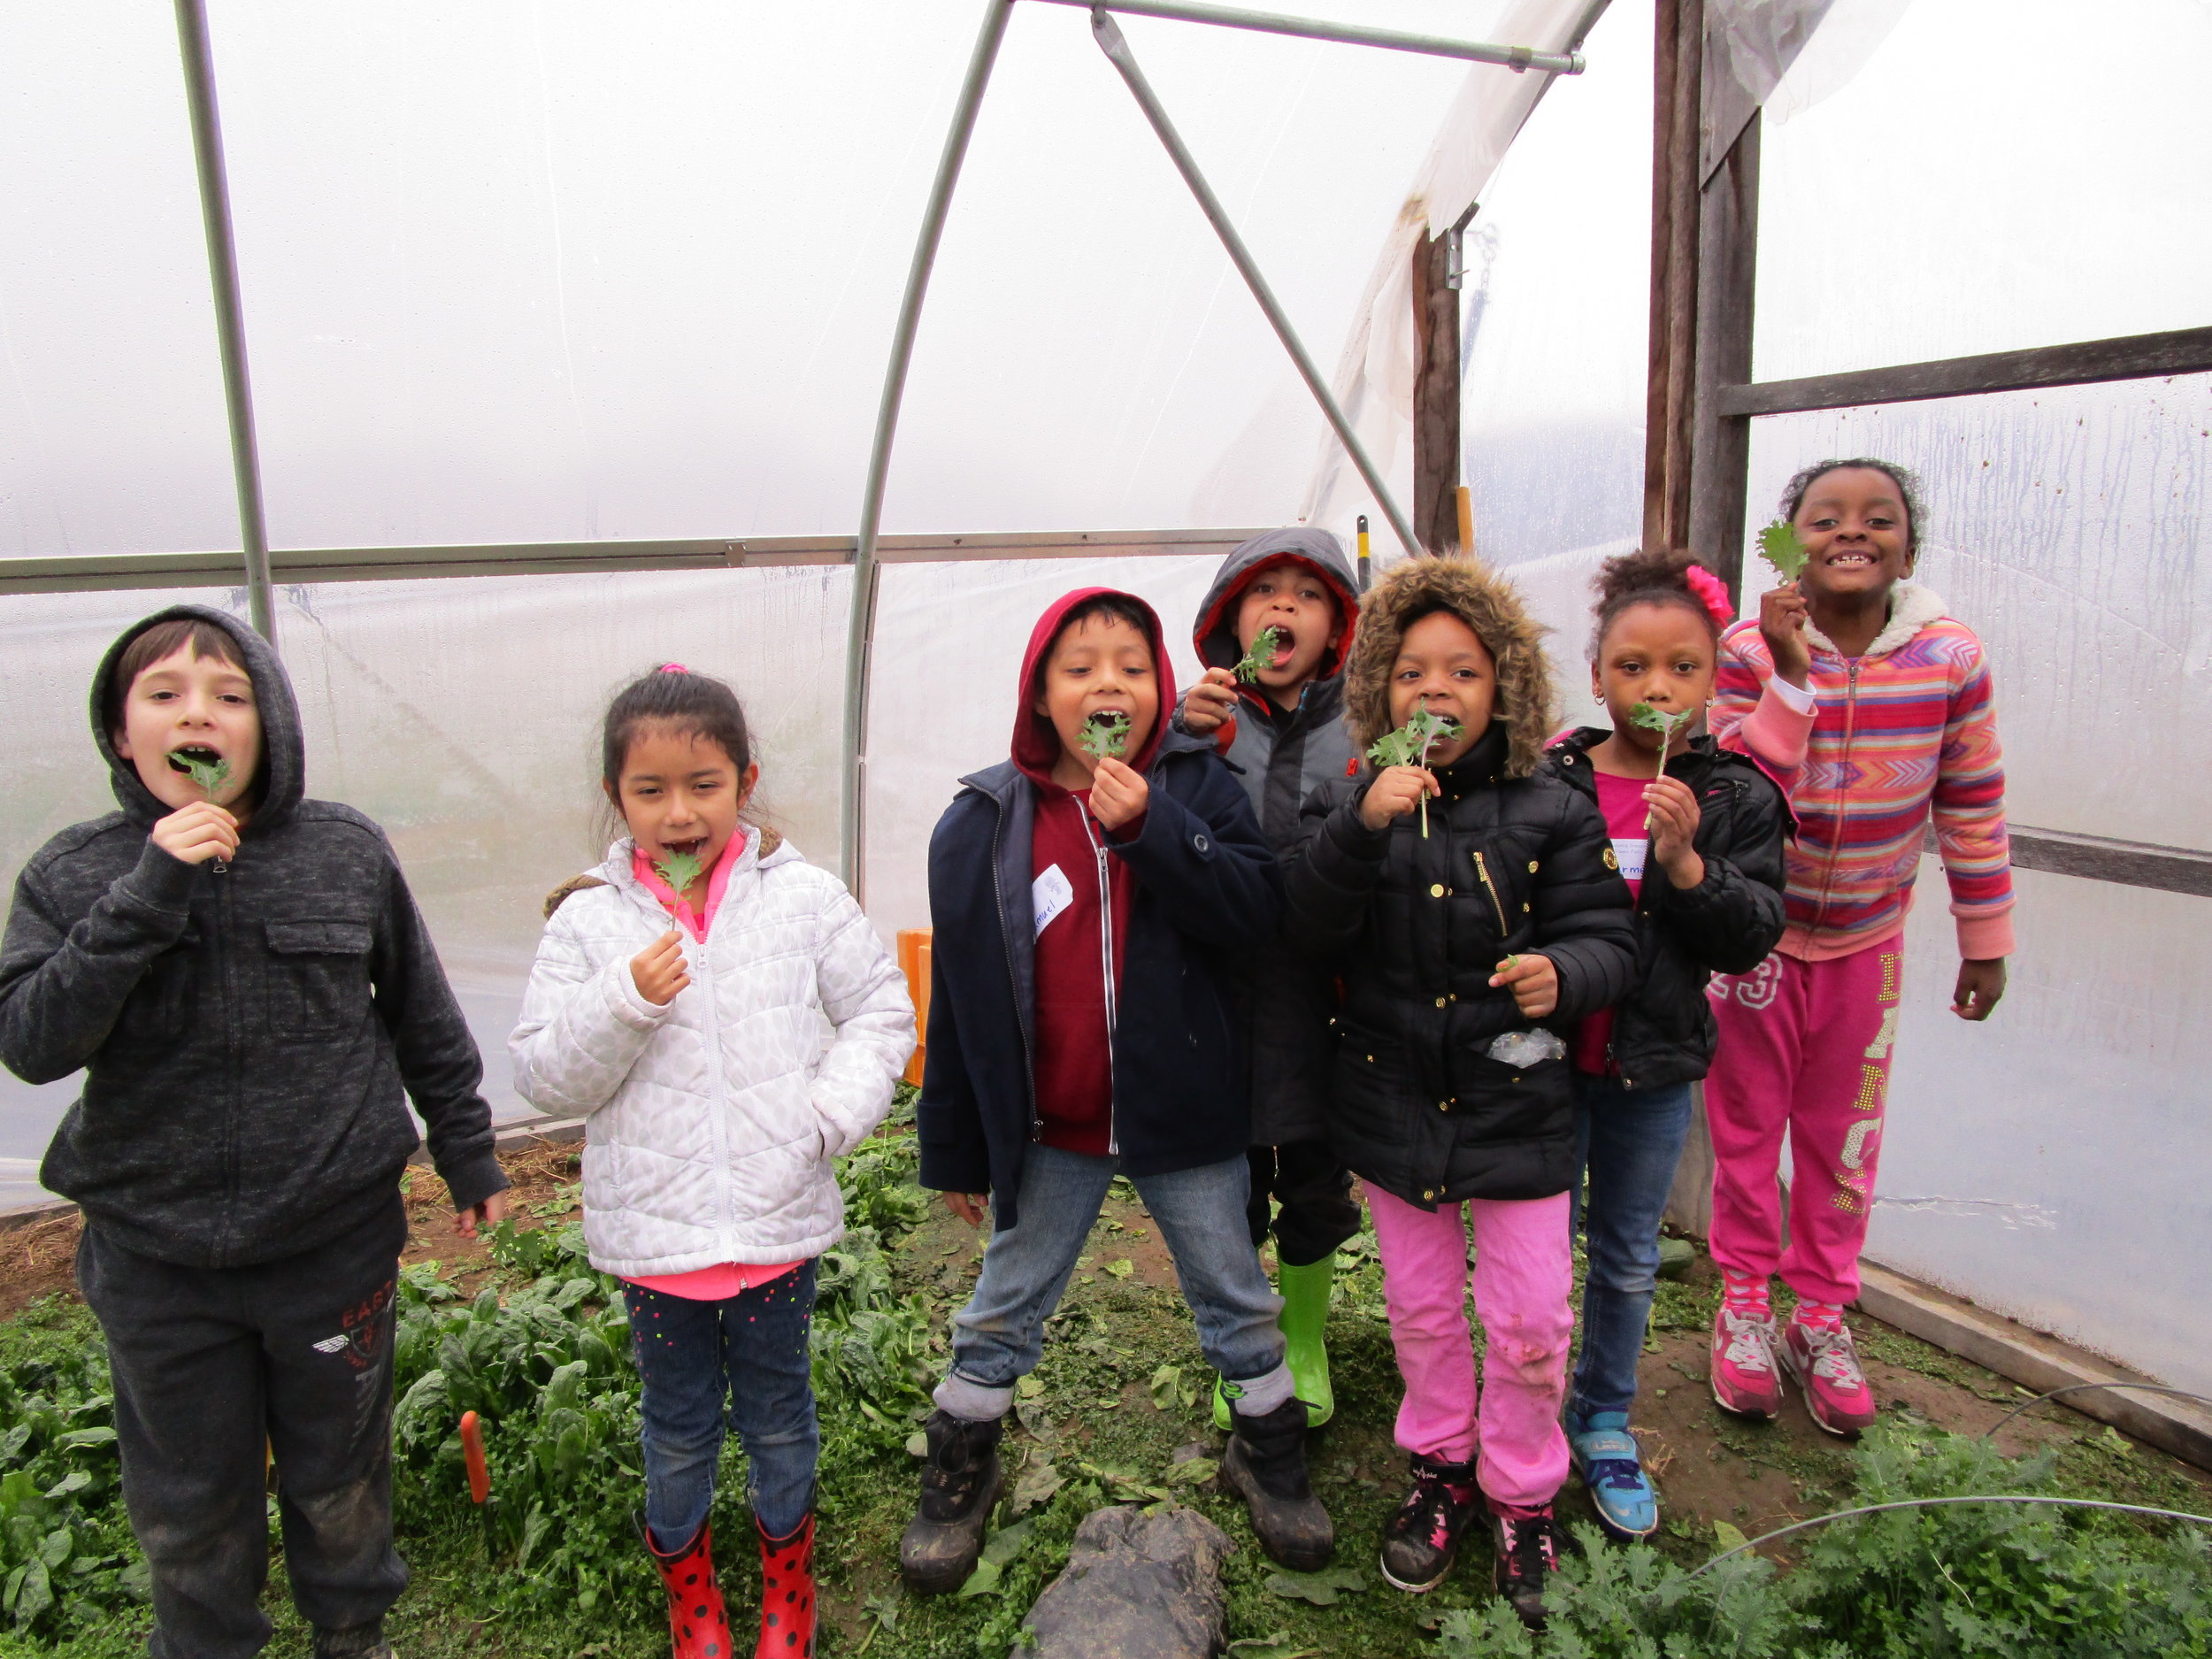
Don't you want to have this much fun?
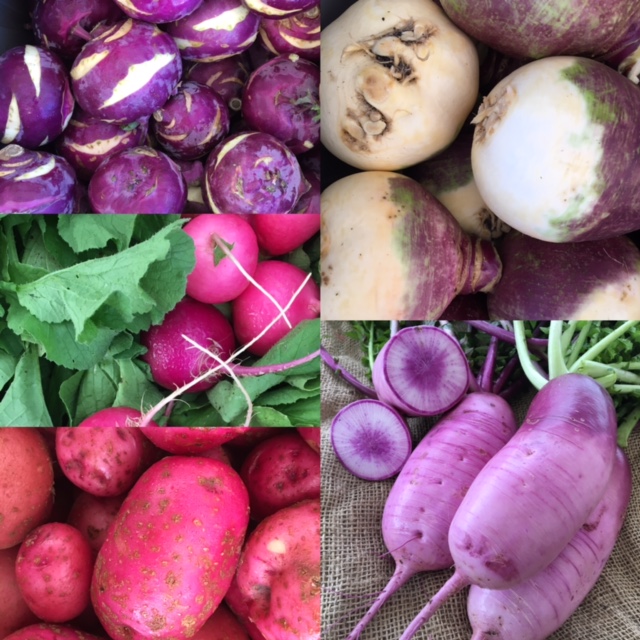
Or, if “down time” is more your speed, consider getting cozy in your kitchen with one of these recipe suggestions! All this cold weather is a great time to do some roasting, boiling and baking, and to experiment with foods like celeriac, kohlrabi, and rutabaga. Tune in next week for another round-up of recipes to accompany the February 3 CSA distribution.
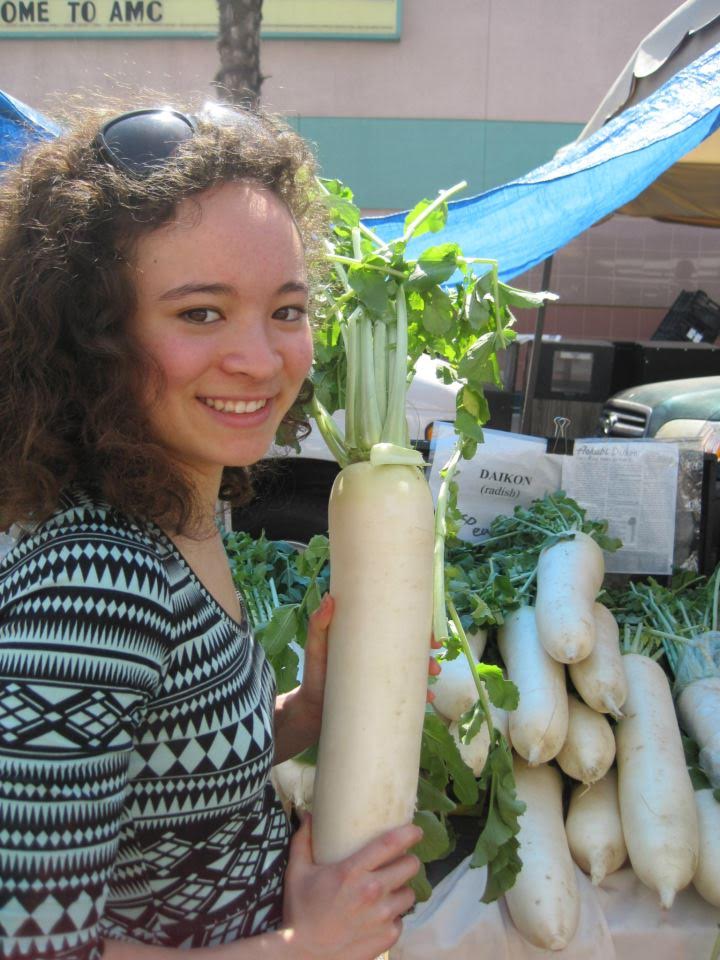
However you choose to spend the rest of your winter, we hope you find ways to appreciate these darker, colder days (after all, what would the first tomato of the season be without it?) and joy in the little things -- like the harsh honking sound of a flock of geese, flying overhead, or a feather of frost, or the snap of a bright bite of watermelon radish, or a warm bowl of curried carrot soup.