Harvest Microgreens

Harvest Microgreens
Learn how to harvest microgreens with Sonya Joy! Add flavor to your favorite recipes with microgreens!

Supplies

Tray of microgreens 
Pair of scissors
Bowl of clean water
Paper towel
Plastic bag

Directions

1. Find where the stem of the seedlings meet the top of the soil. Cut the greens at that spot with scissors. Place your harvested microgreens into a bowl of water.

2. Once you have cut the entire tray of microgreens, gently shake them in the water to remove any soil that might have come with them out of the tray.

3. Remove greens from the bowl by the handful, shaking again to remove excess water.

4. Wrap clean microgreens in a paper towel and store inside a plastic bag or food storage container. Microgreens will keep in a refrigerator this way for 1-2 weeks.


Hacer Ensalada de Col Rizada y Manzana con Lala M & Jamie

ENSALADA DE COL Y MANZANA

Ingredientes

1 manzana

3-4 tazas de hojas de col rizada bebé

¼ taza de semillas de girasol tostadas

¼ taza de arándanos secos

1 limón

Instrucciones

Lave la manzana y la col rizada. Sostén la col rizada boca abajo y tira solo de la hoja para separarla del tallo. Rasga todas las hojas de col rizada en pedazos del tamaño de un bocado con los dedos y ponlas en un tazón.

En un tazón pequeño, revuelva el jugo de limón, la miel y el aceite con un tenedor. Agregue ½ cucharadita de sal si lo desea. Vierta el aderezo sobre la col rizada y frote las hojas con el aderezo hasta que estén suaves.

Con un cuchillo de cocinero para niños, corte la manzana del núcleo. Corta la manzana en rodajas finas. ¡Decora cada tazón de ensalada de col rizada con rodajas de manzana! Receta adaptada por Chef Key

Make Kale and Apple Salad with SonyaJoy

KALE & APPLE SALAD

Ingredients

1 apple

3-4 cups of baby kale leaves or 1 bunch adult kale

¼ cup roasted sunflower seeds

¼ cup dried cranberries 1 lemon

Directions

Wash the apple and kale. If using adult kale leaves, hold upside-down and pull down on just the leaf to detach from the stem. Rip all the kale leaves up into bite sized pieces with your fingers, and put them in a bowl.

In a small bowl, stir the lemon juice, honey and oil with a fork. Add ½ teaspoon salt if you like. Pour the dressing over the kale and rub the leaves with the dressing until they are soft.

Using a kid’s chef knife, cut the apple away from the core. Slice the apple into thin slices. Decorate each bowl of kale salad with apple slices!

Recipe Adapted by Chef Key

Learn about Growing Beans with Jamie

You’ll need:

  • bean seeds

  • a bowl of water soil (on the ground or in a plant pot)

  • a trellis (if you are growing pole beans)

Instructions

  1. Decide what type of beans you want to harvest from your garden (fresh beans or dry beans).

  2. Decide whether you want to grow bush beans or pole beans. Pole beans need a trellis to climb.

  3. Wait until after the last frost in spring.

  4. Soak your bean seeds overnight.

  5. Plant about an inch deep and 2-4 inches apart in a row.

  6. Keep the soil evenly moist during germination.

  7. If you are growing fresh beans, harvest when beans are 5-6 inches long, but before they develop lumps where the seeds are. Keep harvesting and the plants will keep producing.

  8. If you are growing dry beans or if you want to save your bean seeds, leave the bean pods on the plants, let them keep growing and let the pods dry on the plant before harvesting. You will harvest fewer beans because harvesting them causes the plant to produce more bean pods.

Cinco pasos para cultivar un jardín de contenedores con Lala M & Rio

¡La jardinería en contenedores es perfecta para cultivar todo tipo de verduras, hierbas, frutales y flores sin ocupar demasiado espacio o tiempo!

Paso 1: Elija un contenedor: elija un contenedor o maceta que le guste, o reutilice o recicle un contenedor, cubo o tupperware para llevar. Se creativa, pero asegúrese de que su recipiente tenga agujeros para el drenaje.

Paso 2: Encuentre una ventana soleada para el contenedor: puede colocar la planta en los alféizares de las ventanas, mesas, porches, balcones, puertas, entradas de vehículos, ¡cualquier espacio pequeño donde pueda llegar la luz del sol servirá! La mayoría de las plantas necesitarán al menos 6 horas de luz solar al día.

Paso 3: Obtenga les otres suministres: Asegúrese de obtener una tierra para macetas de buena calidad Fertilizante: alimente una vez cada pocas semanas o una vez al mes con fertilizante líquido, como emulsión de pescado, o mezcle un fertilizante vegetal granular en el suelo antes de plantar Puede ser necesario un enrejado o estaca para plantas grandes que necesitan soporte

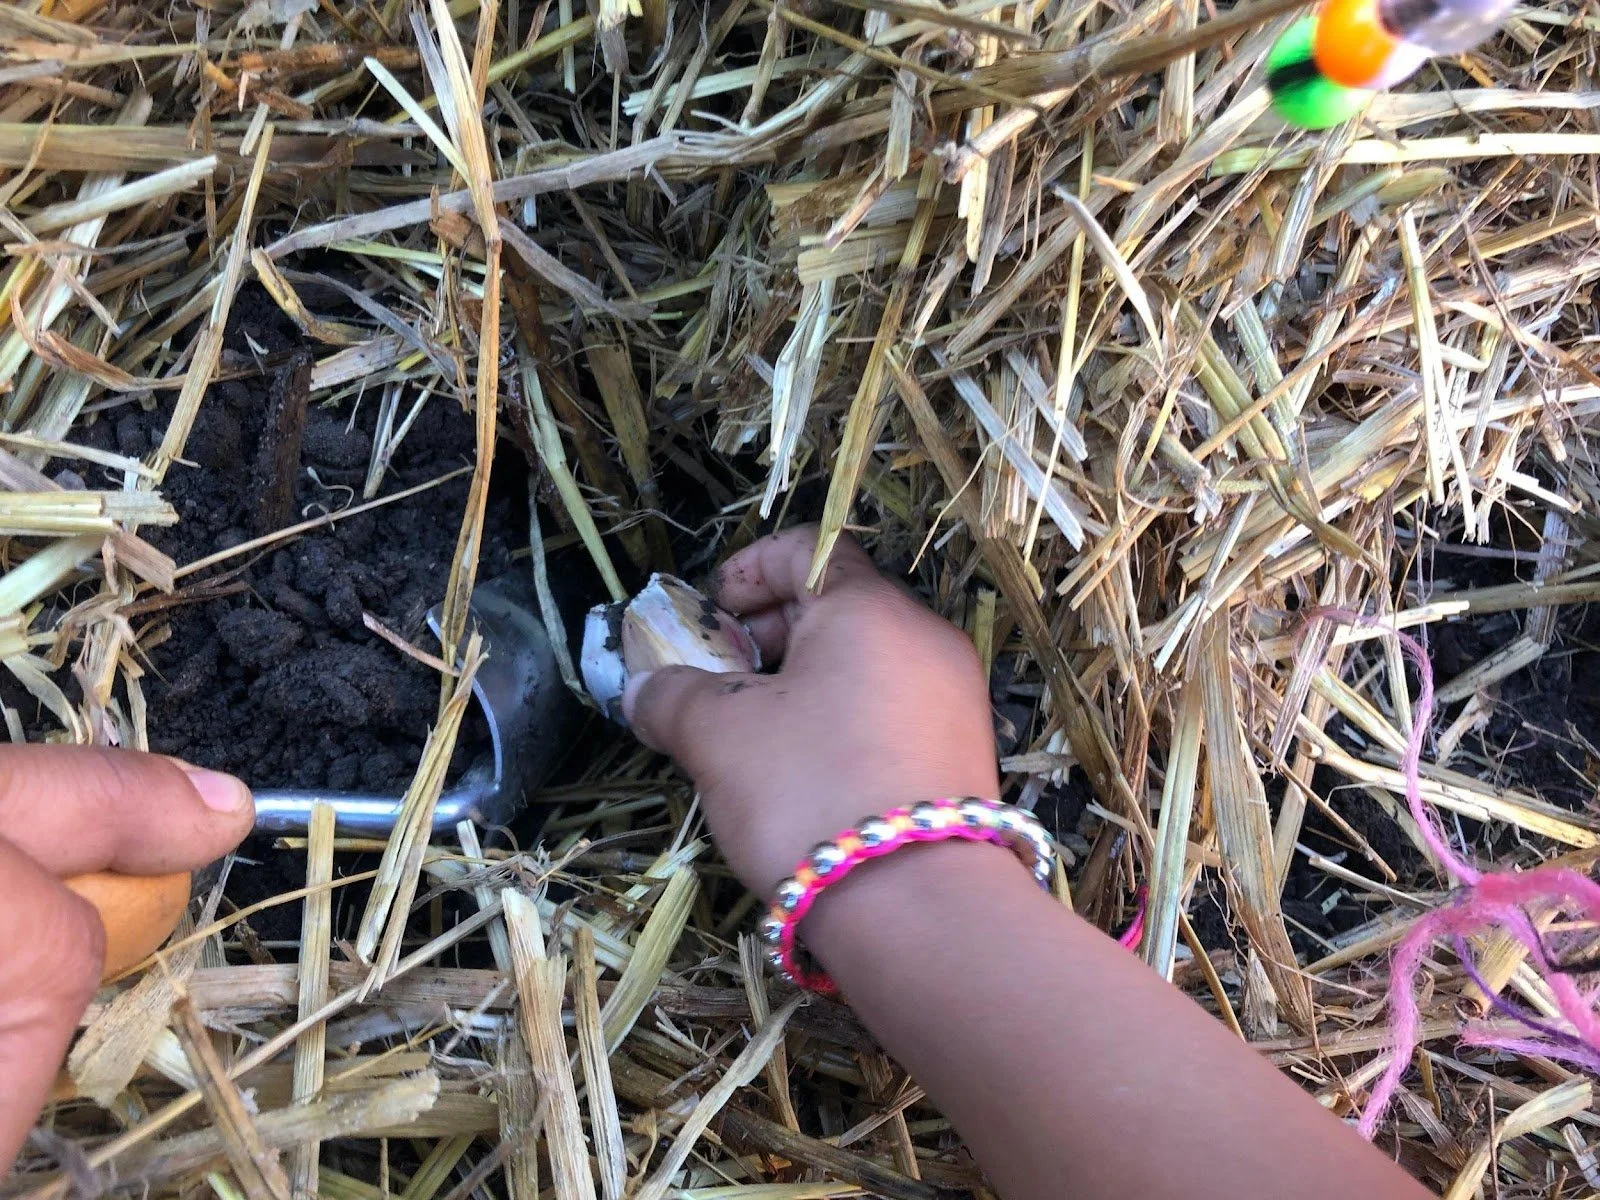
Paso 4: ¡Planta las plantas! Elija qué cultivar: siembre directamente las semillas o compre plántulas para trasplantar. Microverdes, lechugas verdes y hierbas son opciones que pueden caber en su ventana y crecer rápidamente. Para recipientes exteriores: tomates, tomatillos, pimientos, berenjenas, fresas, frijoles y mucho más. ¡Todos solo necesitan una maceta de 5 galones para crecer!

Paso 5: riega las plantas Es probable que sea necesario regar una o dos veces al día dependiendo de la planta. Revise la tierra al meter el dedo una pulgada hacia abajo para sentir la humedad. Las macetas o contenedores más pequeñas se secan más rápido.

Por último, ¡cosecha y disfruta de el nuevo jardín casero en contenedor !

Category

Education

0 Comments

Add a public comment...

5 Steps to Growing a Container Garden with Kathryn

Container gardening is perfect for growing all sorts of vegetables, herbs and flowers without taking up too much space or time!

Step 1: Pick a container: Choose a pot you like, or reuse or upcycle a take out container, bucket or storage container. Get creative, but make sure your container has holes for drainage.

Step 2: Find a sunny space for your container: You can put your plant on window sills, tables, porches, balconies, doorsteps, driveways--any small space where sunlight can reach will do! Most plants will need at least 6 hours of sunlight a day.

Step 3: Get your other supplies: Make sure you get a good quality potting soil Fertilizer - feed once every few weeks or once a month with liquid fertilizer such as fish emulsion, or mix a granular vegetable fertilizer into the soil before planting A trellis or stake may be necessary for large plants that need support

Step 4: Plant your plants! Pick what to grow: Direct sow seeds or buy seedlings to transplant. Microgreens, baby salad greens and herbs are options that can fit in your window and grow quickly. For outside containers: Tomatoes, tomatillos, peppers, eggplant, strawberries, bush beans and more! All just need a 5 gallon pot to grow!

Step 5: Water your plants Watering once or twice a day will likely be necessary depending on the plant. Check the soil by sticking your finger one inch down to feel for moisture. Smaller pots dry out faster.

Lastly, harvest and enjoy your new home container garden!!

Quesadilla de Risada Con Crema de Aguacate

Quesadilla de Risada Con Crema de Aguacate
para 6 personas

Ingredientes

3 tazas de queso rallado (cheddar, mozzarella o una mezcla)
12 6-inch tortillas de trigo
1 manojo de col risada u otras verduras de hojas verdes, sin tallos y picades
1 aguacate. Jugo de
1 limón verde

Direcciones

En un sartén a temperatura media cocina el col rizada y ½ taza de agua y tapa. Cocine por 4-5 minutos hasta que estén suaves. Limpia la sartén. A fuego medio, coloque la primera tortilla, espolvoree con queso cheddar y cubra con col rizada al vapor. Espolvorea con una pizca de sal si quieres. Coloca otra tortilla encima. Cocine 3-4 minutos por cada lado hasta que la tortilla esté ligeramente dorada y el queso se haya derretido. Tritura el aguacate con un tenedor.Agregue el jugo de limón verde. Ponle una pizcas de sal si le desea. ¡Cubre la quesadilla caliente con una cucharada de crema de aguacate y disfruta!

Receta adaptada por Chef Key

Kale Quesadillas with Avocado Crema

Kale Quesadillas with Avocado Crema
serves 6

Ingredients

3 cups shredded cheese (cheddar, mozzarella or a mix)
12 6-inch wheat tortillas 1 bunch kale or other dark leafy greens
2 avocado juice of 1 lime

Directions

In a skillet over medium place kale and ½ cup water and cover. Cook for 4-5 minutes until tender.
Clean the skillet. Over medium heat, place the first tortilla, sprinkle with cheddar cheese and top with some steamed kale. Sprinkle with a pinch of salt if you like. Place another tortilla on top. Cook 3-4 minutes on each side until the tortilla is lightly browned and the cheese has melted. Mash the avocado with a fork.
Add a couple pinches of salt if you like. Top hot quesadilla with a dollop of avocado crema and enjoy!

Recipe Adapted by Chef Key

Cultivar cilantro con Lala and Rio

Aprende a cosechar y cuidar una planta de cilantro con Lala and Rio.

Necesita:

una planta de cilantro
tijeras
agua

1. Riegue la planta regularmente y manténgala en un espacio soleado pero fresco.

2. Coseche las hojas grandes y maduras suavemente usando las manos o tijeras.

3. Deje las hojas más pequeñas, o nuevo crecimiento para crecer más cilantro.

4. Pruebe el cilantro y agréguelo a sus platos favoritos, como el Locro de Papa.

5. Guarde el manojo de cilantro en la nevera en un vaso de agua para que dure.

6. Vuelva a plantar cuando su planta salga, o deje que produzca semillas para guardar o secar y usar como condimento de coriander.

7. Publique fotos de usted plantando o cosechando su cilantro con #PokFoodPower #comidapoderosa y @Poughkeepsie Farm Project

Growing Cilantro with Kathryn

Learn to harvest and care for a cilantro plant with Kathryn.

You need:

Your cilantro plant
Scissors
Water

1. Water your plant regularly and keep it in a sunny, but cool space.
2. Harvest the large, mature leaves gently using your hands or scissors.
3. Leave the smaller leaves, or new growth to grow more cilantro.
4. Taste your cilantro and add it to your favorite dishes, like Locro de Papa.
5. Store your bunch of cilantro in the fridge in a glass of water to make it last.
6. Replant when your plant bolts, or let it produce seeds to save or dry and use as coriander seasoning.
7. Post photos of you planting or harvesting your cilantro with #PokFoodPower and @Poughkeepsie Farm Project