


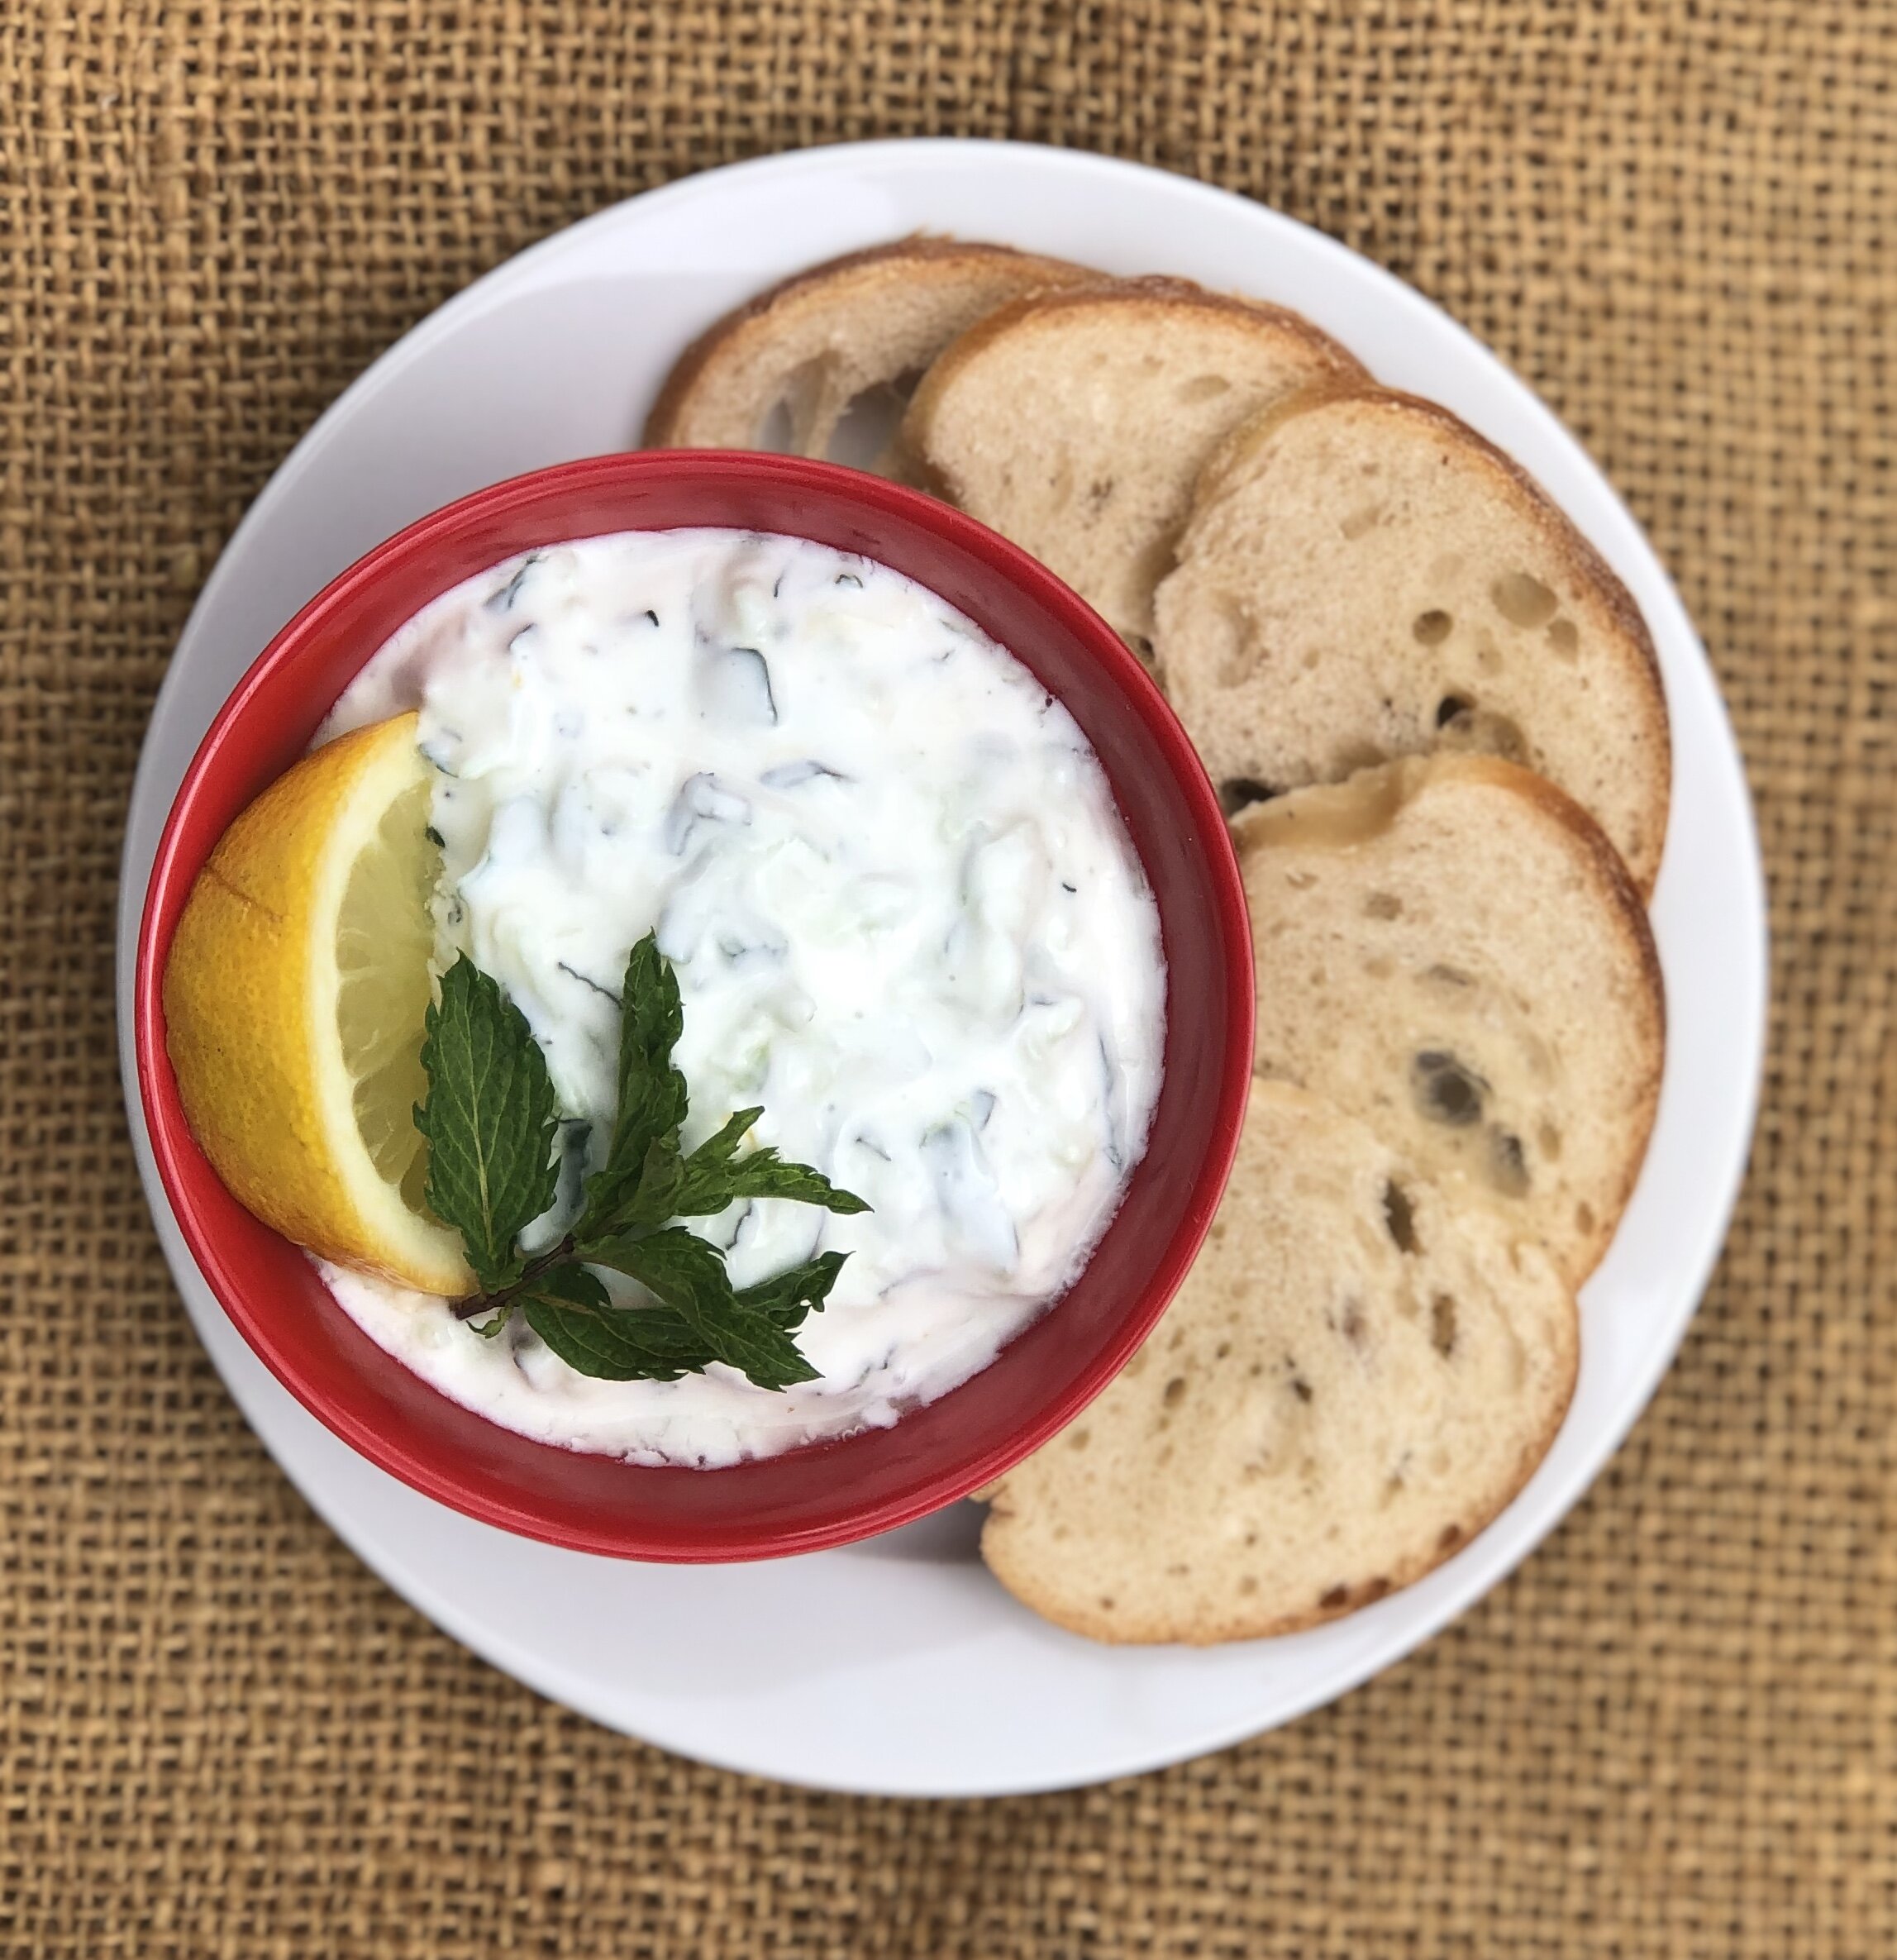
LEBANESE CUCUMBER DIP
serves 8
Ingredients
2 cups Greek yogurt
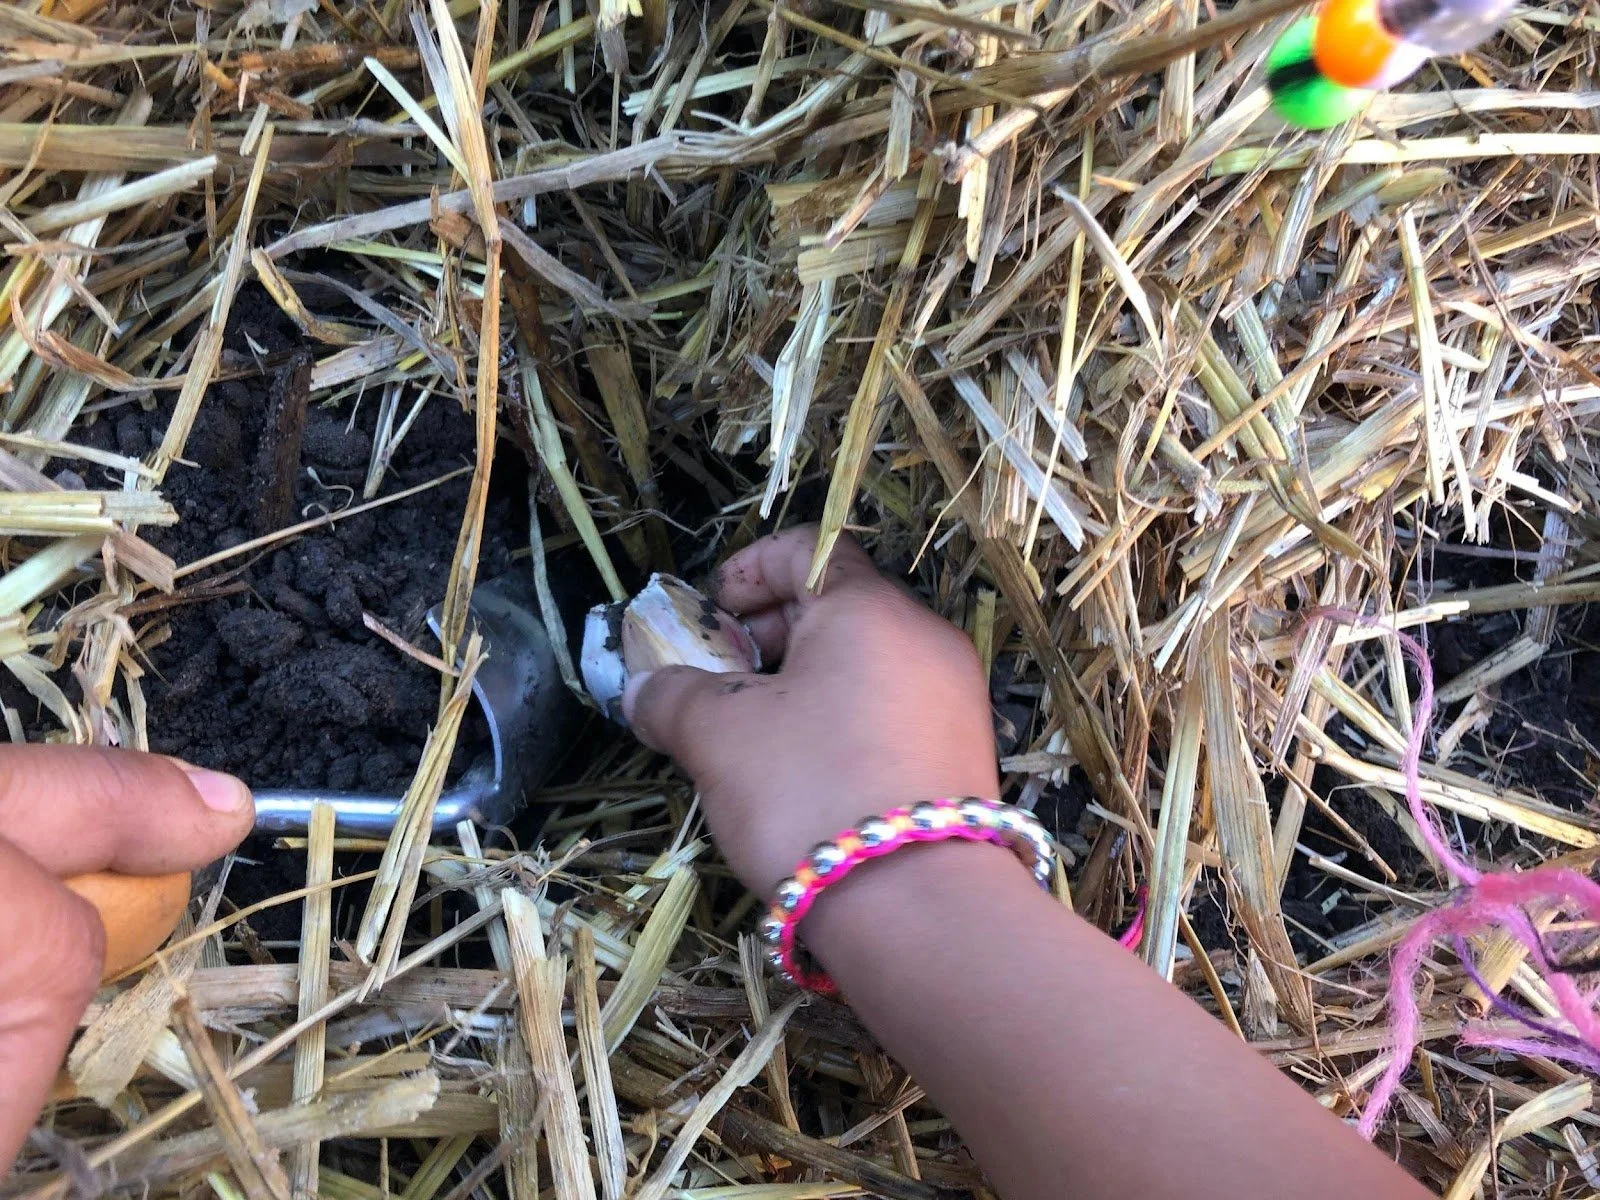
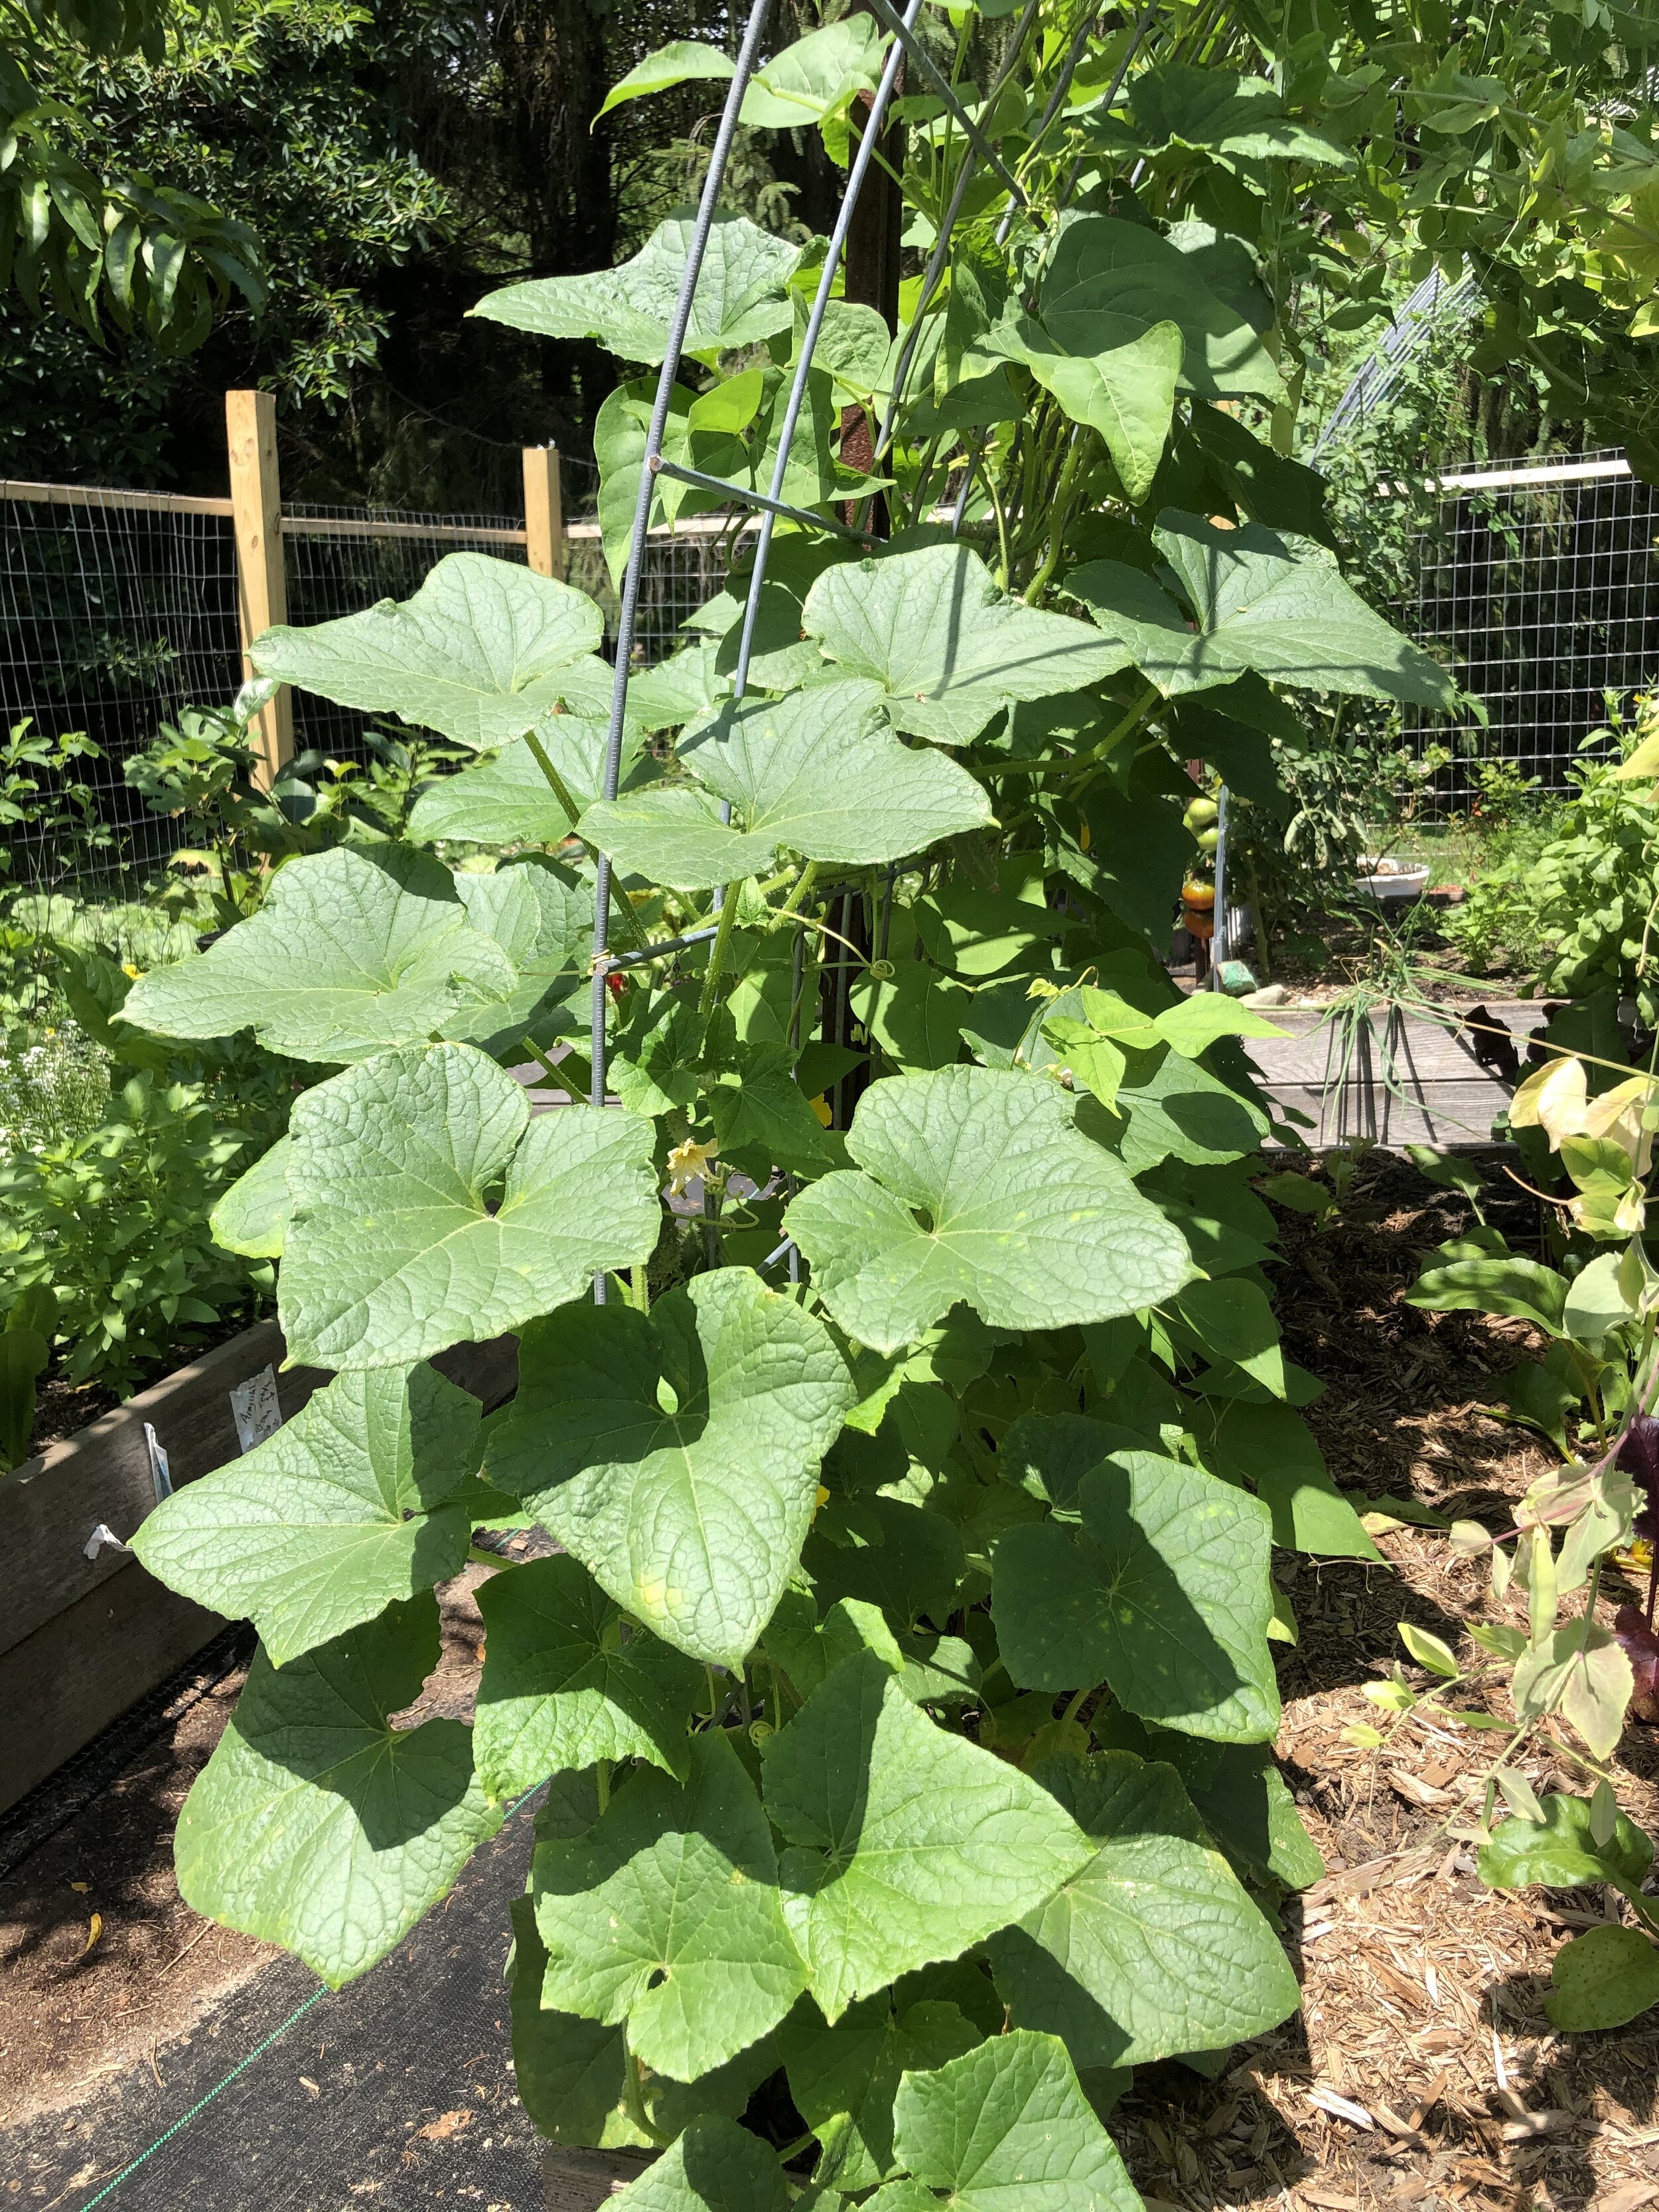
2 cucumbers
1 lemon
3-4 sprigs of fresh mint
2 cloves garlic 1
teaspoon salt
4 pita
Directions
Cut cucumber in half lengthwise.
Scoop out seeds with a spoon.
Grate the cucumber or chop finely.
Zest the lemon by swiping the peel along a fine grater.
Cut lemon in half. Juice the lemon by hand or use a juicer.
Grate or mince the garlic. Save the remaining garlic for next week’s recipe! Pick mint leaves off the stems. Cut into thin ribbons using scissors or knife.
Stir to combine all ingredients. Add some black pepper if you like.
Recipe Adapted by Chef Key farmproject.org/foodpower
Prepara Aderezo de Pepino Libanés con Laura
Aderezo de Pepino Libanés
sirve 8
ingredientes
2 tazas de yogur griego
2 pepinos
1 limón
3-4 ramitas de menta/ hierbabuena fresca
2 dientes de ajo 1 cucharadita de sal
4 pan pitas
Pasos
Corte el pepino por la mitad a lo largo. Saque las semillas con una cuchara.
Ralla el pepino o picale finamente. Ralle la cáscara del limón deslizandola a lo largo de un rallador fino. Cortar el limón por la mitad.
Exprime el limón a mano o use un exprimidor. Ralla o pica el ajo.
Quite las hojas de menta de los tallos. Corte en cintas delgadas con unas tijeras o un cuchillo.
Revuelve para combinar todes les ingredientes. Agregue un poco de pimienta negra si le desea.